New Advanced Settings to Control How Your Zaps Run
In this post, we'll show you how to take advantage of Zapier's latest updates to the Zap builder menu - as well as some longstanding features that are worth your attention, too.
September 16, 2024

Zapier is constantly changing. Just months after a visual overhaul, the automation provider has already adopted a new color scheme and layout, opting for purple highlights to replace their famous vibrant shade of orange.
But some of the most important changes aren’t so immediately apparent. Recent updates have brought several new settings to the Zap builder interface. Some of these settings are brand new, while others have just been relocated into a more convenient spot.
In this post, we’ll walk you through all of the settings that are available in the current iteration of the Zap builder, and how you can use them to get the most out of your automations in Zapier.
Where to find Zap settings
To find all the settings we cover in this post, just open an existing Zap in your account or create a new one. If you’re looking at an existing Zap, make sure you’re in “Edit” mode.
You’ll see a vertical menu bar on the left hand side of the screen.
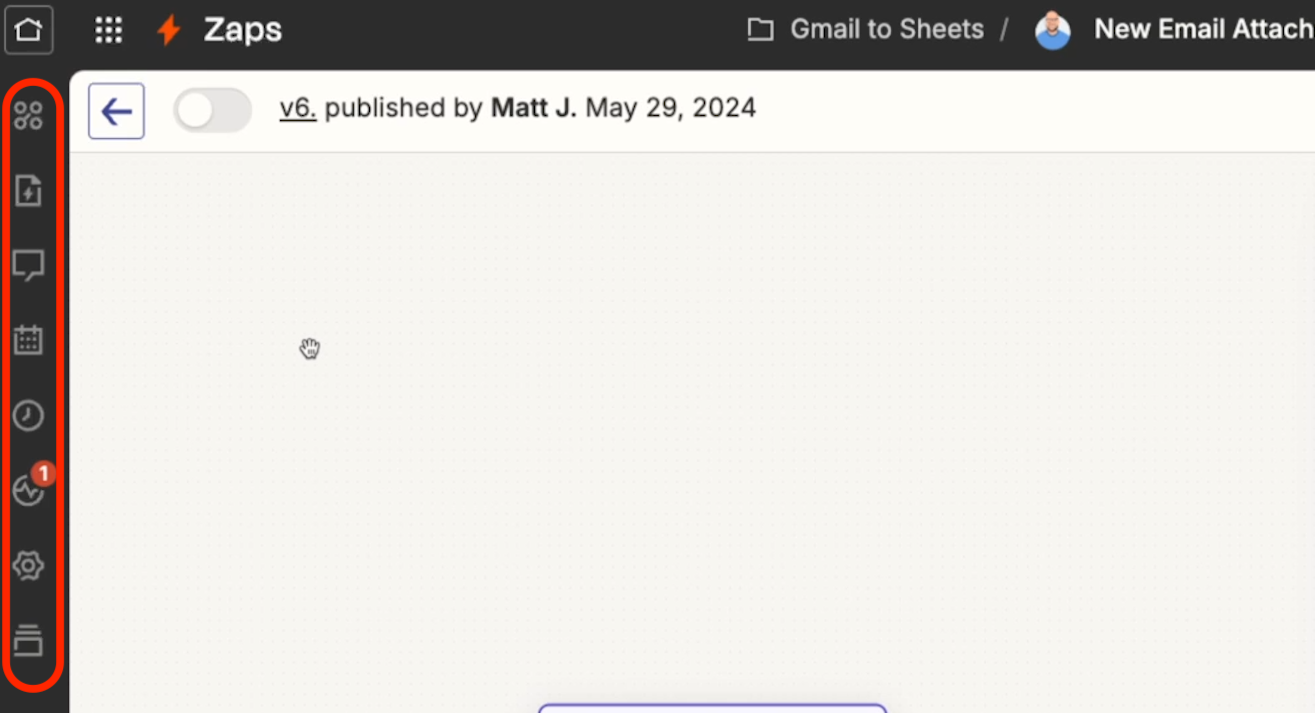
We’ll go through each option in this menu from top to bottom.
Linked assets
Linked assets let you create and attach tables and interfaces directly to your Zap, or view the tables and interfaces that are already referenced in your Zap.

While we generally wouldn’t recommend Zapier tables and interfaces for advanced use cases, they can be very useful if you're just getting started with your automation journey.
If you’re not using a dedicated no-code database Airtable or Smart Suite already, and you're not creating interfaces in an app like Softr, then Zapier’s versions of these tools can be convenient substitutes that keep all of your resources in one app.
If you’d like to learn more about using Zapier tables, we’ve created a tutorial for it here. You can also check out our guide to Zapier interfaces to learn more about them.
Note that both of those tutorials feature an older version of Zapier’s UI.
Zap details
Next up is “Zap details”. The information in this section has been available for a while in Zapier, but was previously inaccessible inside of the Zap builder itself.
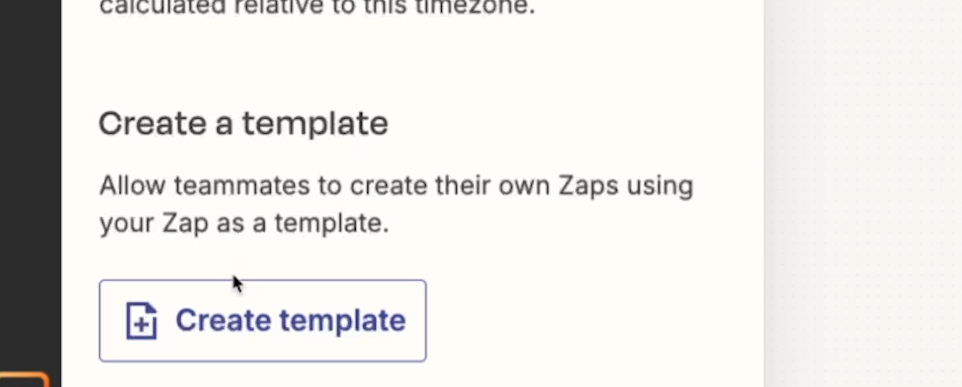
Here, you can see the folder that your current Zap is stored in or move it to a new folder.
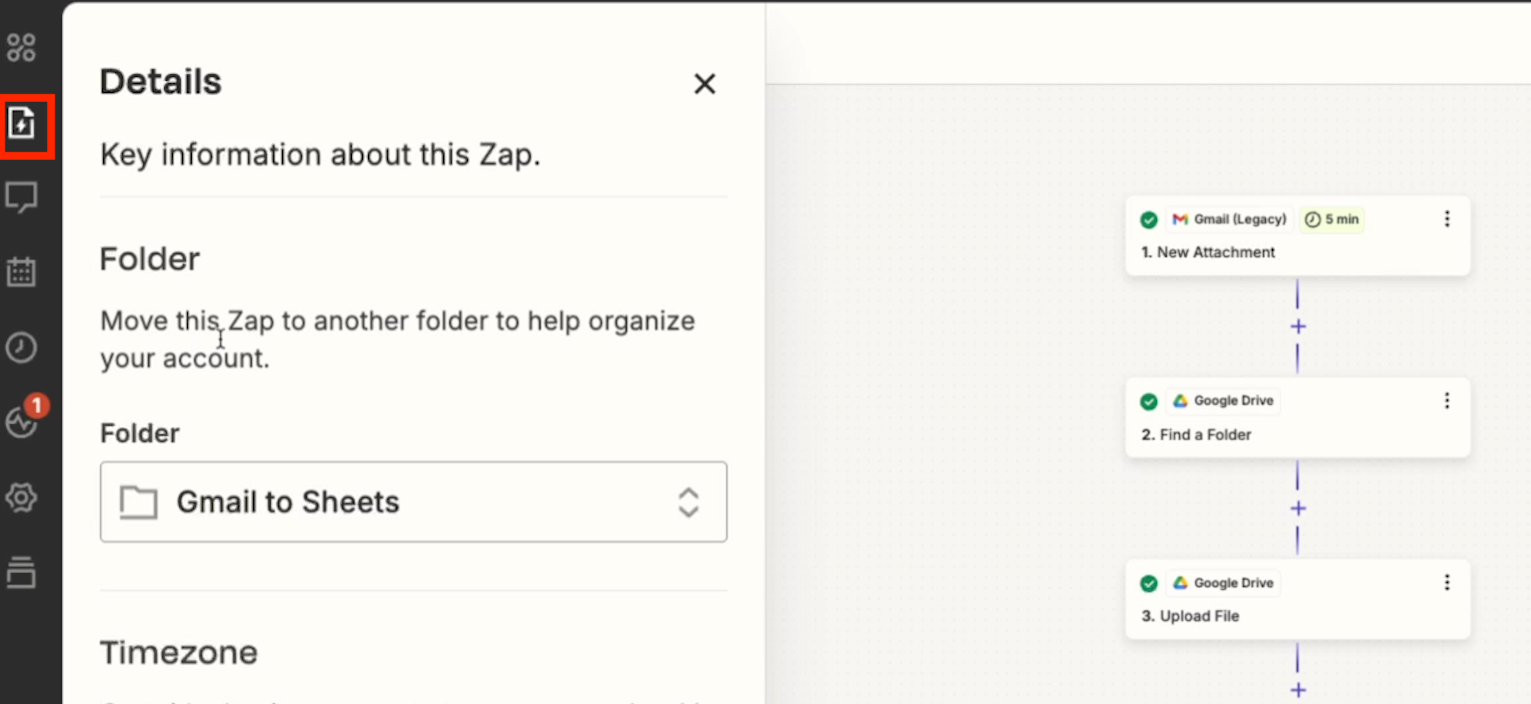
You can also edit the Zap’s timezone, which is particularly important if your Zap uses a scheduled trigger (e.g., if it runs every Monday at 9:30AM).

Finally, you can use the “Zap details” section to create a template out of your Zap. Creating a template will let you easily share the basic setup of your Zap with your team or with other Zapier users on the web.
Notes
Now let’s take a look at Notes. This feature wasn’t added in Zapier’s most recent round of updates, but it was still added to the app relatively recently, so we know it’s probably slipped under the radar for a lot of builders.
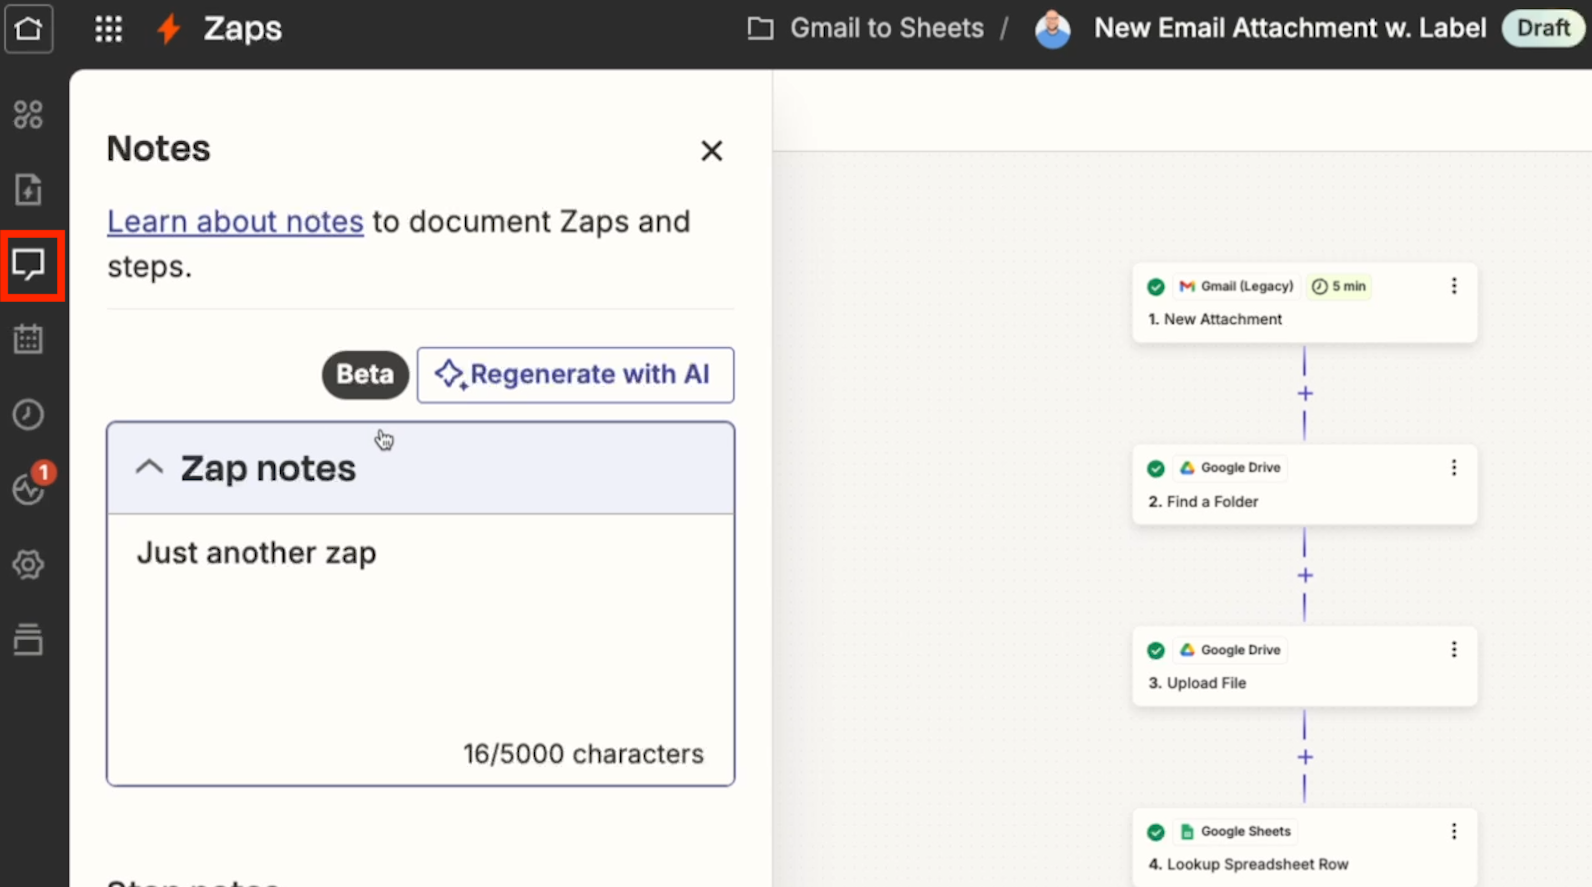
“Notes” lets you add brief text descriptions to the Zap as a whole, as well as each step. After creating a Zap, you can even use AI to generate a summary of your automation and what it does.

Adding notes to your Zap and its individual steps is an extremely useful form of documentation for anyone building automations with their team.
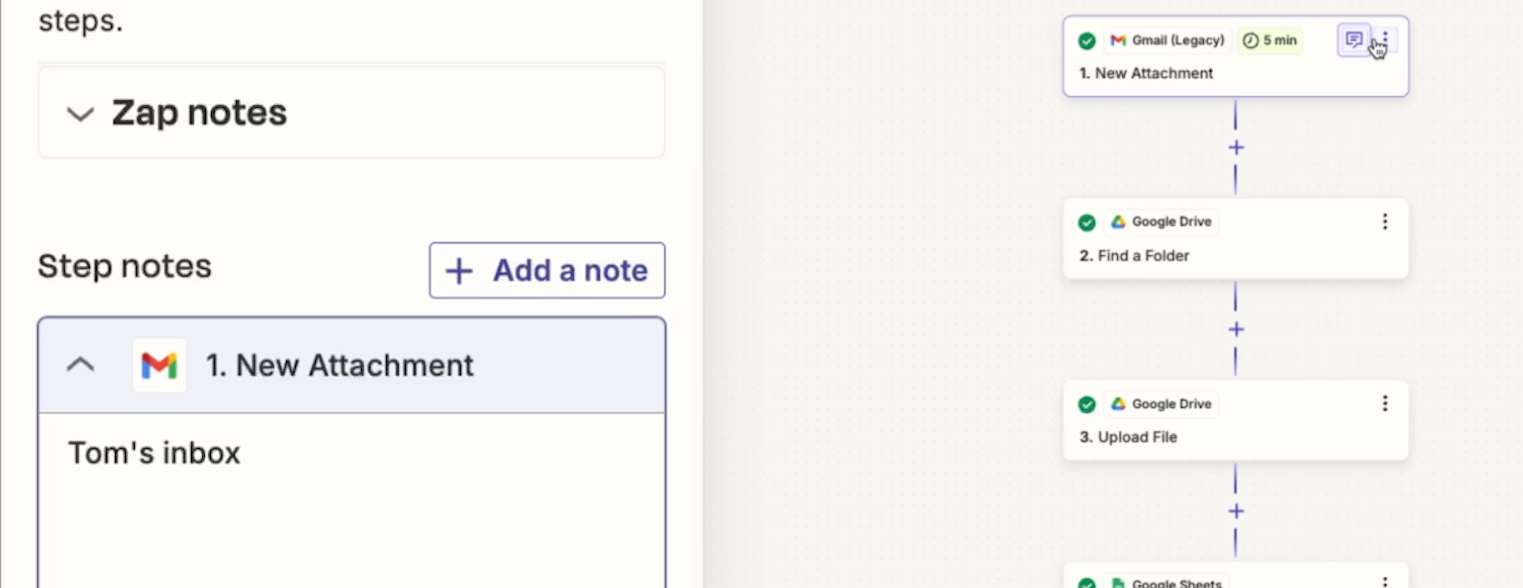
Once you’ve added a note to a step, you can click on the note icon to view it, or just view it from the notes menu on the left.
Change history
The next menu option, Change history, shows you every key update to your Zap since it’s been created. You’ll see every time it’s been published, and every time the Zap has been turned on or off.
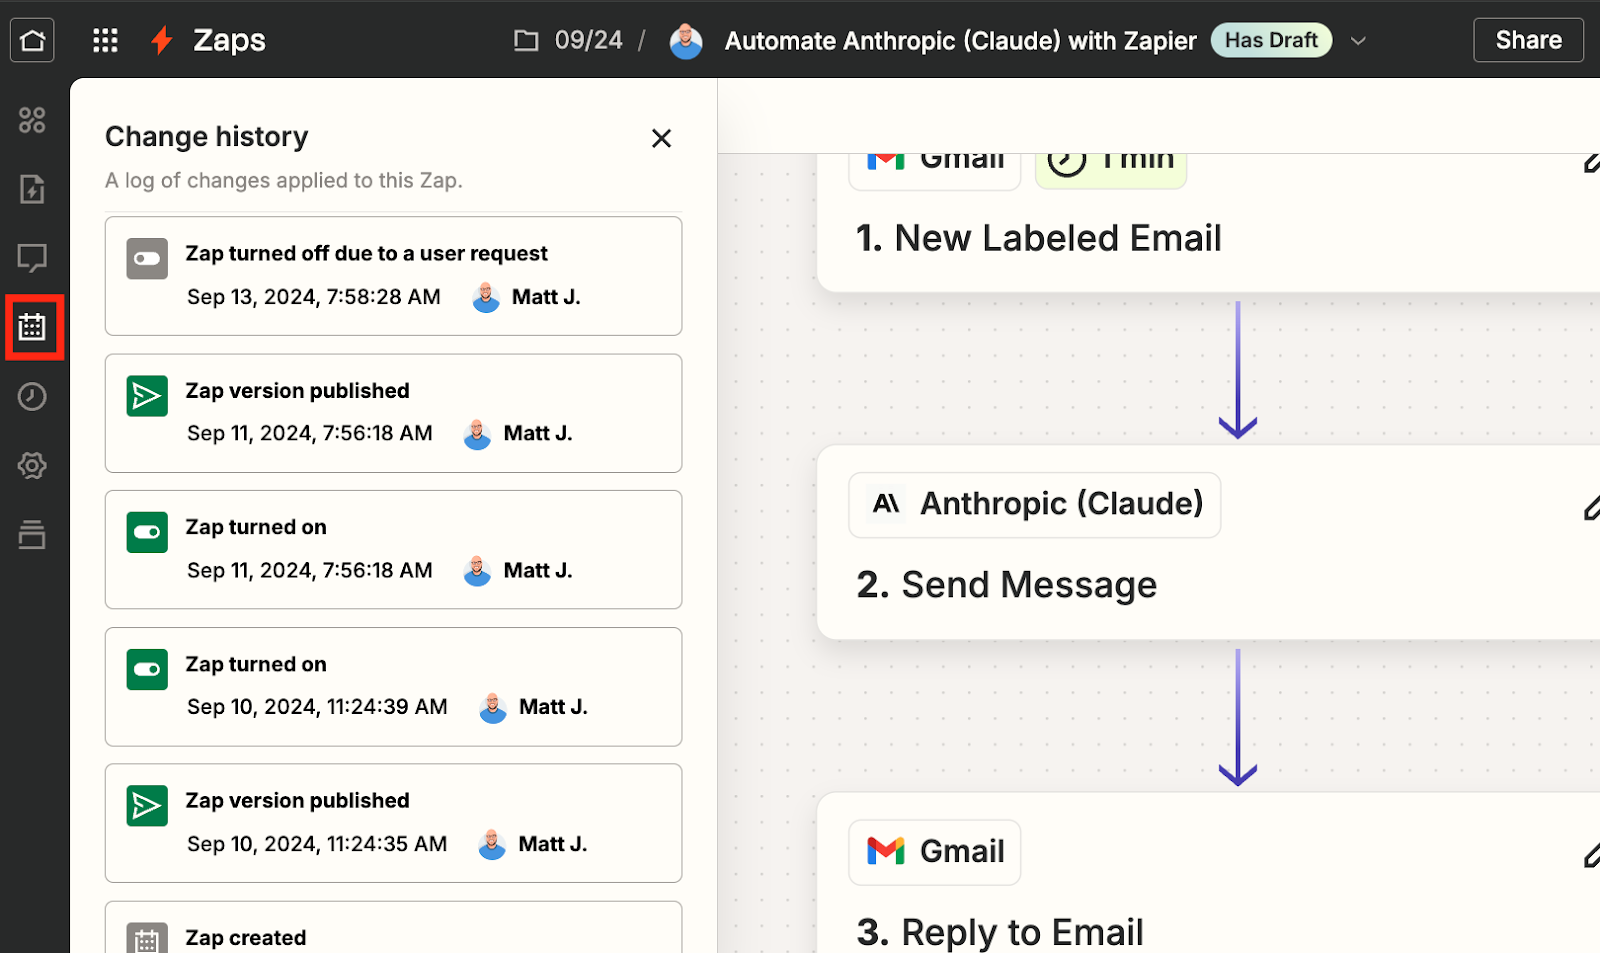
For instance, in the example above, the Zap was last turned off by a user, but in other cases, a Zap might be turned off automatically due to encountering excessive errors.
If you have multiple people building Zaps in your workspace, this is going to be a really helpful feature for showing who is doing what in each automation.
Zap runs
For many, “Zap runs” will likely be one of your most commonly used menu options. If you ever encounter an error, or something unexpected happening in your automations, “Zap runs” and “Zap history” are going to be the first two places to check in order to discover what exactly is going on.

“Zap runs” will show you a record of every time your Zap has run within the last 30 days. You can filter this data with keywords, a custom date range, and a status (e.g., successful, errored, paused, etc.)
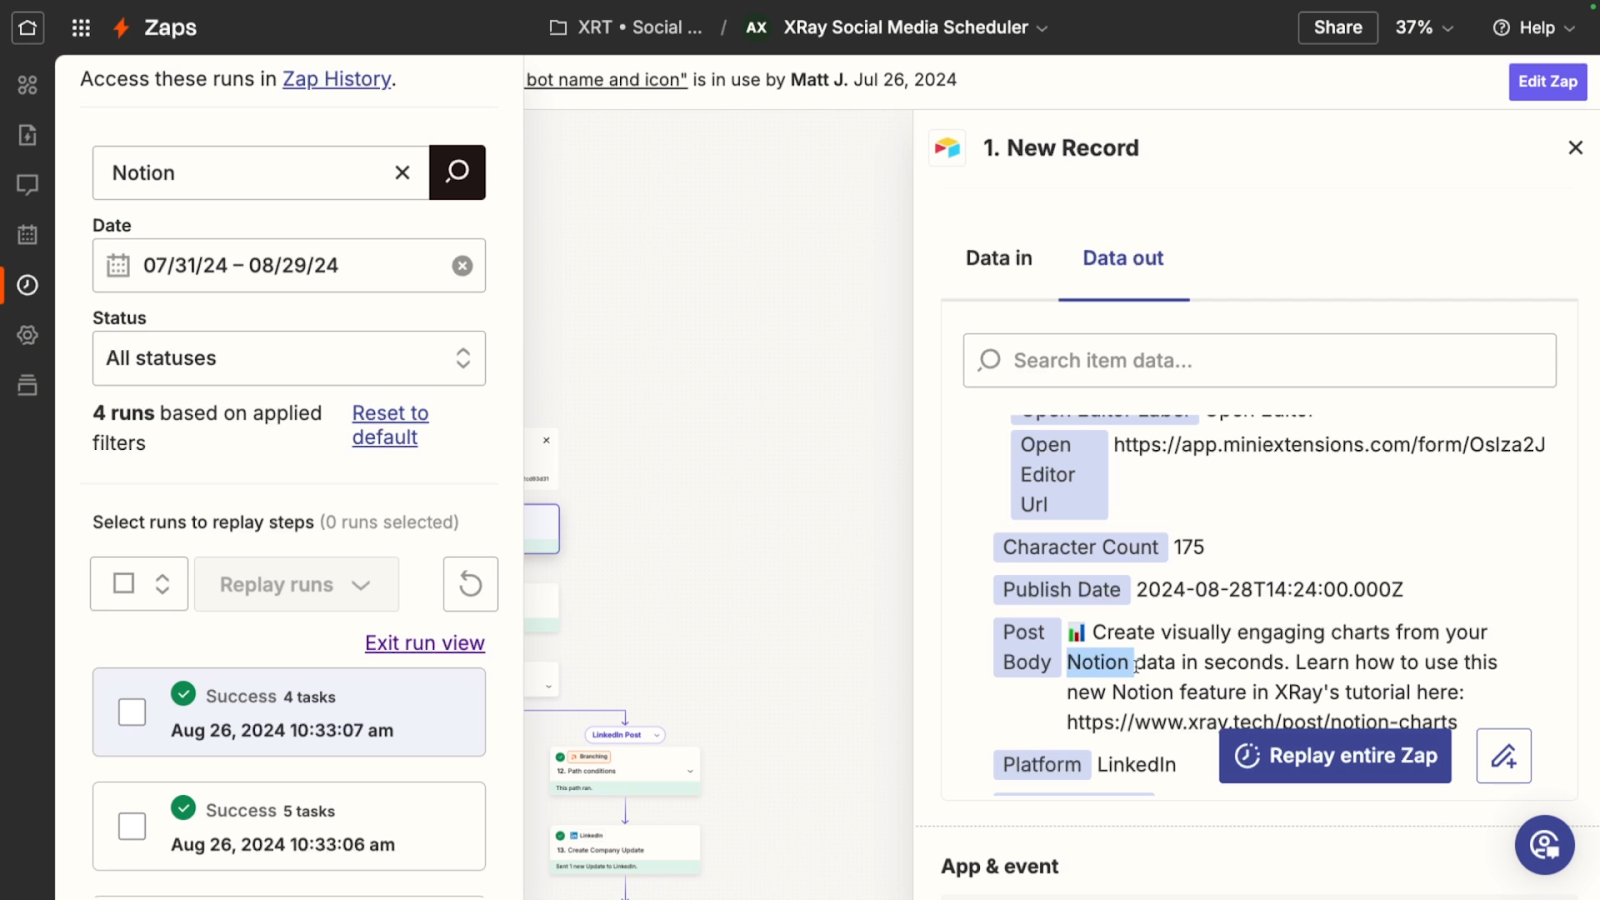
If you want to see Zap runs that are more than 30 days old, you’ll need to click on “Zap history” to see older records.
Advanced settings: flood protection, polling interval, and more
If you're a power user, the “Advanced settings” menu option lets you finally control several choices that you’ve probably been hoping to access for a long time.
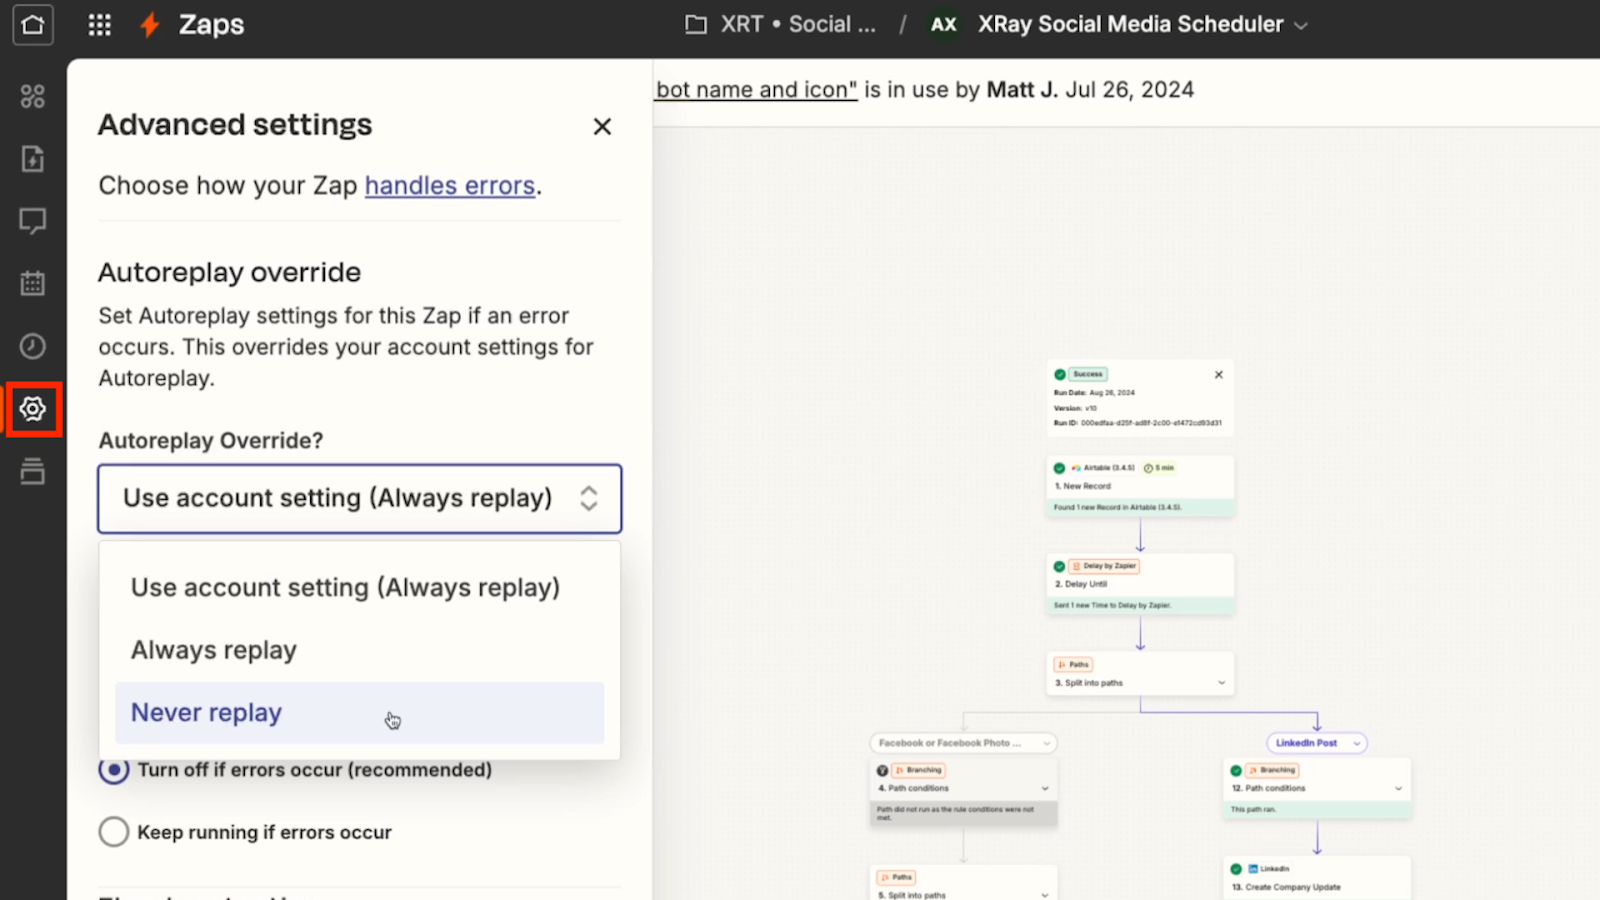
Autoreplay override
Your first choice here is “Autoreplay override”. This will let you choose whether or not the Zap should automatically replay errored runs.
15
Error ratio override
Next, you’ll see a choice for “Error ratio override”. By default, Zapier will automatically turn off any Zaps that encounter a high number of errors. It's usually best to leave this setting enabled, but sometimes you might have a mission-critical Zap that you want to keep running, even if one or two steps are having problems.
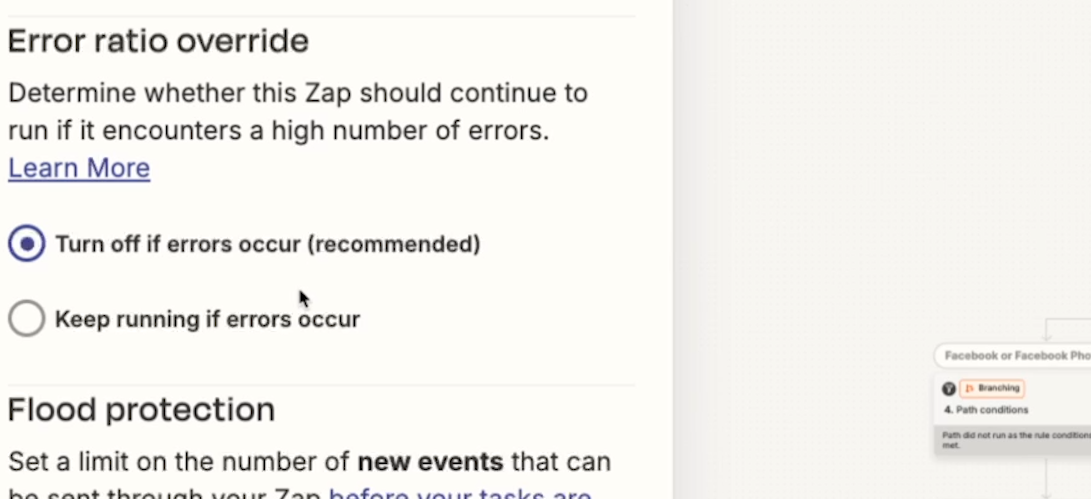
In that case, you can select “keep running if errors occur” to keep your Zap on, even when it keeps encountering errors.
However, we'd only recommend disabling the setting if you're closely monitoring your zaps, because you could end up wasting a lot of tasks or creating other problems by leaving zaps on when they're not working properly.
Flood protection
Flood protection lets you configure how many times the Zap can be triggered at once before it shuts down.
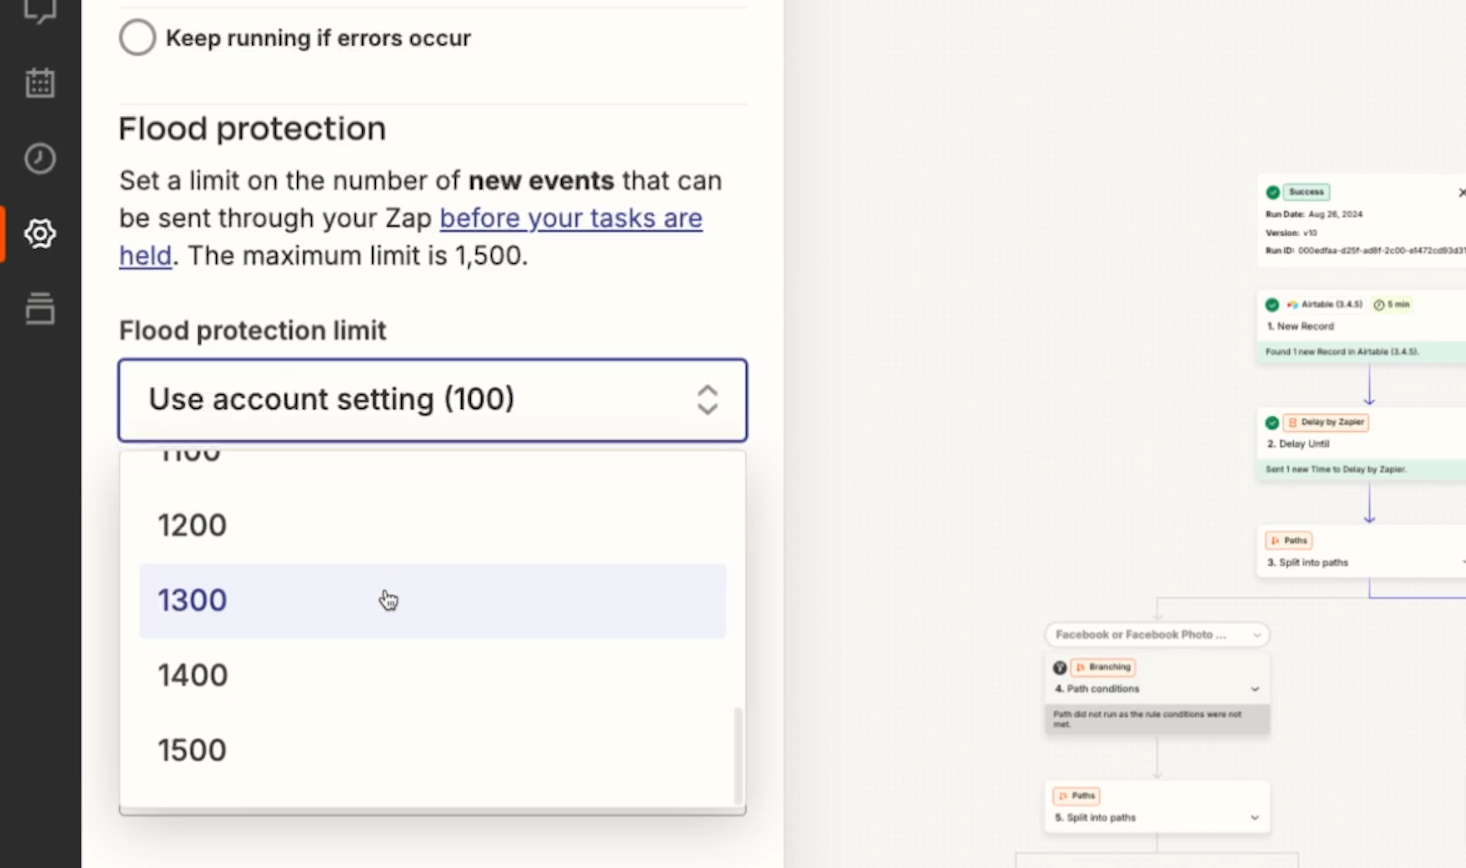
This setting is designed to make sure that you don't eat up all your plan’s tasks at once due to a setup error, like a misconfigured Zap that triggers on an infinite loop.
However, if you plan on processing large amounts of data at once with your Zap, you’ll probably want to configure this setting with a higher limit.
For instance, if you're using your Zap to execute a data migration and expect to process hundreds of records at a time, you’ll likely want to raise the flood protection limit to a higher setting.
Polling interval
The last choice under advanced settings is “Polling interval”.
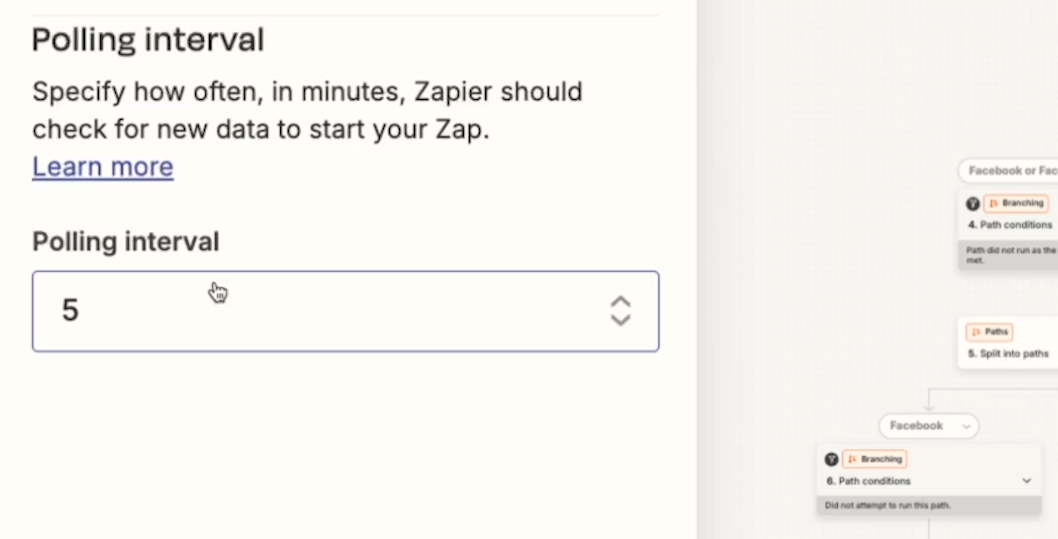
A Zap’s Polling Interval refers to how often Zapier will check for new data. Let’s say you have a Zap that runs whenever you get a new email in your inbox. With a polling interval of 10, Zapier will check your inbox for new messages every 10 minutes.
In many cases, you’ll want to set your polling interval as low as possible so you can run your Zaps and use their outputs quickly. However, to access the shortest intervals, you’ll need to have a higher subscription level.
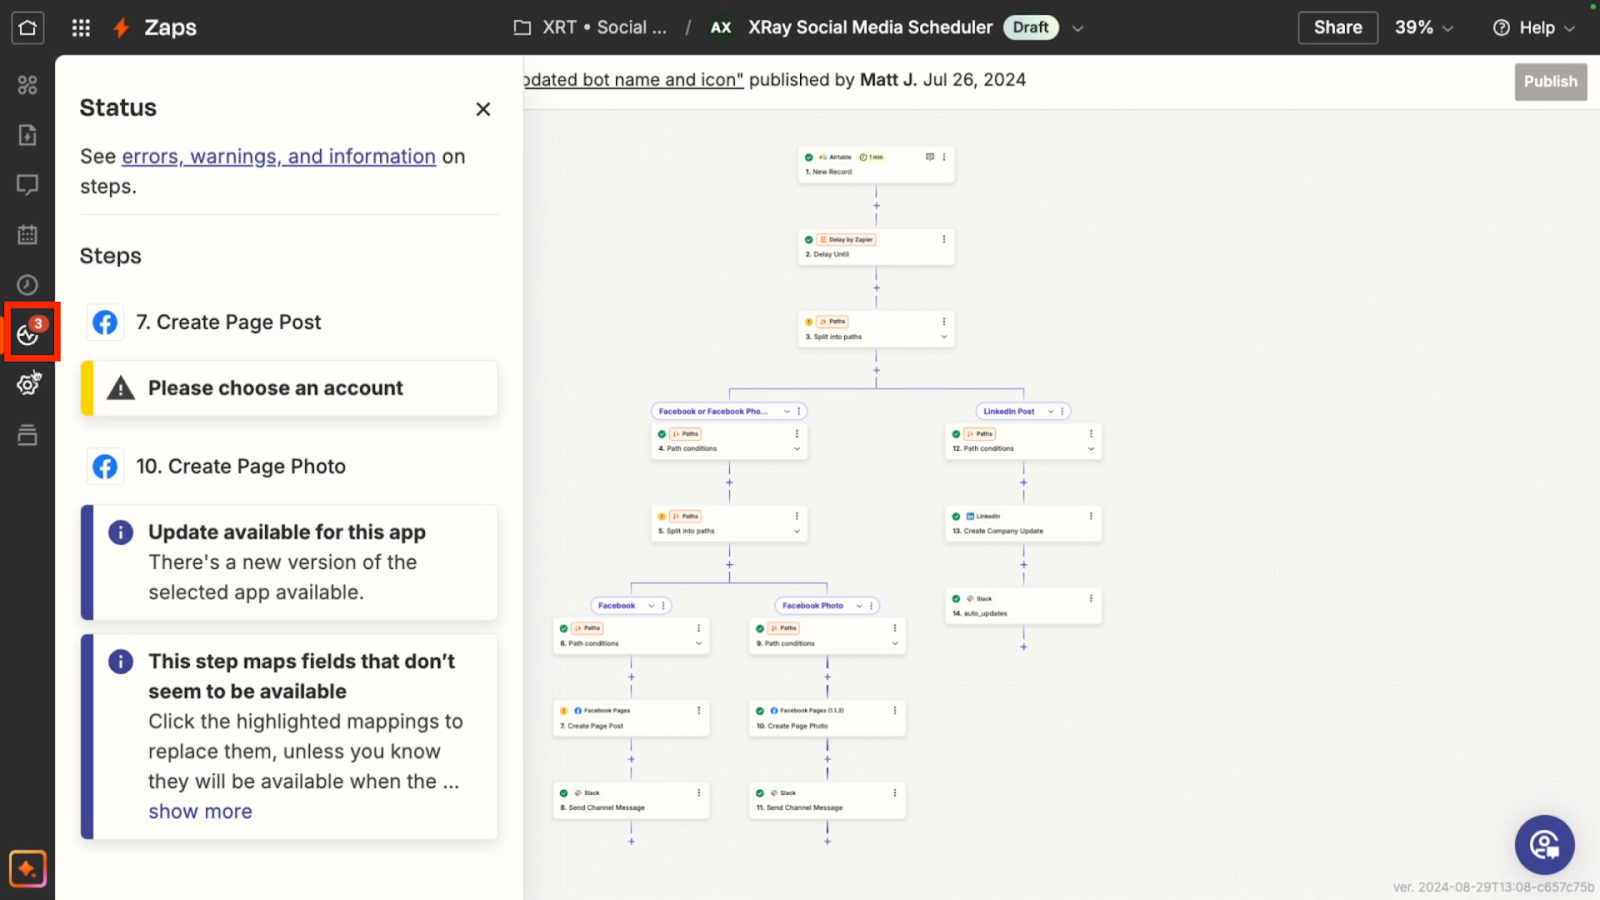
Status
If there are any outstanding alerts or warnings attached to your Zap, then you’ll see the Status icon on the left hand menu, along with the number of alerts.
Currently, the status icon isn’t visible if your Zap doesn’t have any active alerts, though we’re not sure if this is an error or intended behavior.
Status alerts will warn you about issues like errors in your Zap setup, or out-of-date integrations that are used in your Zap.
Just click on the status icon to learn more and start fixing the problems.
Versions
Last in the main menu selection, you’ll find “Versions”. Here, you can see every unique version of your app that you've saved since you initially created it.
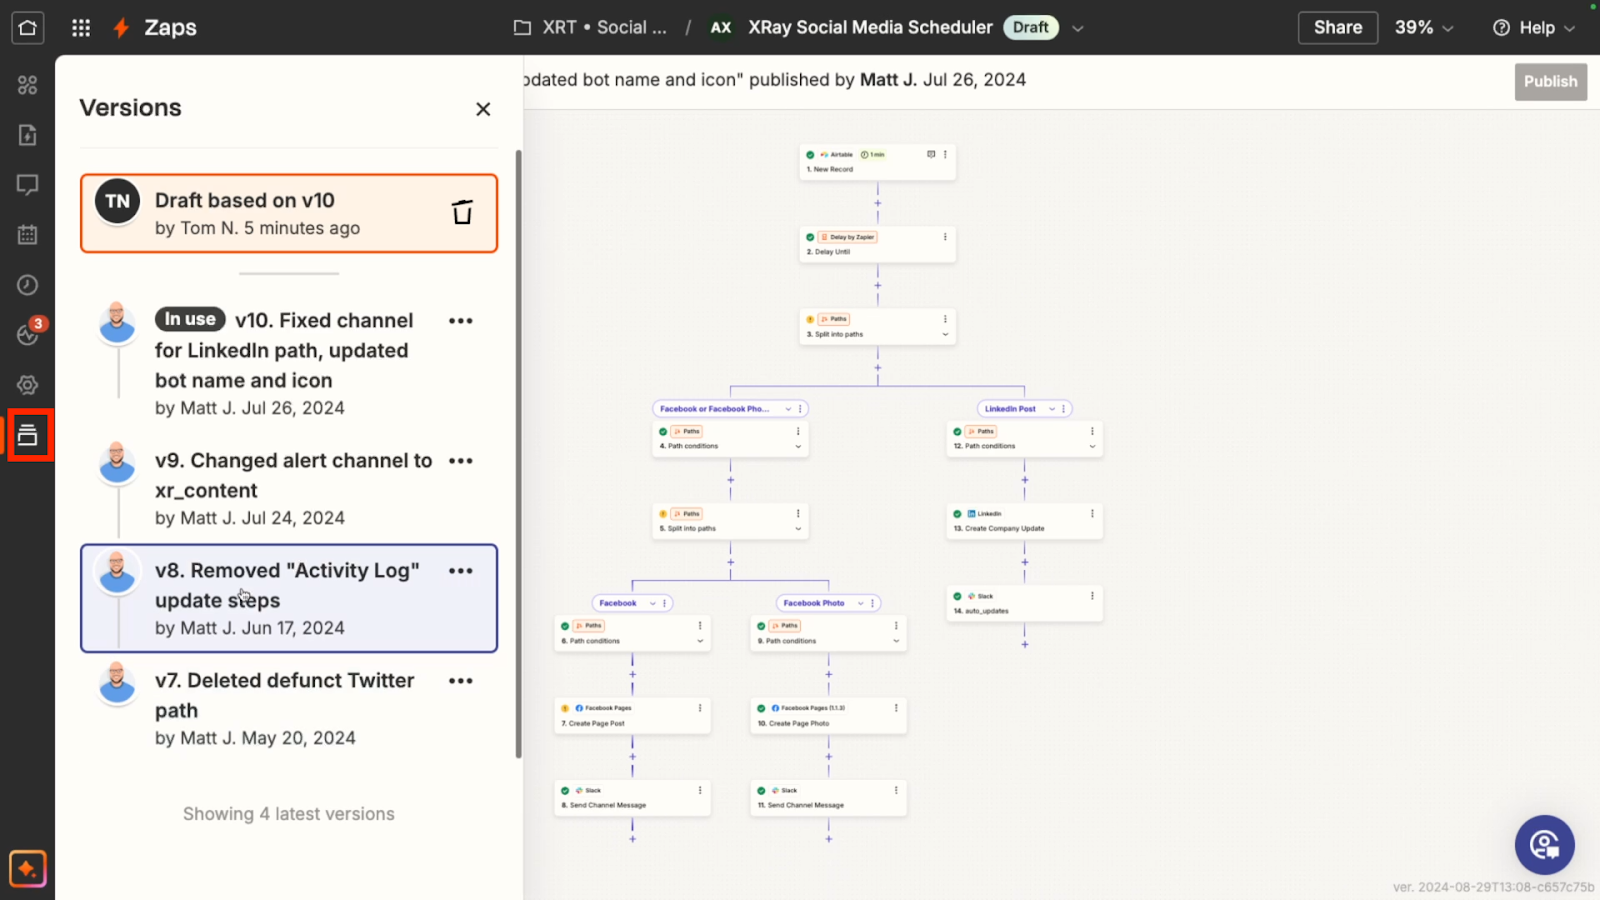
You’ll see every version that’s been published by you and your team, along with the version title (if any). From here, you can also roll back to any of these previous versions if you’d like to reverse a recent update.
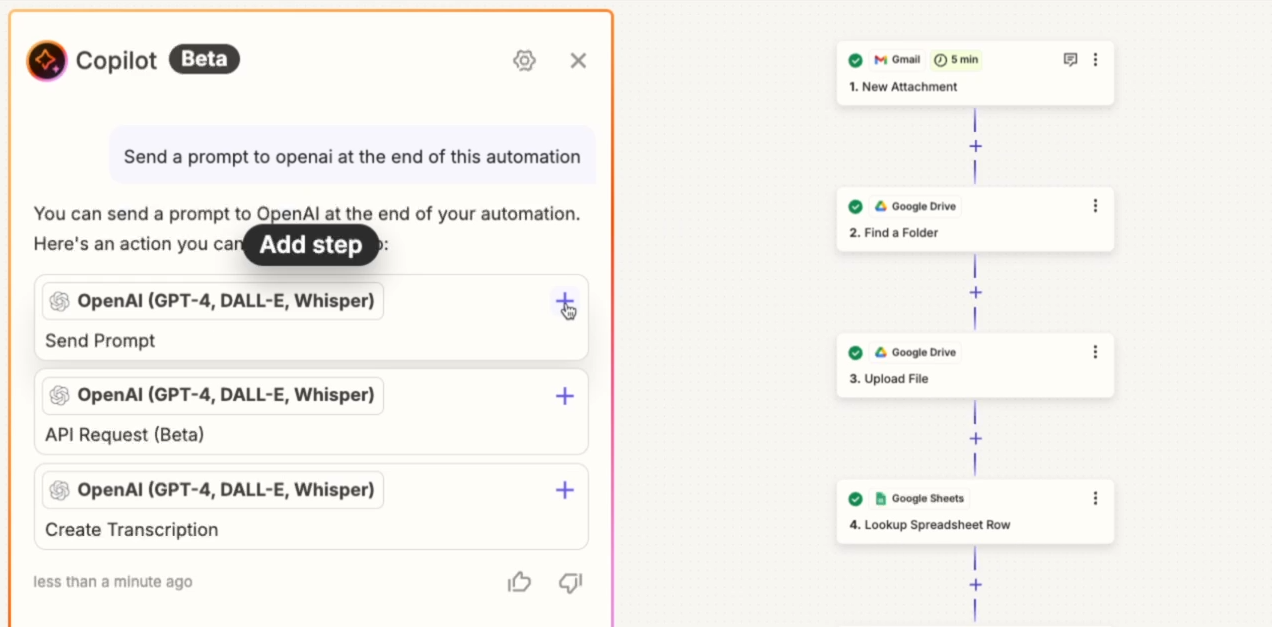
AI Copilot
Finally, at the bottom of the screen, beneath all the main menu items, you can find Zapier’s AI Copilot.
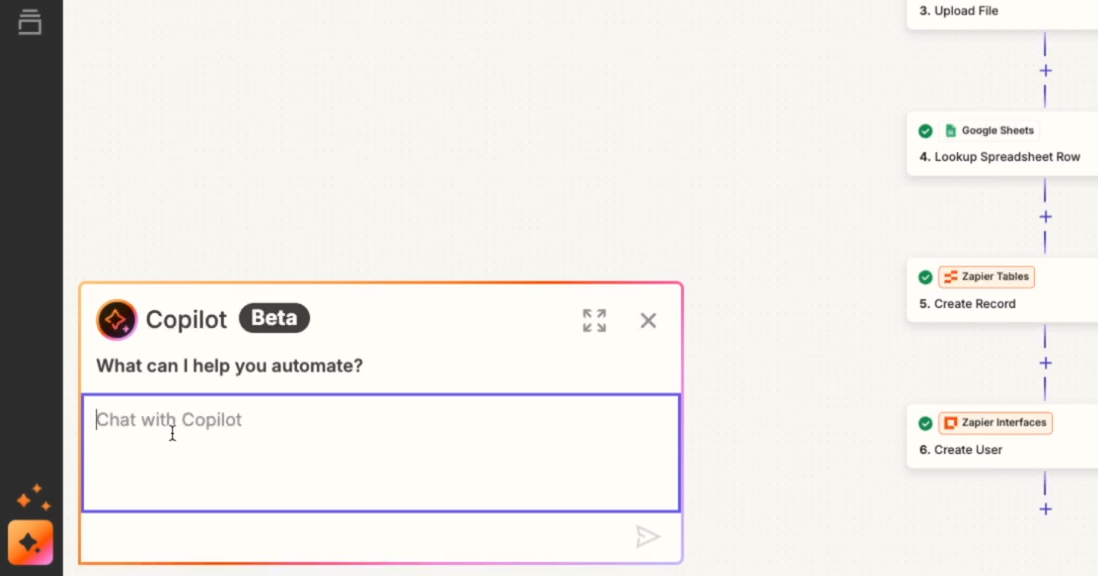
With the AI copilot, you can add steps to your Zap by simply describing what you want to build. The copilot won’t be able to configure your steps in full (at least for now), but it will at least be able to choose the right apps and actions and add them to your automation.
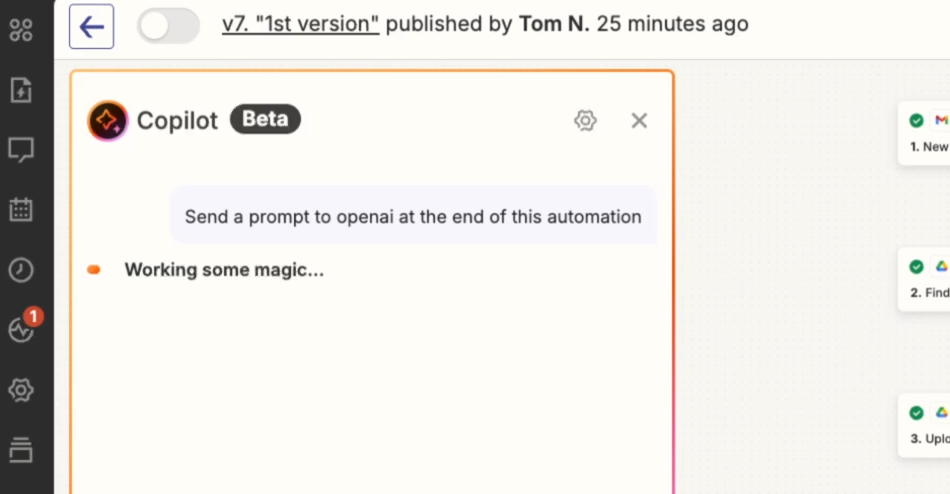
It’s typically most useful when you’re starting a new Zap. By just typing a few quick sentences, you can get the copilot to set up a good starting point for your automation.
Get the most out of your Zaps with these advanced settings
Zapier is constantly making updates to their platform. While a lot of these are pretty inconsequential, like the ever changing style of the UI, some of them can actually be pretty important.
If you're a zap your power user, be sure to check out the new options for managing your zaps right inside the Zap builder. The advanced settings specifically will finally give you the control you've been longing for.
If you’d like to learn more about automating your work with Zapier, Make, and other software, be sure to check out our blog or our YouTube channel. You can also follow XRay on Twitter, Facebook, or LinkedIn.