Oops! Something went wrong while submitting the form.
Understanding Automation
Zapier
How the Best Partner Teams Run Ops on a Fraction of the Budget
Most partner teams overspend on software and underdeliver on results. Here's how Zapier connects your CRM, PRM, and chat tools for a fraction of the cost.
Tutorial
AI
N8N
Build an n8n AI Agent in Under 10 Minutes
AI agents in n8n can automate your repetitive tasks in minutes. In this tutorial, we’ll show you how to create your first AI agent.
News and Updates
Understanding Automation
Zapier
Zapier's AI Makeover
Zapier isn't just Zaps anymore. It's got agents and MCP servers connected to over 8,000 integrations. In this post, we'll give you the full rundown of Zapier's AI features.
Understanding Automation
AI
Zapier
Airtable
How to Build Safe, Scalable AI Workflows for Your Team
Everyone wants AI working inside their company, but most struggle set it up correctly. In this post, we'll walk you through a real workflow example — safe, scalable, and zero code required.
The XRAY Method
Understanding Automation
No items found.
Not every workflow needs AI. Here's how to tell.
AI doesn't belong in every step of your workflows. Learn when to use AI vs. programmatic automation with a simple 3-question framework that saves you time and money.
News and Updates
PayJunction
Stop Absorbing Credit Card Fees with PayJunction's SmartSurcharge™
Credit card fees are eating your profits. But there's now a compliant, integrated way to offset nearly 100% of those costs without alienating your customers or overhauling your systems.
The XRAY Method
Understanding Automation
Zapier
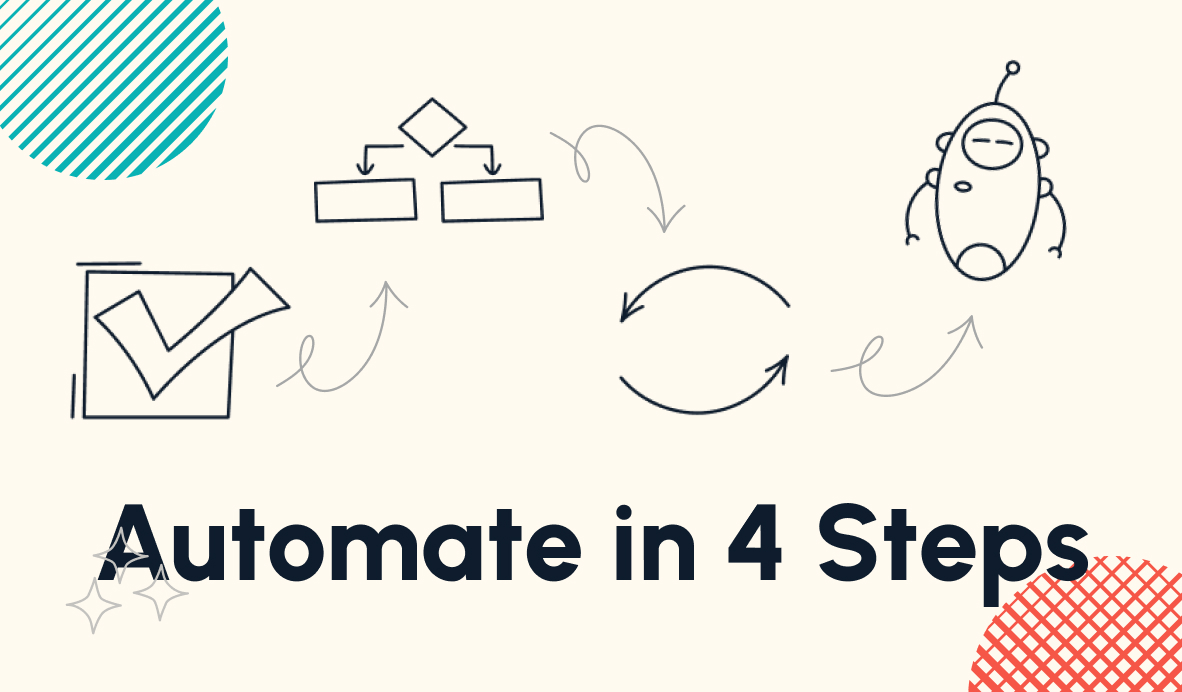
How To Turn Any Process Into a Workflow You Can Delegate or Automate
Wasting on your time on repetitive tasks isn't hustle; it's just holding your business back. We'll show you how to automate or delegate the work that's eating up your time in 4 easy steps.
News and Updates
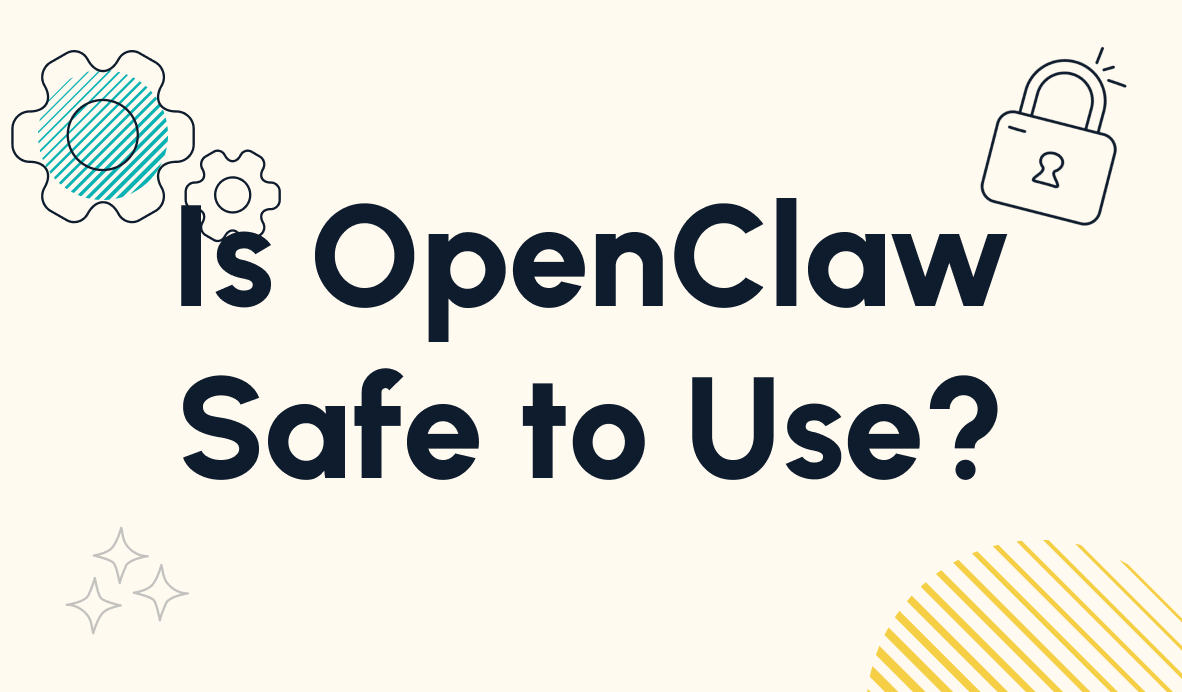
OpenClaw
OpenClaw: Understanding the Possibilities and the Risk
OpenClaw's free, powerful AI agents have the internet buzzing, but security experts are raising alarms. Here's what you should know about the latest name in AI before downloading.
Tutorial
News and Updates
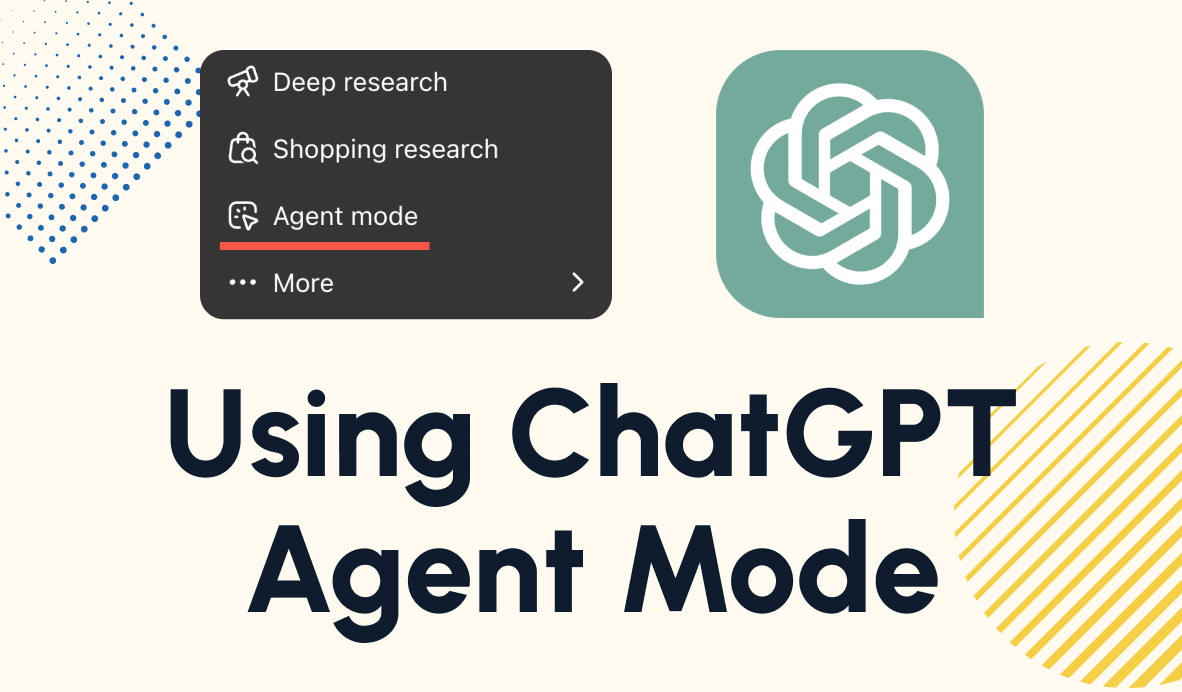
ChatGPT
ChatGPT Can Now Click, Download, and Browse the Web For You
Agent Mode lets ChatGPT see and analyze images, click buttons, fill out forms, and do your work for you as it browses the web. Here's how it works.