Save Time Building Zaps or Share Your Automations with Zapier Templates
Get a head start on your Zaps or share your automations with the world through Zapier templates. In this tutorial, we’ll show you how to get started.
May 13, 2024
Creating an automation from scratch with Zapier’s visual editor is pretty simple and straightforward.
But did you know that there’s an easy way to get a headstart?
In this post, we’ll show you two ways to create, share, and use automation templates in Zapier.
We’ll start by explaining the two different types of Zap templates that are available, and we’ll break down their pros and cons.
Then, we’ll give you detailed walkthroughs for building, sharing, and using both template types.
Simple Templates vs. Developer Templates
Before we begin creating templates, it’s important to understand that there are actually two different types of templates that are available in Zapier.
When a user copies a Simple template, the app and event for each step will be pre-selected. However, none of the settings within each step will be configured. Instead, each field and option will revert to its default state.
With developer templates, every setting that’s specified in the template will be pre-configured for users. Each variable, text, and option chosen in the template will be preserved when a user copies the template to their workspace.
Simple templates can be easily created by any Zapier user and shared with anyone on the web. On the other hand, developer templates are primarily intended for developers who have built integrations for their software on Zapier (e.g., a Google Docs dev would create these templates for Google Docs).
Neither simple templates nor developer templates support branching paths.
Note: the terms “simple templates” and “developer templates” are not official; we’re just using them here for clarity.
Duplicating Zaps for internal templates
If you’d like to create a template for internal use only, then we’d recommend creating a normal Zap, sharing it with your team, and duplicating it.
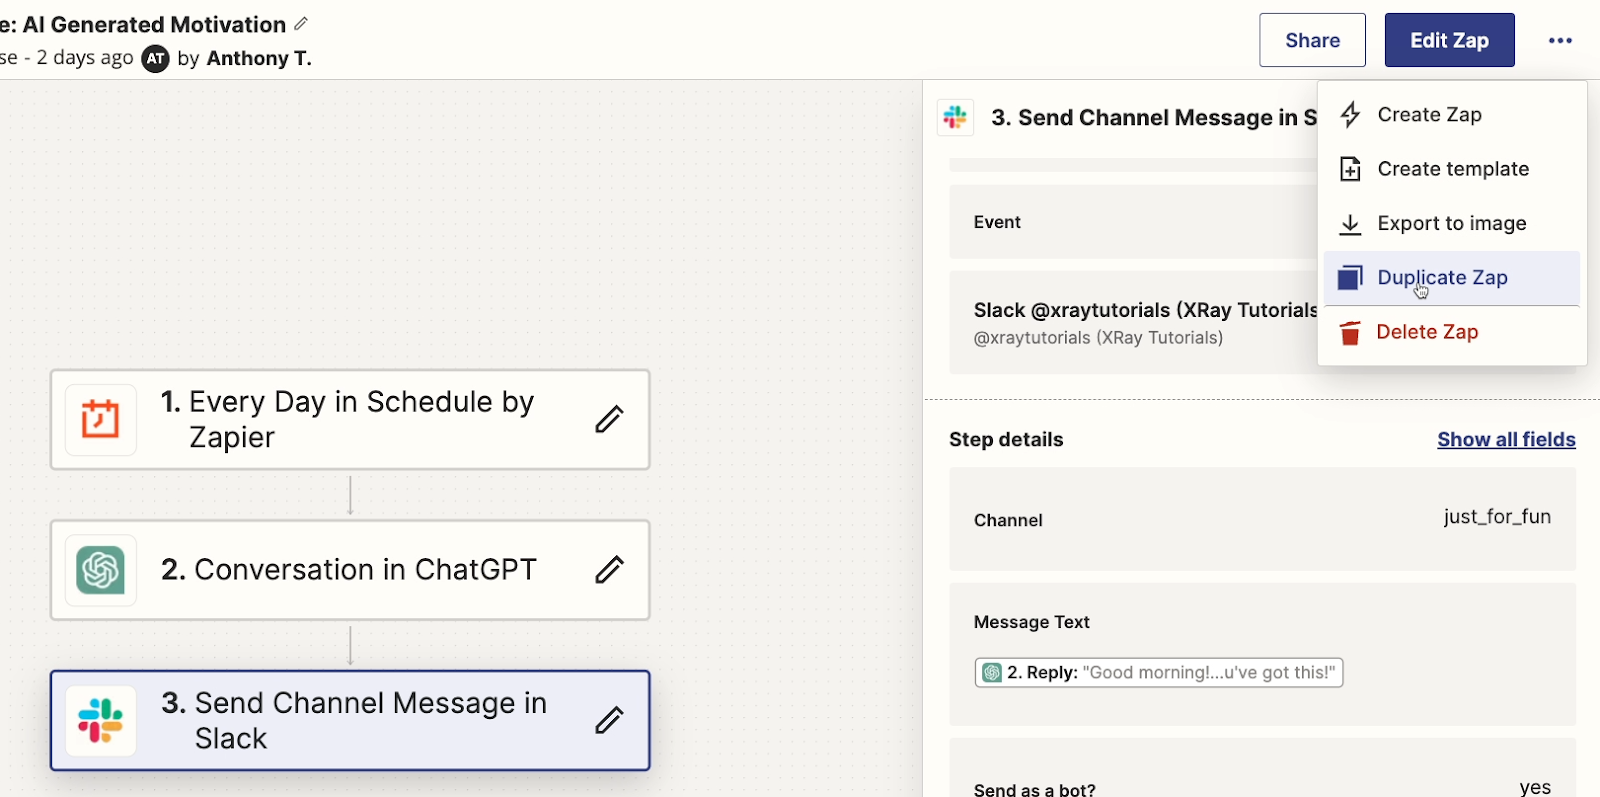
When you duplicate a Zap, every action will be replicated and configured in its entirety - paths included.
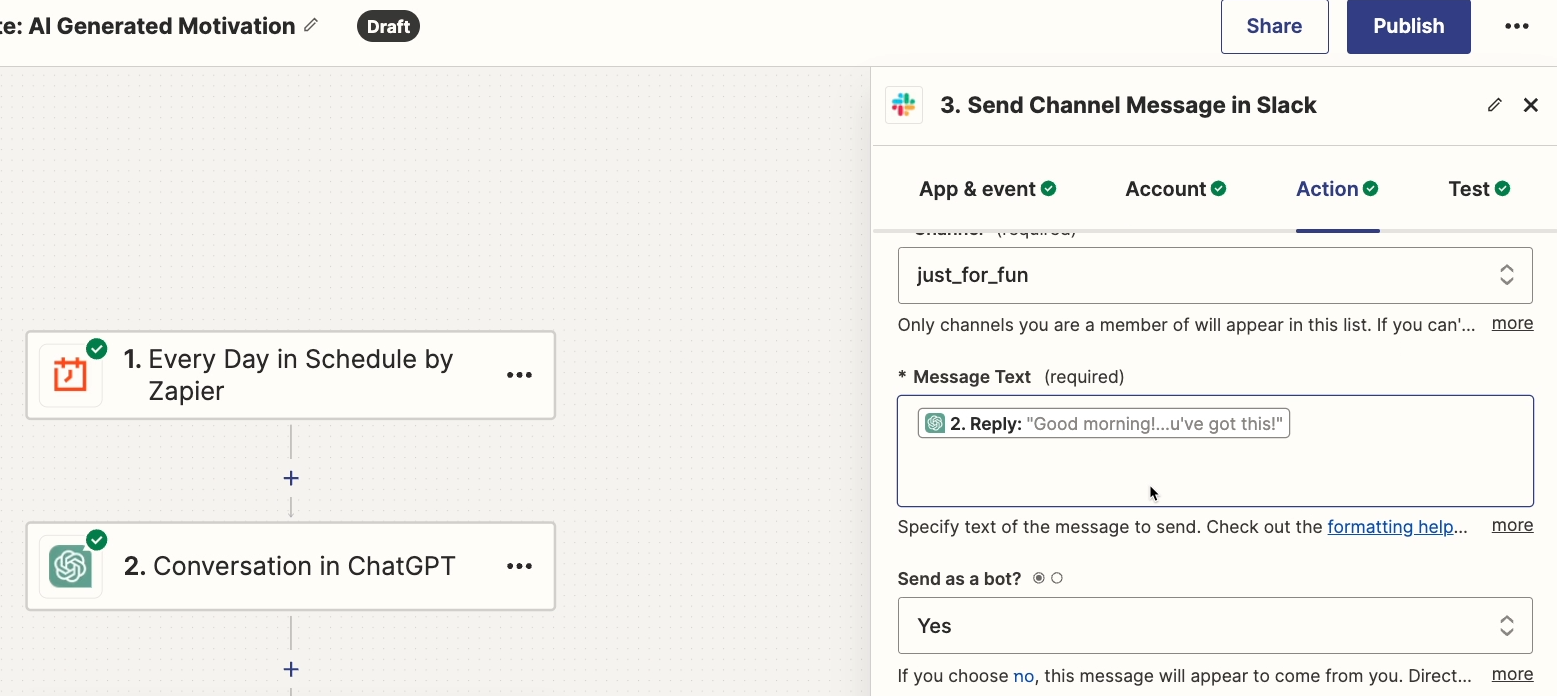
However, users outside of your workspace will not be able to directly duplicate your Zaps.
JSON Exports/Imports
Zapier users on the “Team” plan or higher can also share and duplicate Zaps by exporting and importing JSON files for each Zap.
However, if you’re not using a team plan and still want to get a head start on your Zaps, then you’ll need to use either simple templates or developer templates.
Creating a simple template in Zapier
To make a simple Zapier template, you’ll need a finished Zap that you want to turn into a template.
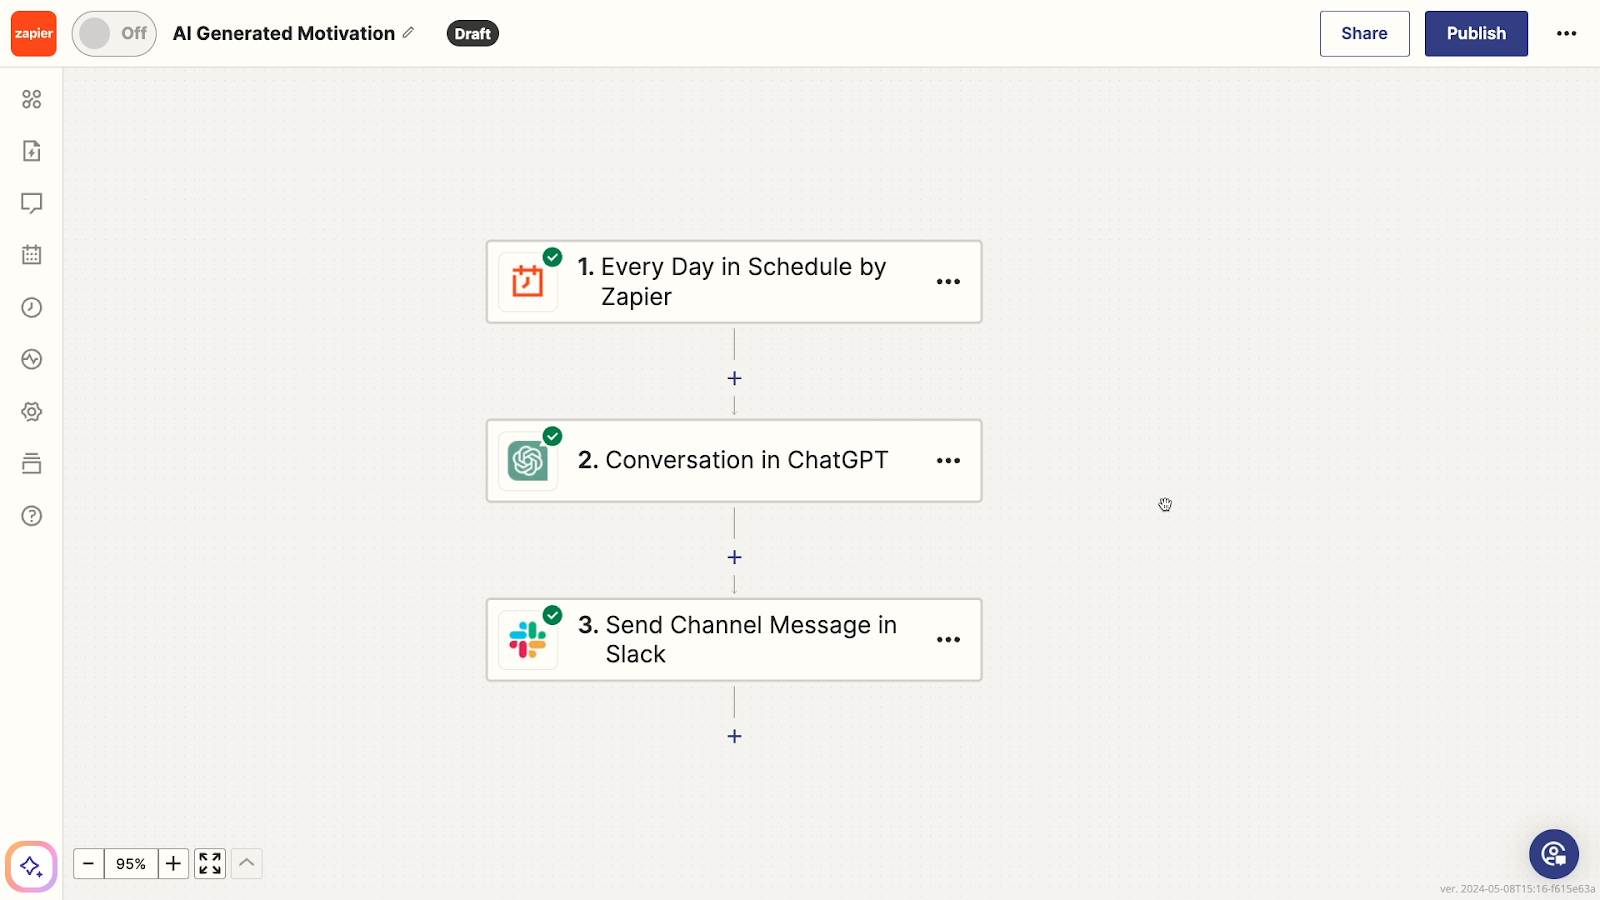
For example, the finished Zap pictured above sends an AI-generated motivational message in Slack every weekday.
You can create a template from either the Zaps menu, or from the visual editor.
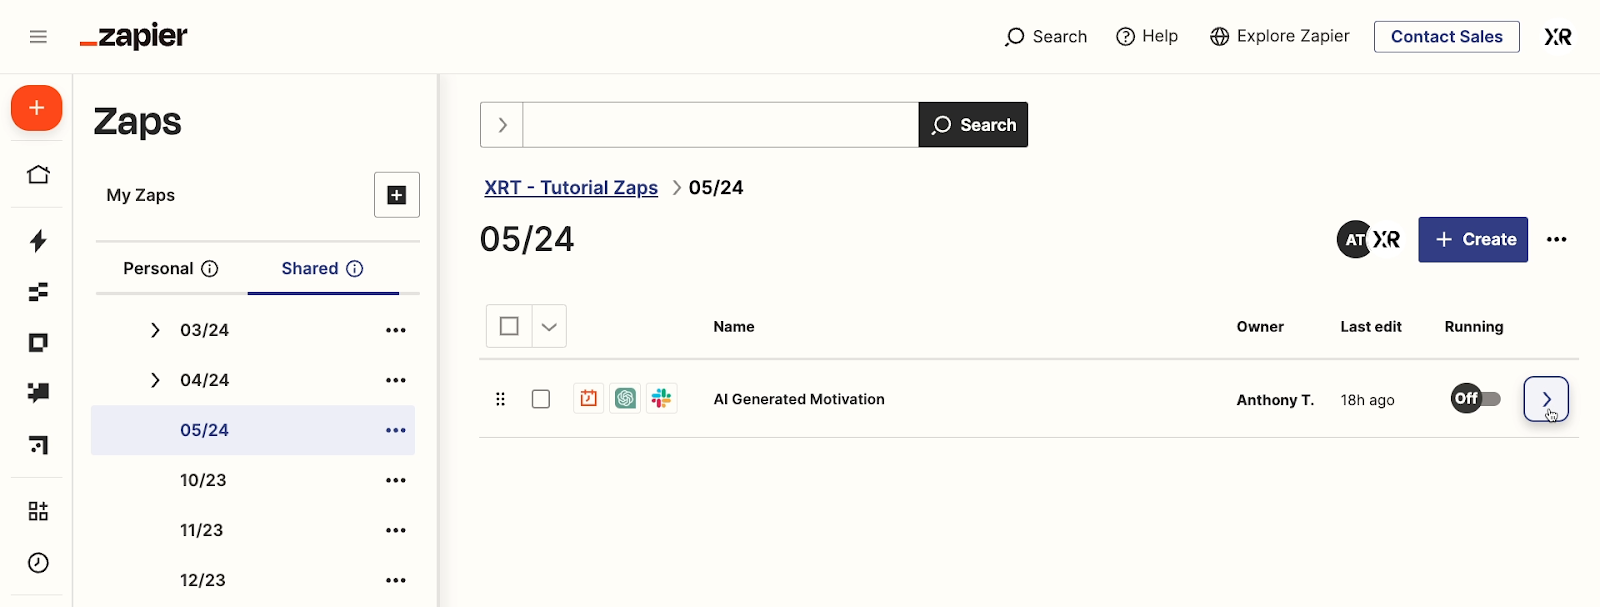
From the Zaps menu, just click on the arrow next to your Zap’s name, then select “Share Template”.
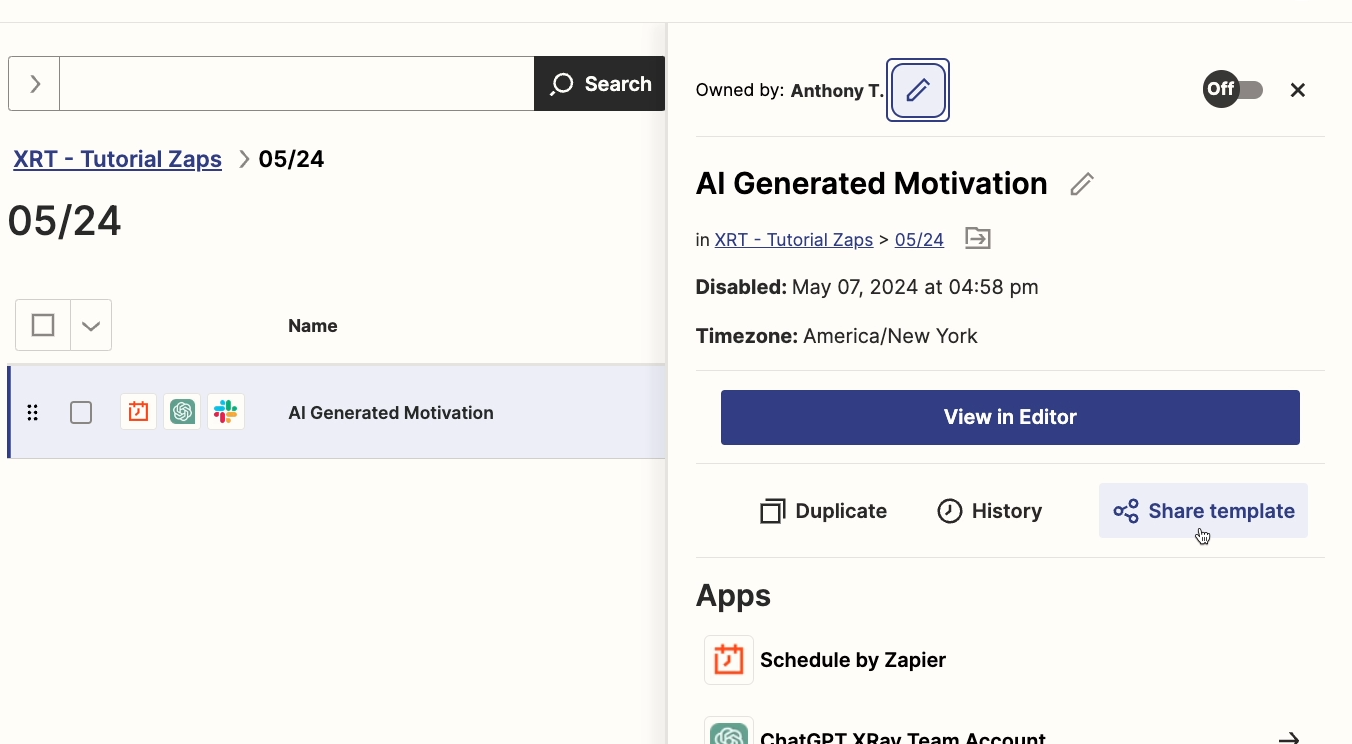
Alternatively, from the visual editor, you can select the three dots in the top right hand corner.

Then, choose “Create Template”.
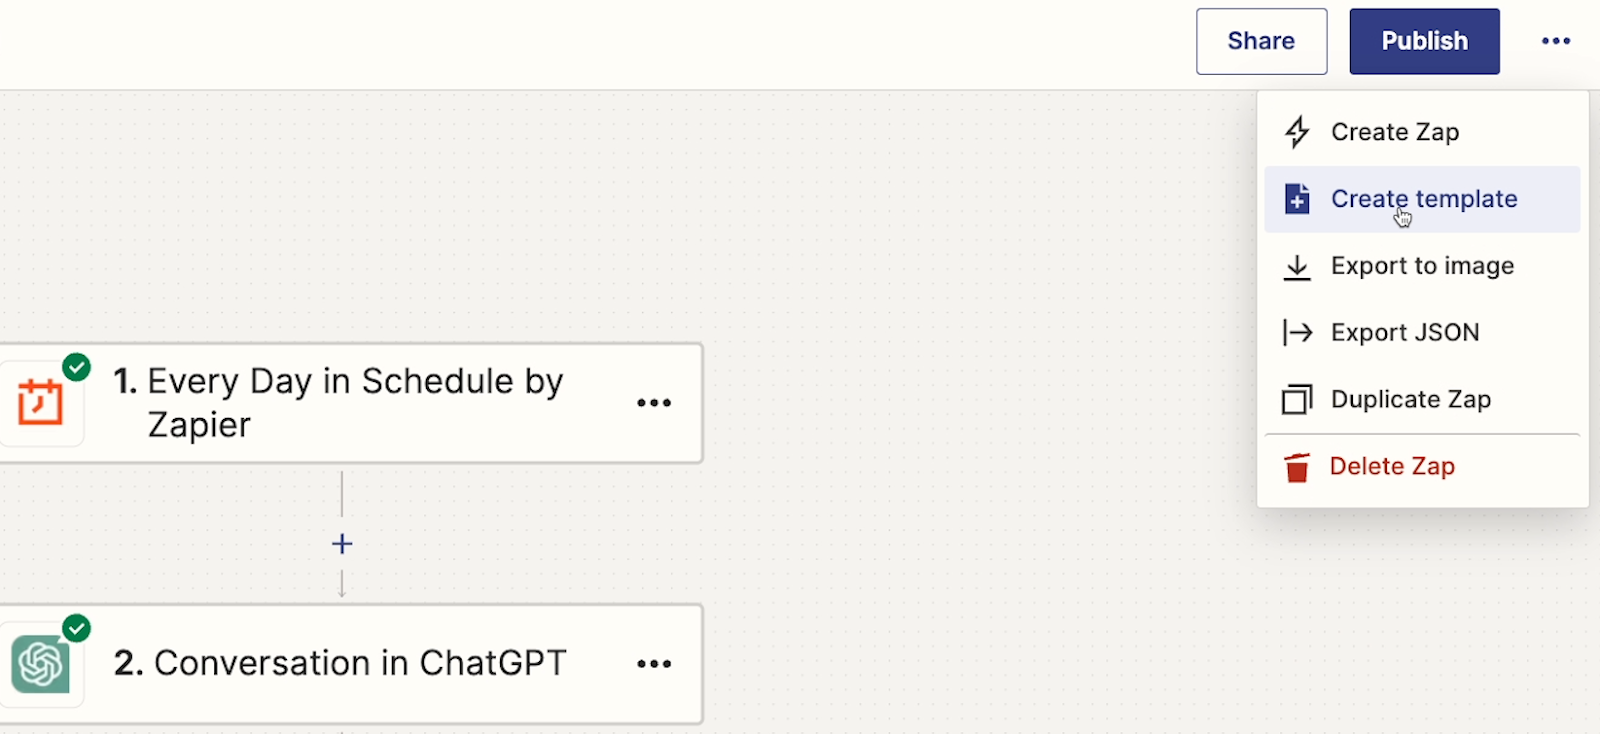
Both of these options will lead you to the same simple template builder.
Adding a title and description to your simple template
Once you’ve opened the template builder, all you have to do is give your template a title and a description. By default, the template will use your Zap’s title, and Zapier will provide a description that summarizes each app and action.
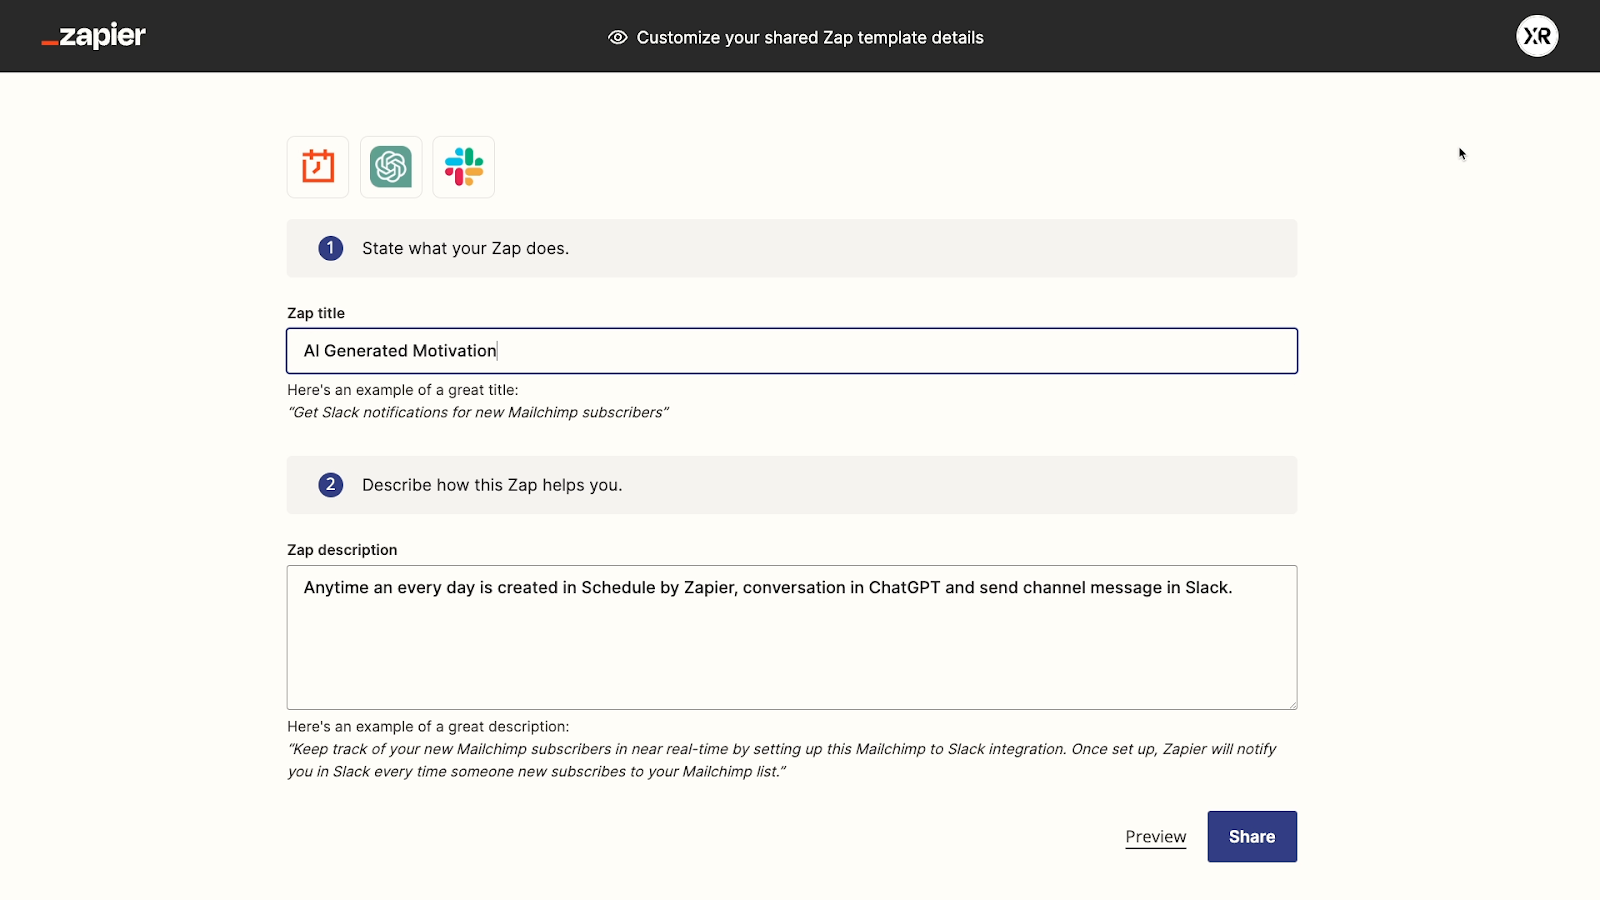
It’s best to make sure you describe the apps and actions involved in your template. You may also want to suggest a use case for this automation to give more context.
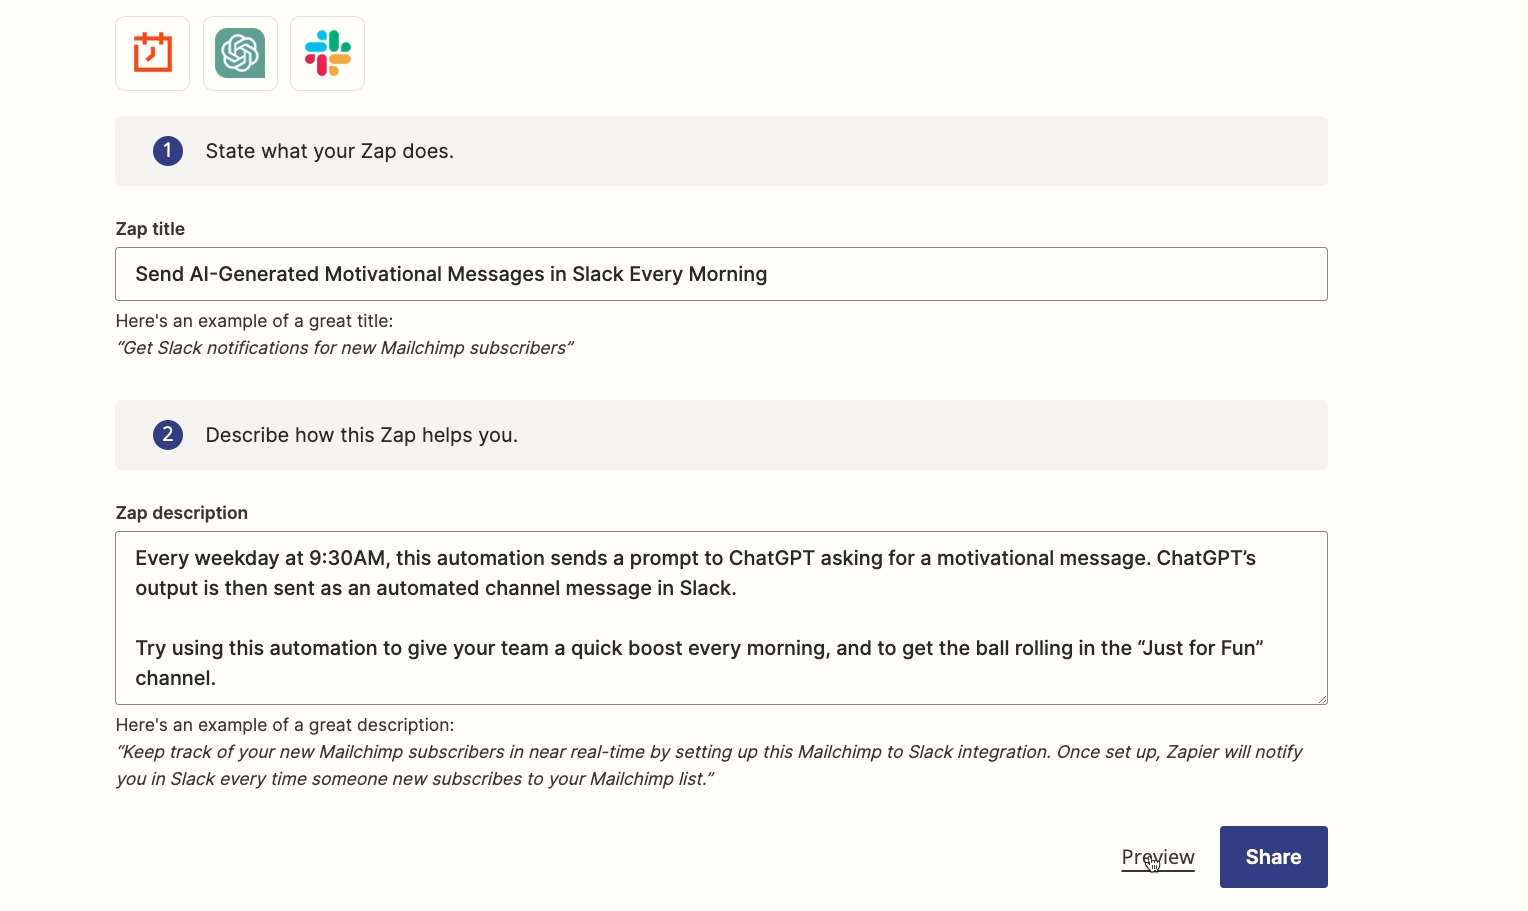
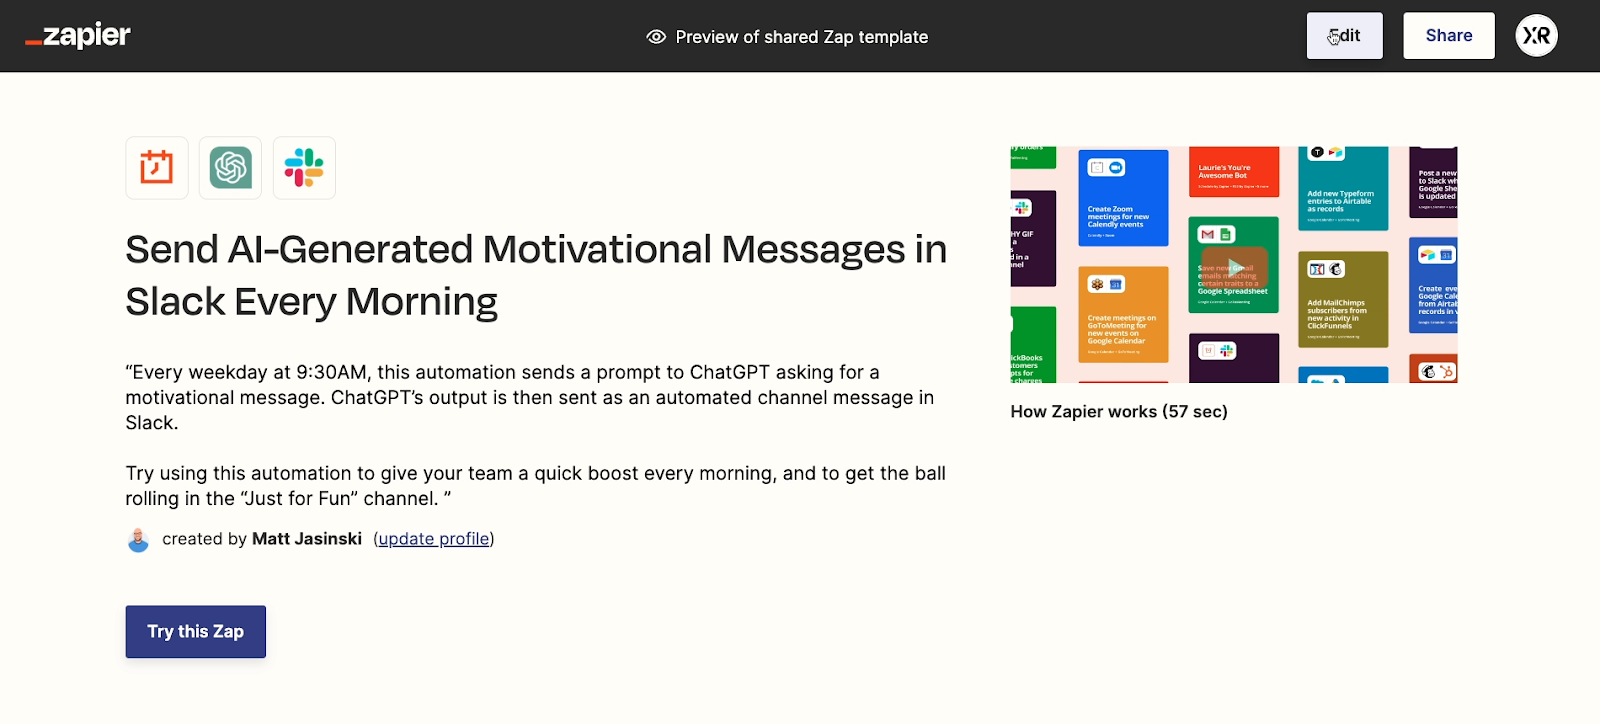
After you’ve drafted your title and description, you can click “Preview” to see what the finished template will look like to other users.
If you’d like to make any changes, just click on “Edit” to go back to the template builder page.
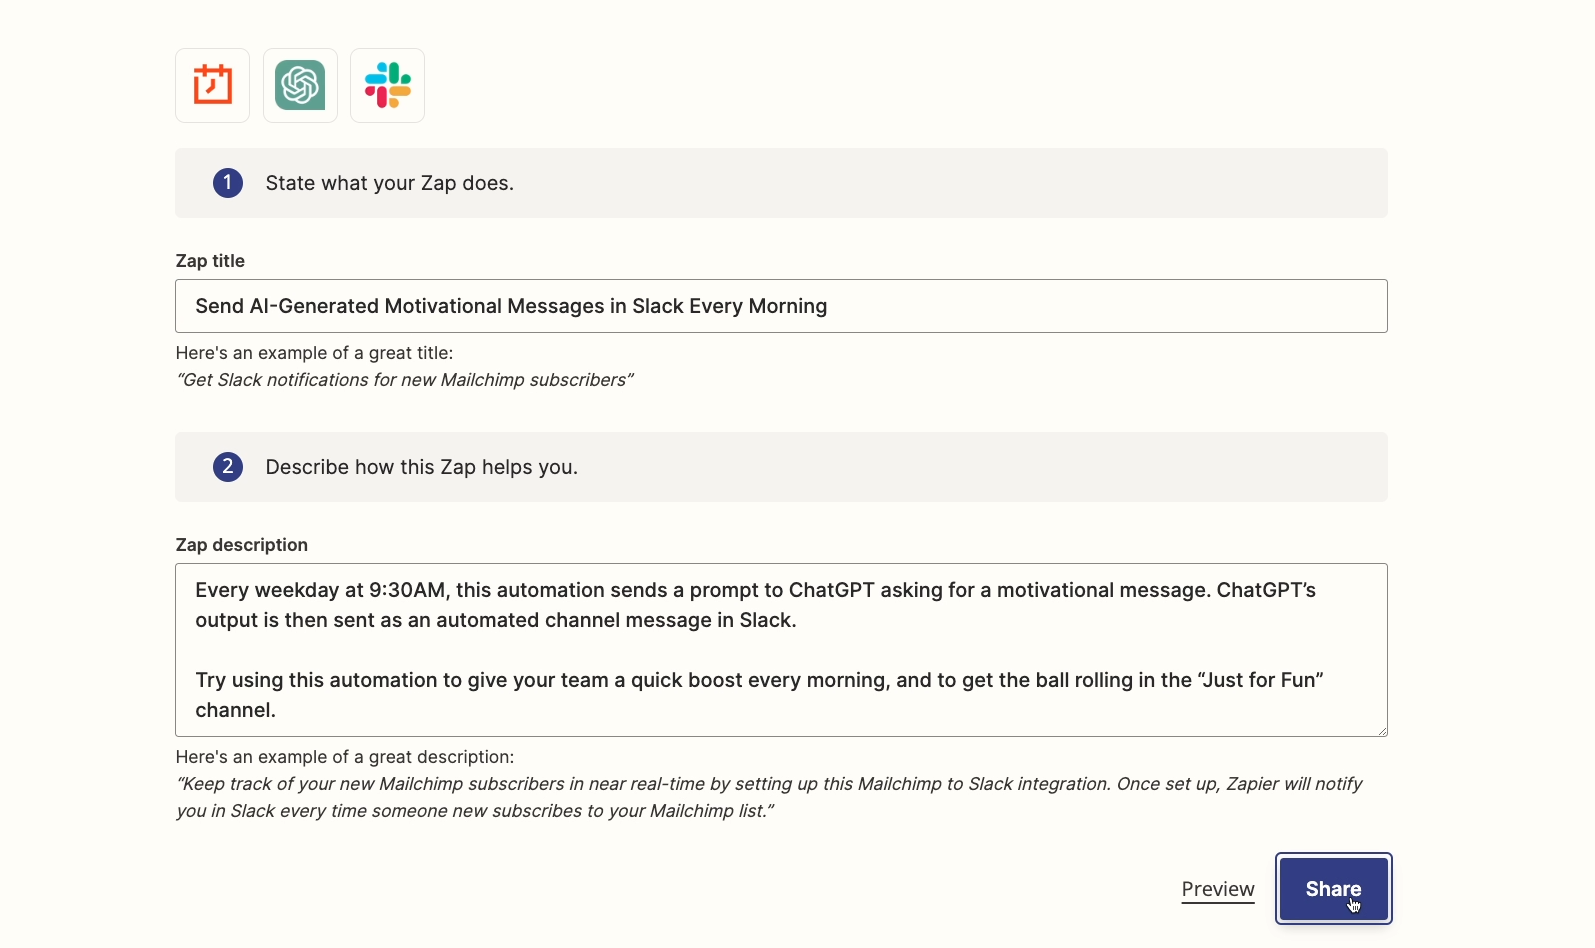
Once it’s all set, click “Share” to publish your template.
Zapier template sharing settings
Once you click “share”, a window will pop up where you can copy the link to your template and adjust the template’s visibility.
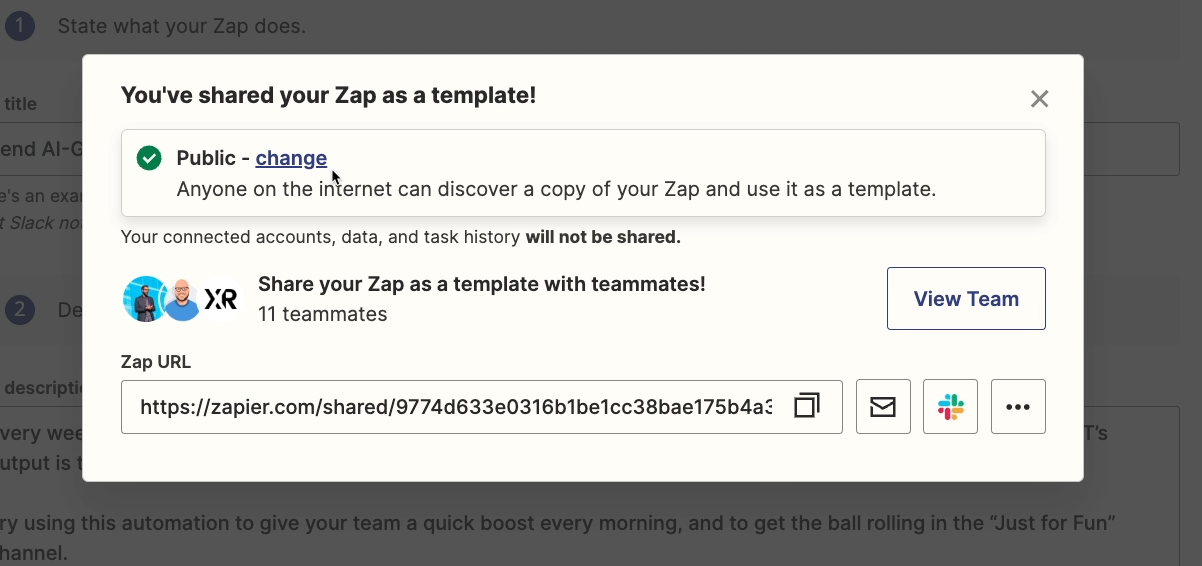
Click on “change” to choose who can see and copy your template.
You can select:
• Publicly shared, to share the template with anyone on the web.
• Anyone with the link, to ensure that only people who have the link will find your template.
• Only your team, to limit access to other users in your Zapier workspace.
Although as noted earlier, it’s usually best to duplicate normal Zaps if you want to create a template for internal use.
• Turn off, which you can select to stop sharing the template.
Copying and using a simple template in Zapier
Now let’s explore the process of copying a Zapier template. Begin by copying the link to one of our example templates in this resources board, or any other publicly accessible template.
Paste the template into your browser.
The link will open up a template page, where you can see the template’s custom title and description up top. Note that you’ll also see the profile picture of the person who built this Zap.
To copy the Zap, click on “Try this Zap”.
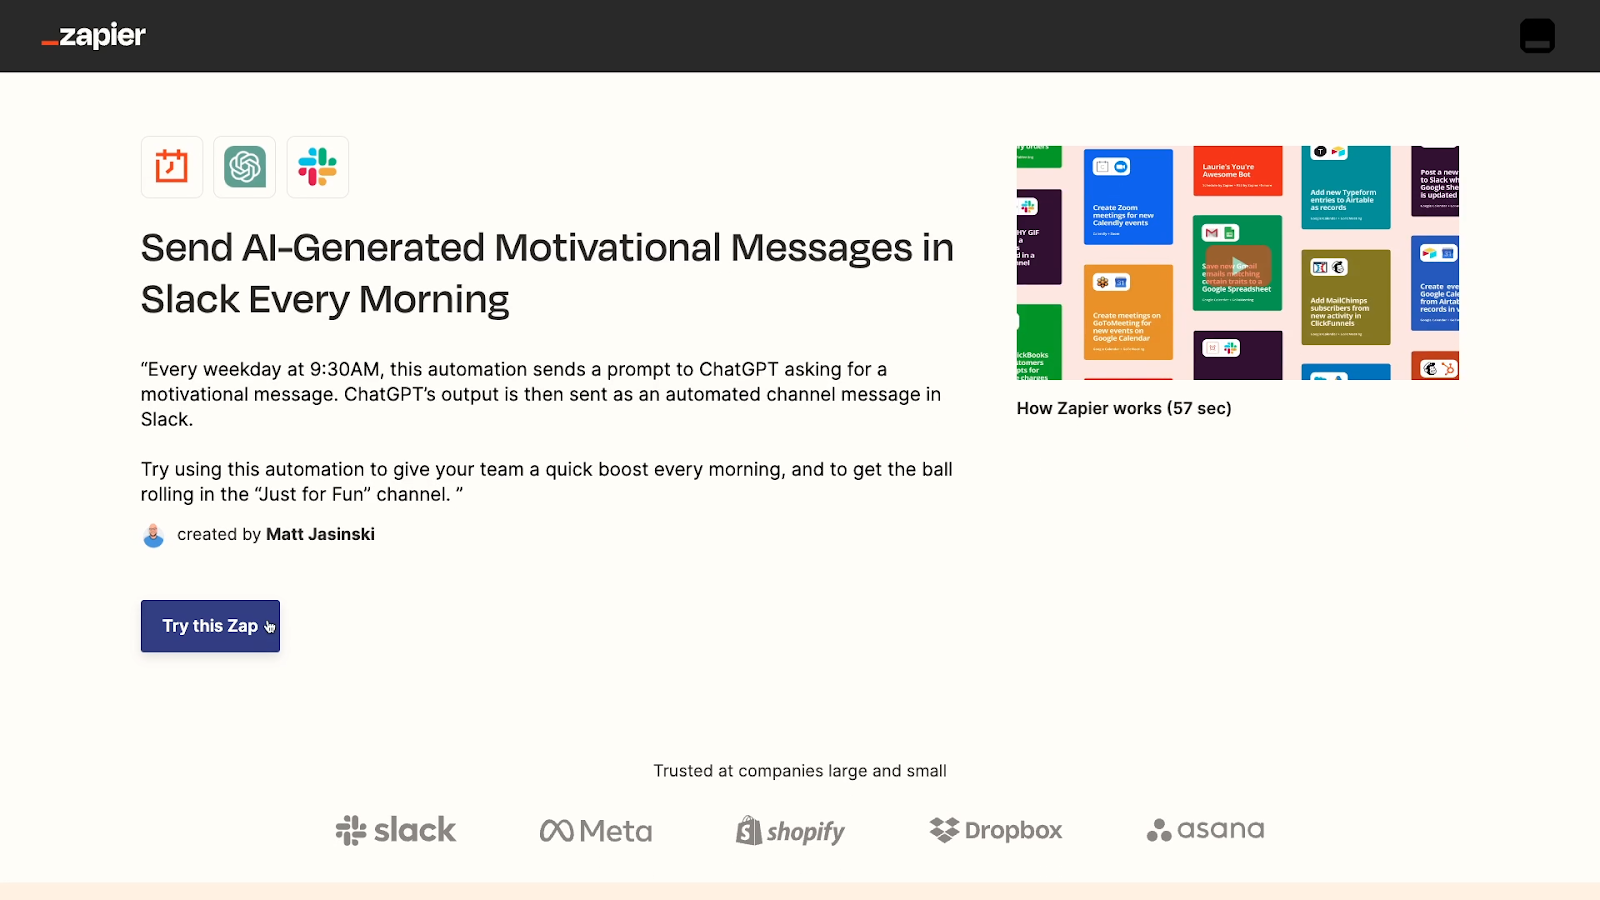
The Zap will immediately be copied to your Zapier account. The correct apps and actions will be pre-selected for each step.
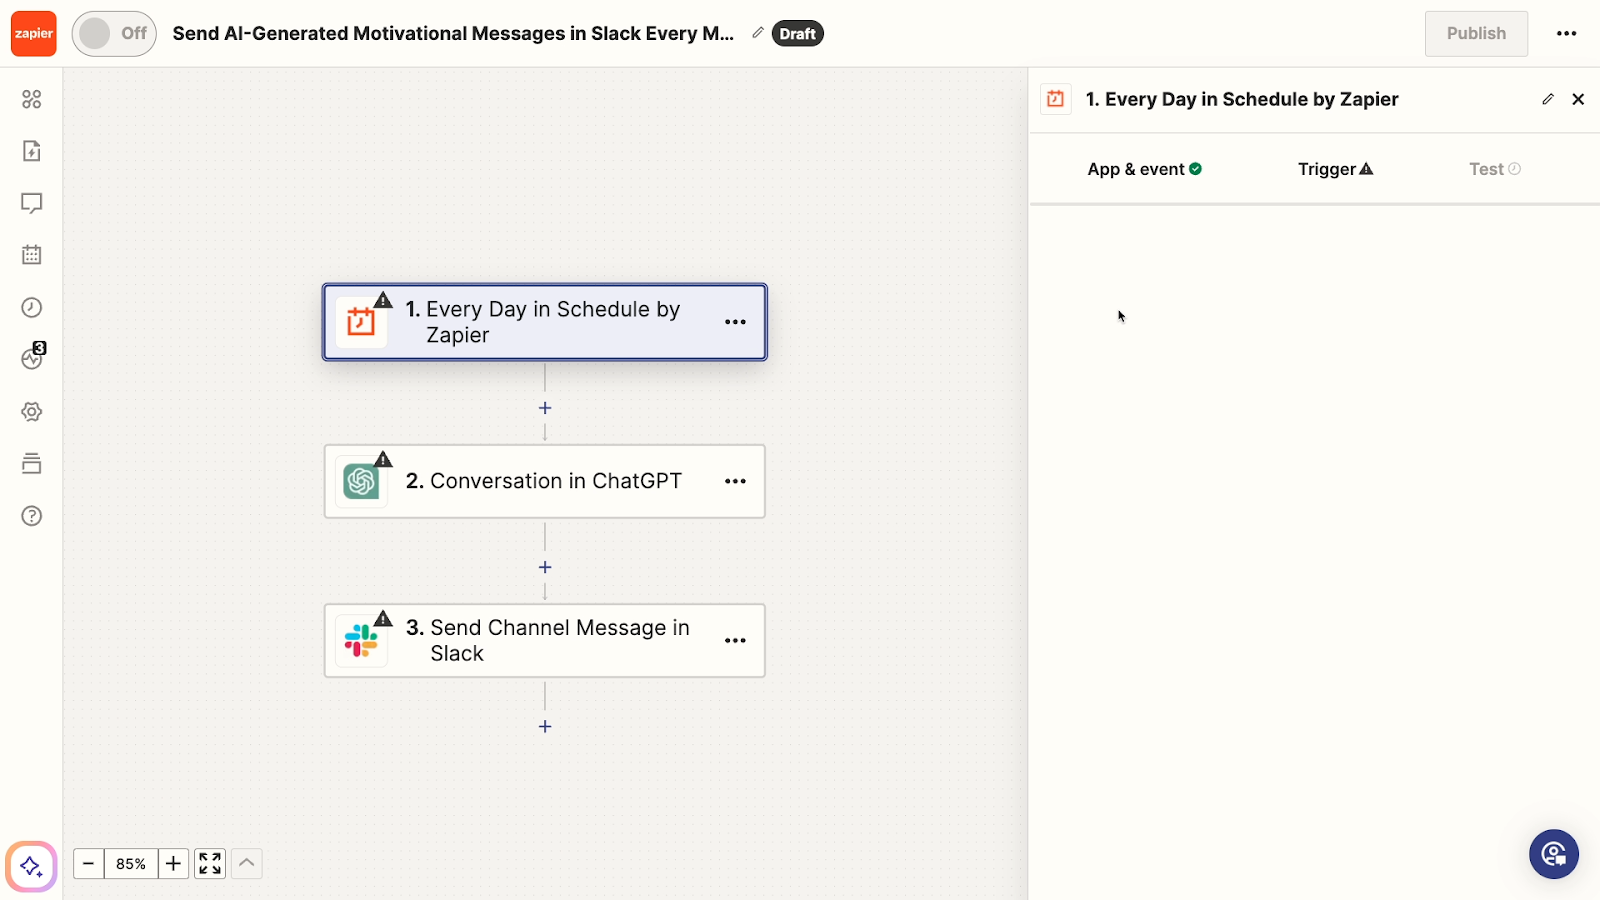
However, none of the settings or variables have been configured.
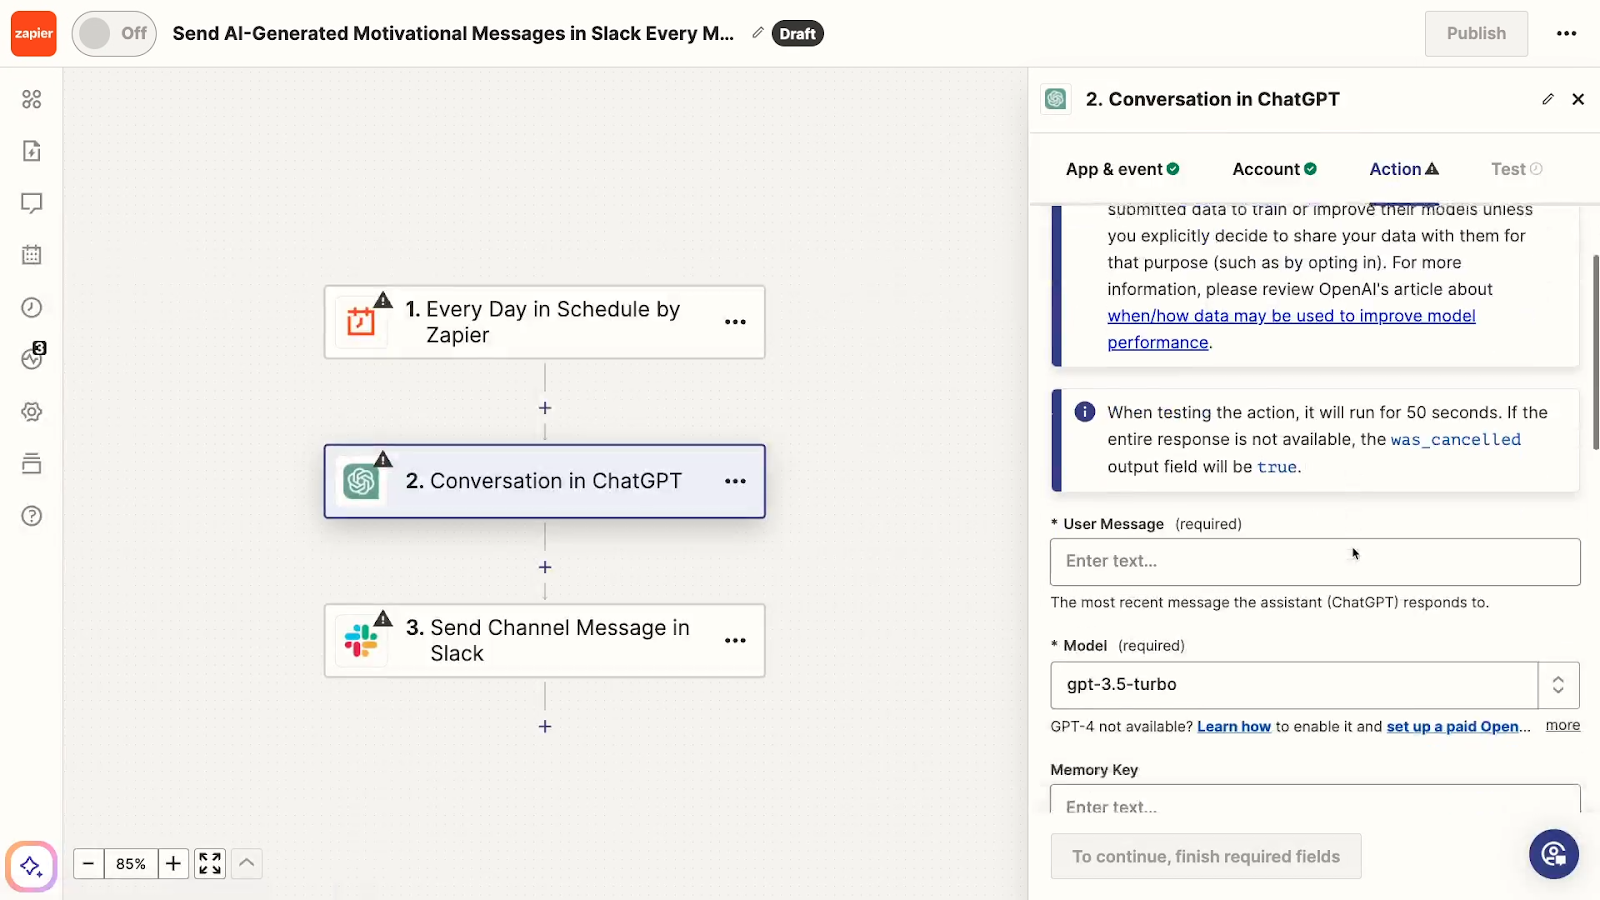
To finish setting up a copied Zap template, you’ll need to sign in to each app and adjust all other settings manually.
Creating a developer template in Zapier
If you want to create a template with pre-configured actions, you’ll need to create a “developer” template.
To start, go to developer.zapier.com, and select “Zap templates”.
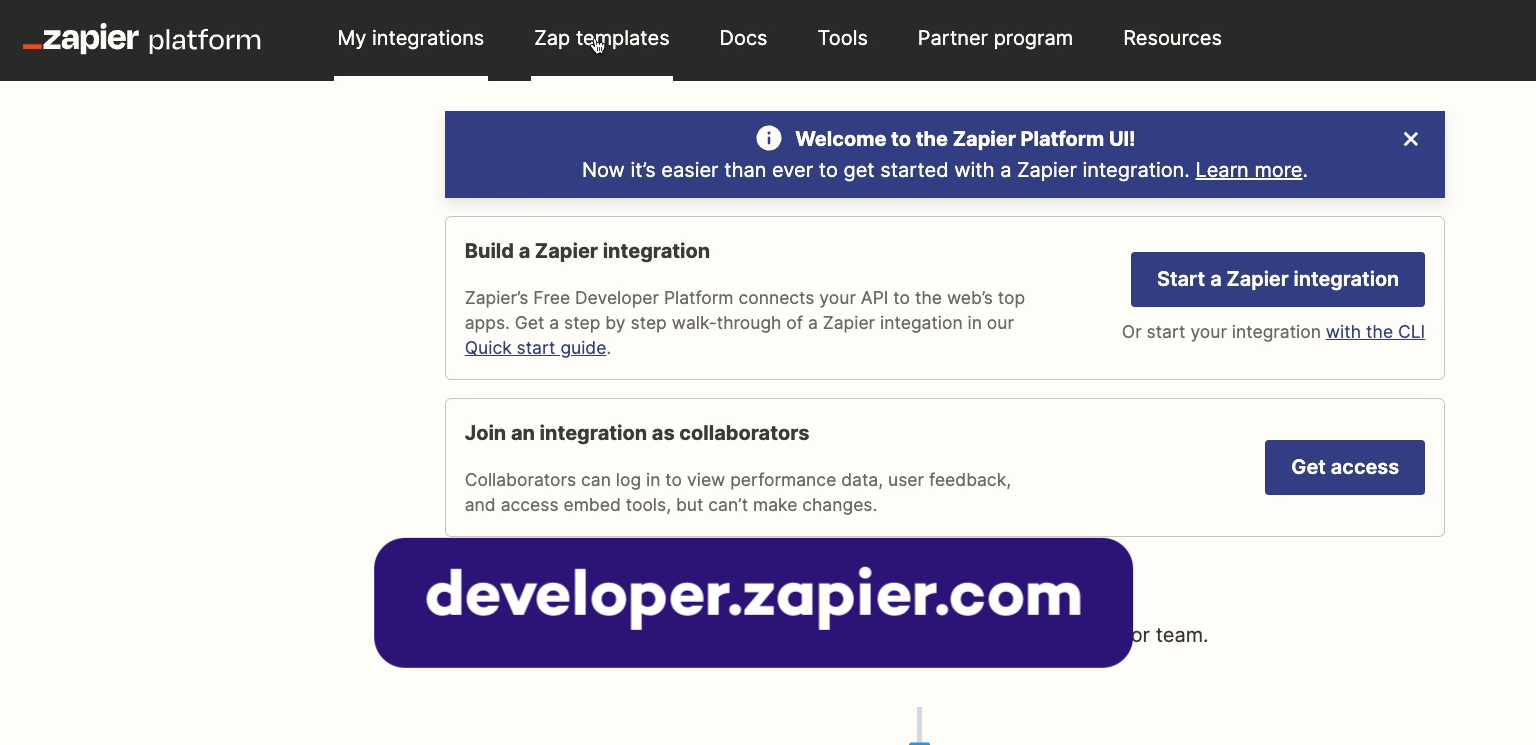
Then, create a new template.
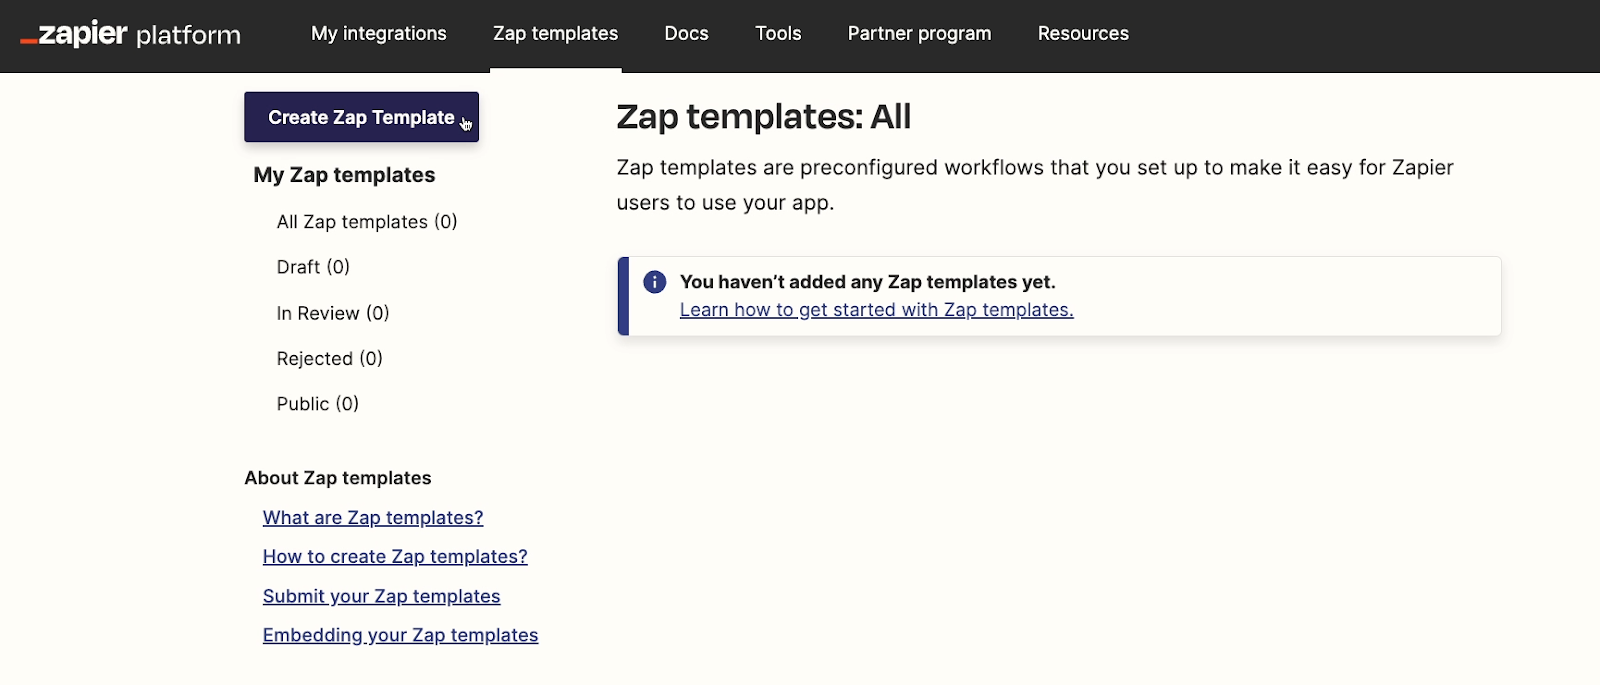
From here, you can build a Zap more or less the way you would normally, although the new visual editor isn’t available here yet.
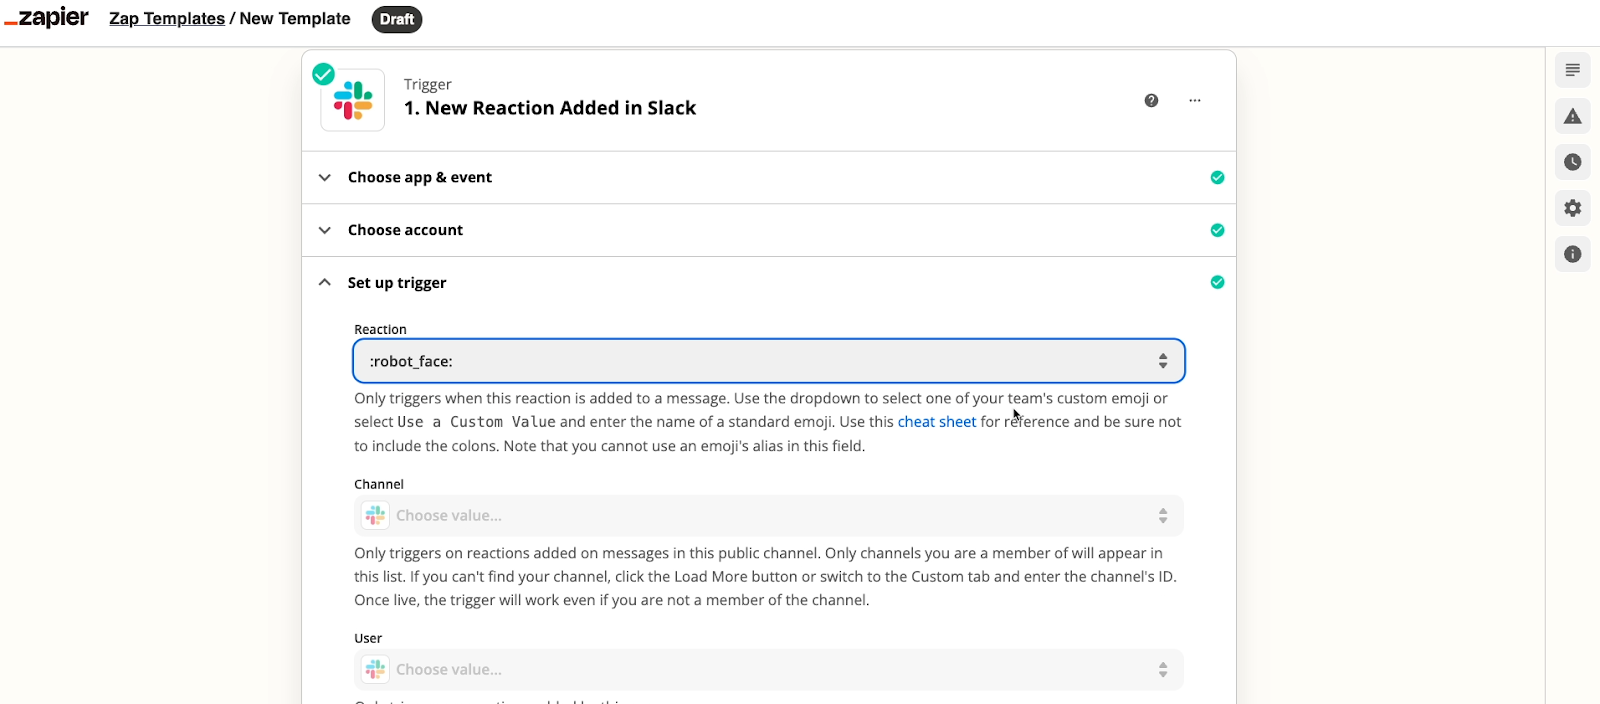
The most important difference is that you’ll have to use placeholder test data. You can’t sign in to your accounts to retrieve real test data.
And since you’re stuck with placeholder data, sometimes, not all the usual variables will be there. It’s up to each app’s dev team to create the default placeholder data for their integrations, and in some cases, they may skip a few variables.
You can check out some Zapier help docs in the resources board for instructions on how to create missing variables yourself.
Provide pre-configured data with a developer template
Unlike a simple template, any configuration that you provide here will be preserved when users copy this template.

Text, variables, and other settings will all be prefilled.
Preparing your developer template for review
After adding and configuring your steps, you can add a title and description just like with a simple template.
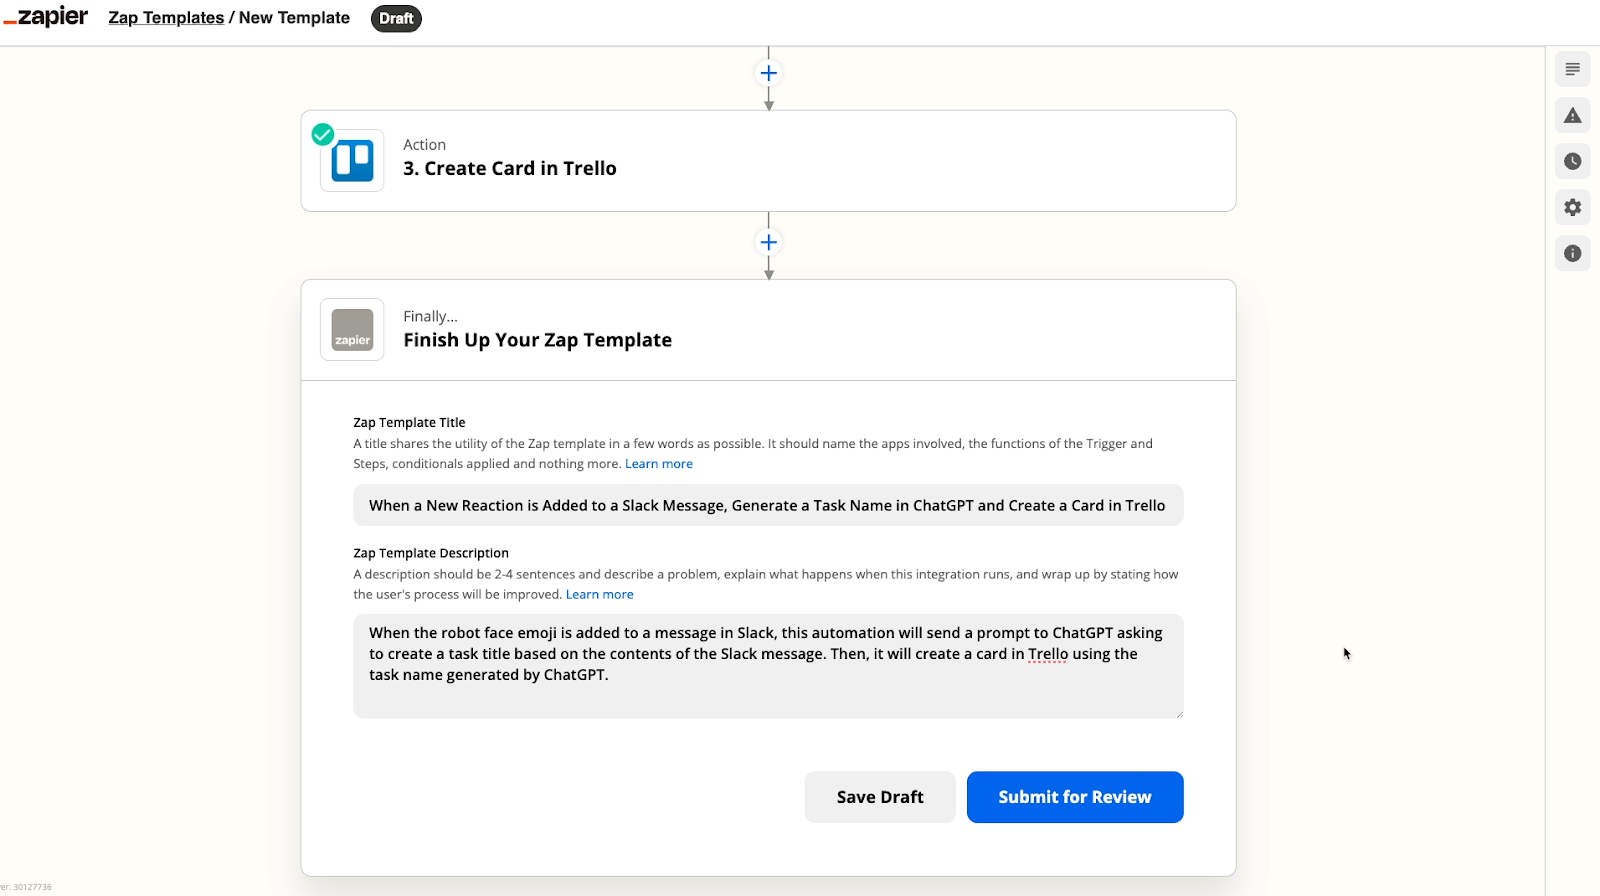
Before you can share the template, you’ll have to submit the developer template for review.
But be warned - once you submit your template for review, the template cannot be edited. Make sure it’s all set before you submit for review.
Understand that your template will immediately be sent to Zapier’s team for their approval, and there’s no guarantee it will be accepted at all.
Your templates can get rejected for being too generic, or redundant to other existing templates for popular apps that you don’t own.
It’s only really worth going through the trouble of creating a developer template if you’re confident you have a unique use case that has a good chance of being accepted
In most cases, it’s best to create developer templates like these for your company’s own applications.
Copying and using a developer
Once a template has been submitted for review, its shareable link will be accessible
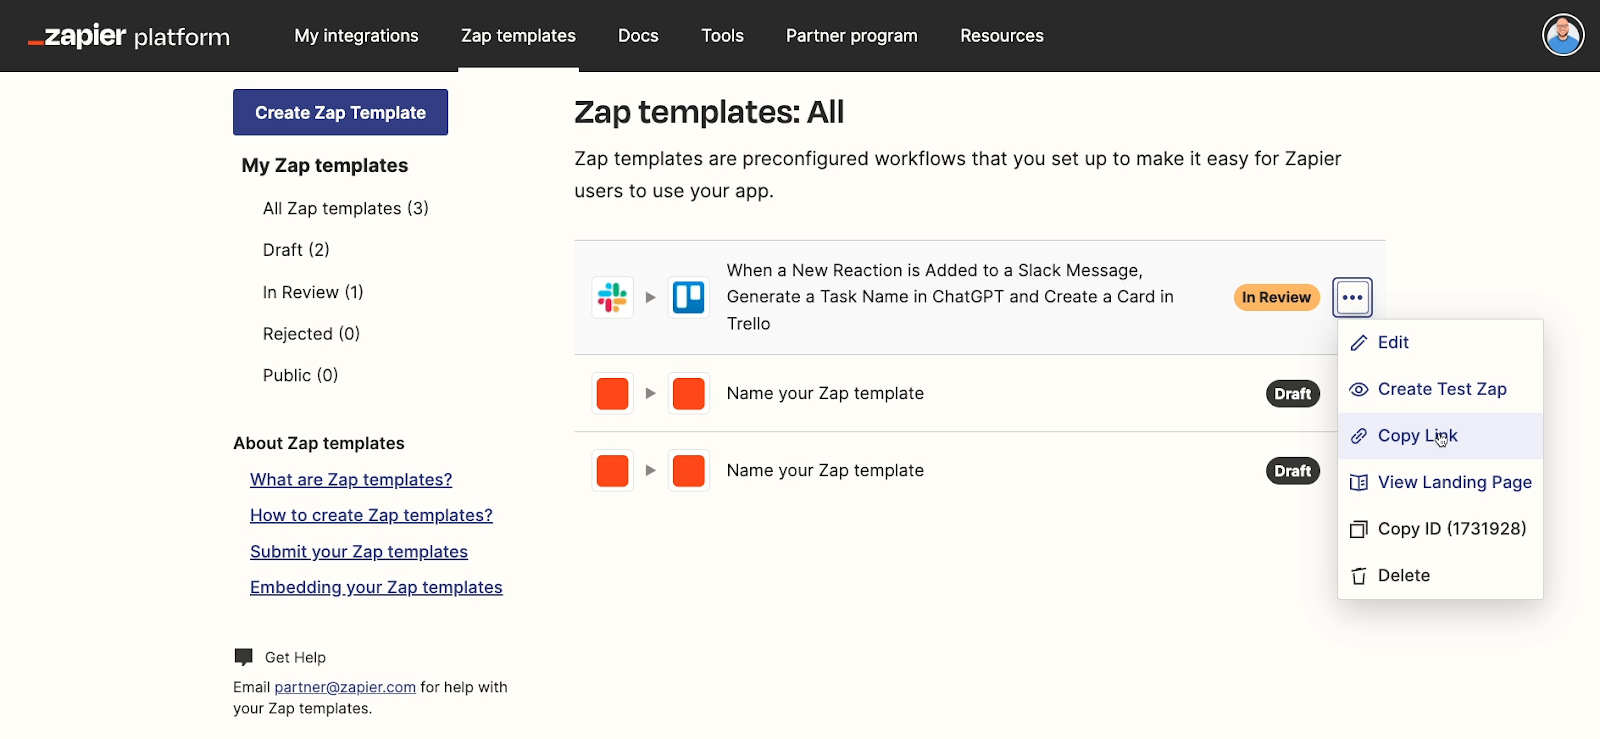
However, we would not recommend trying to share the template publicly while the Zap is in review.
It’s probably fine to test internally, but you don’t want to abuse the system and share templates extensively before they’re approved.
In the image below, you can see what a user will see when they copy the link to a developer template.

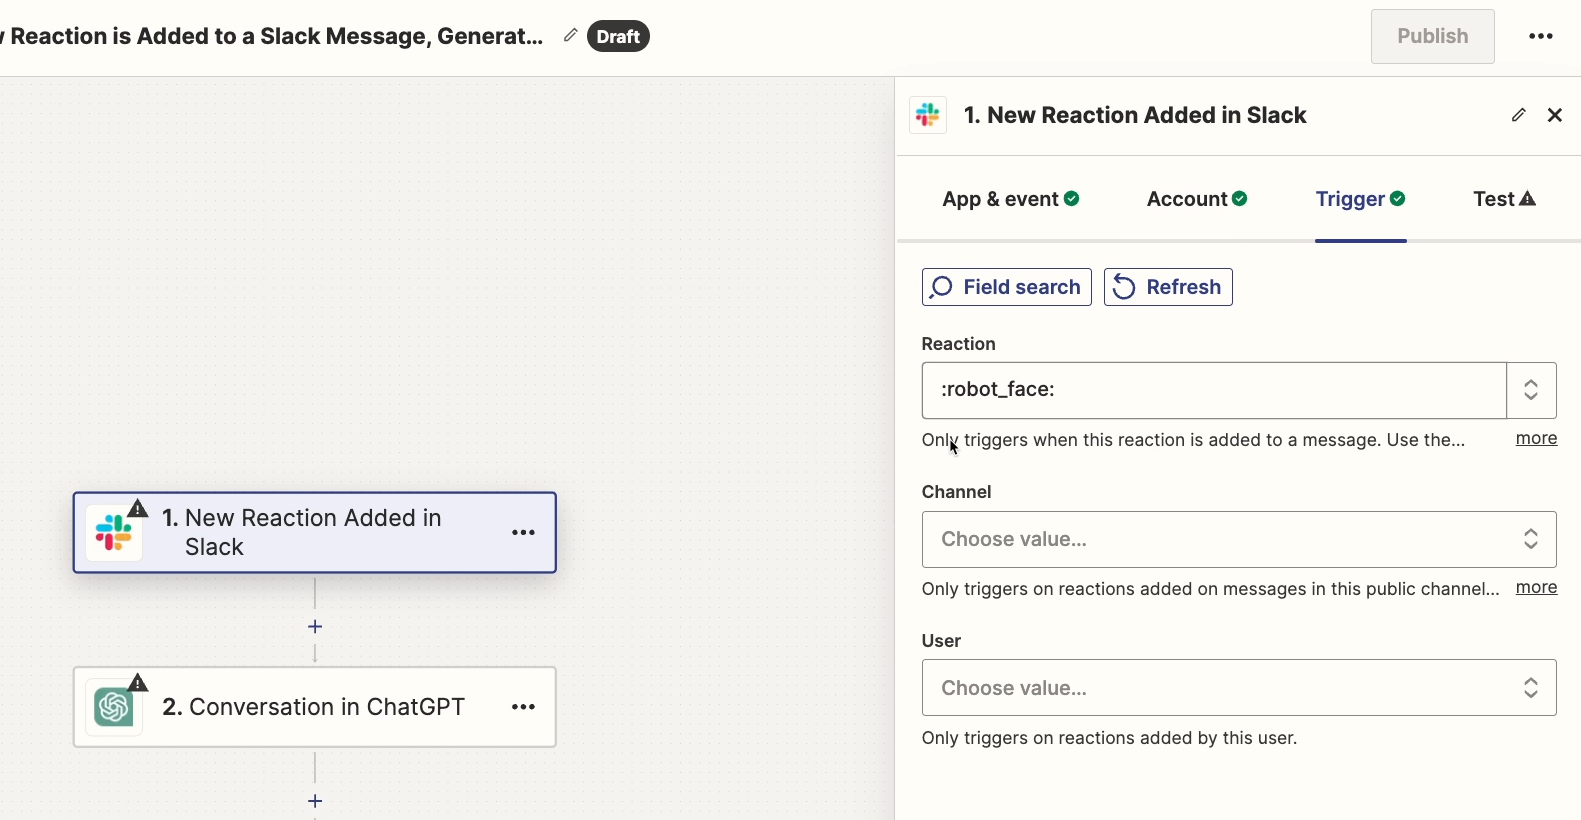
When they copy it, it will instantly create a Zap just like with the simple template. Just like before, all of the apps and actions are chosen already.
However, all of the configuration options are also pre-selected. Some text is filled out, some variables included, and so on.
Pros and cons of developer templates
With a developer template, much more of the work is already completed ahead of time.
However, as we noted, there’s a much bigger hurdle to clear to create a developer template. It may not be worth the extra effort depending on your use case, or level of technical expertise.
You’ll most likely want to use developer templates if you are part of a company with your own SaaS app integrated into Zapier.
Build a Zapier integration and templates for your app with XRay
If you’d like to create or manage a Zapier integration for your app, just reach out to XRay and schedule a free meeting to discuss your options.
Choose the right template type for your use case
A simple template will likely be the more popular and accessible choice for most no-code builders.
However, if you can make a developer template that meets Zapier’s specific standards, then you’ll get the benefit of pre-configured actions.
And if you want to share templates with your team only, then you can always just duplicate a Zap to make things easy.
Ultimately, there’s no wrong choice here. All versions of Zapier templates are useful ways to save time while you’re building and rebuilding similar automations.
To learn more about Zapier and other no-code automation tools, be sure to check out our blog or our YouTube channel. You can also follow XRay on Twitter, Facebook, or LinkedIn.


