When you’re building Make scenarios, the prebuilt integrations don’t always retrieve all the data that you need. If you want to supplement your automations with some lookups for extra information, you can easily do it with Make’s “data stores” feature.
In this post, we’re going to show you how it works.
We’ll begin by creating a data store in Make. Then, we’ll demonstrate how to retrieve, create, and update information from a data store in an automated scenario.
At the end of the post, we’ll also share an alternative lookup method that can be more useful if you’re automating your work with both Zapier and Make.
To follow along, just sign in to Make. Data stores are available on every subscription level, including free plans.
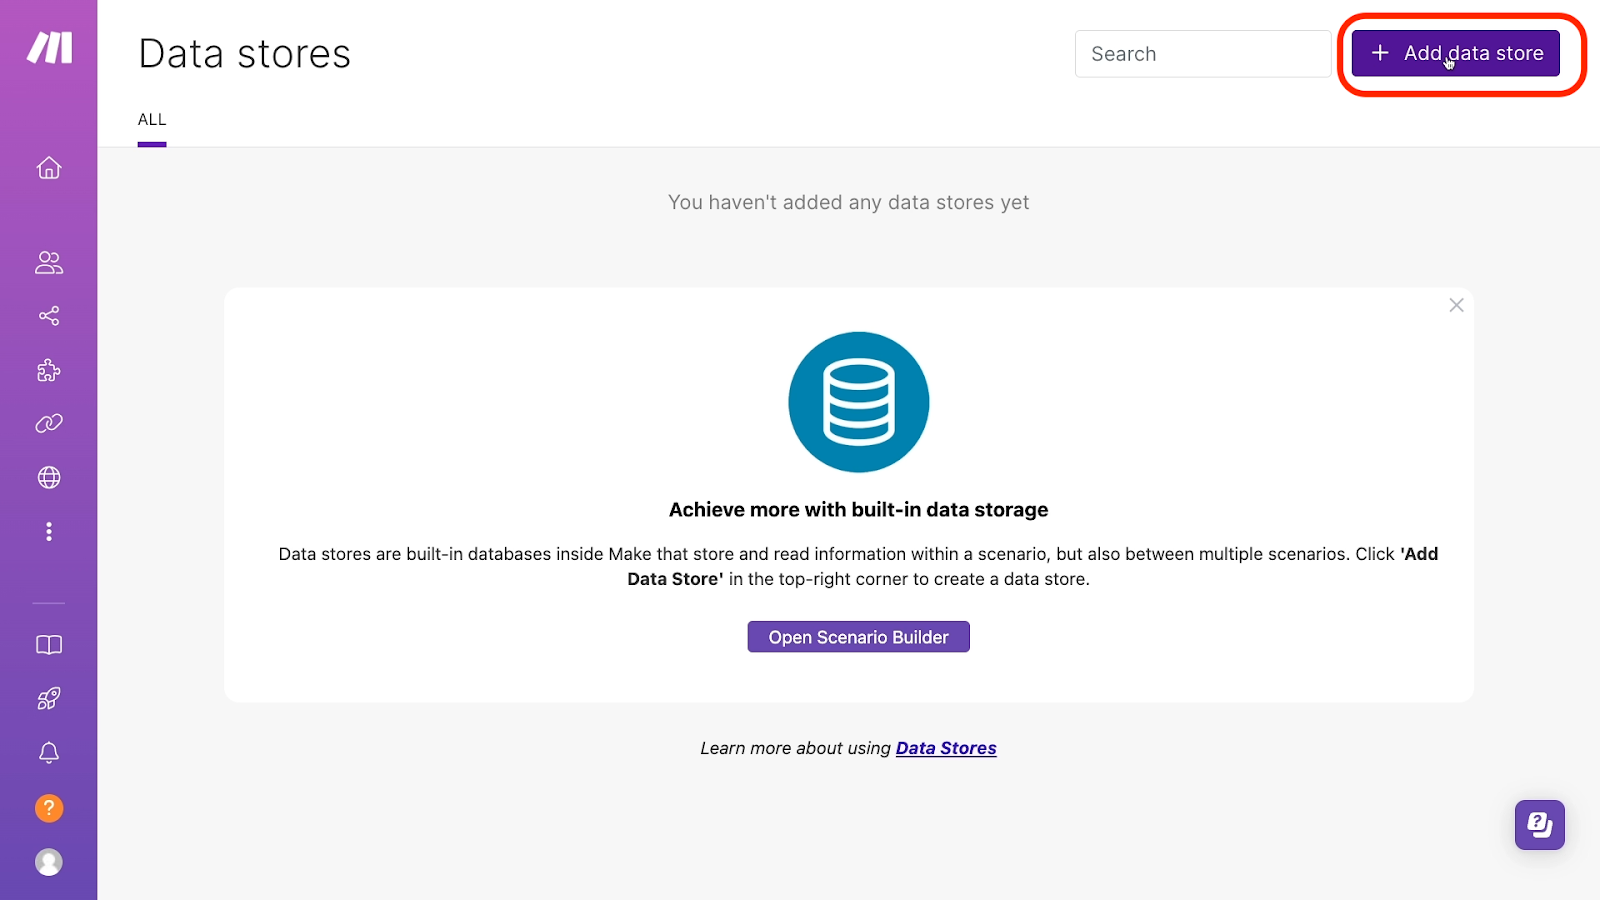
To create a data store in Make, open up the app and click on the “Data Stores” option on the left-hand menu.
If you don’t see the “Data Stores” option, click on “More”, then select “Data Stores”.

To make a new data store, click on the “Add data store” button in the top right corner.
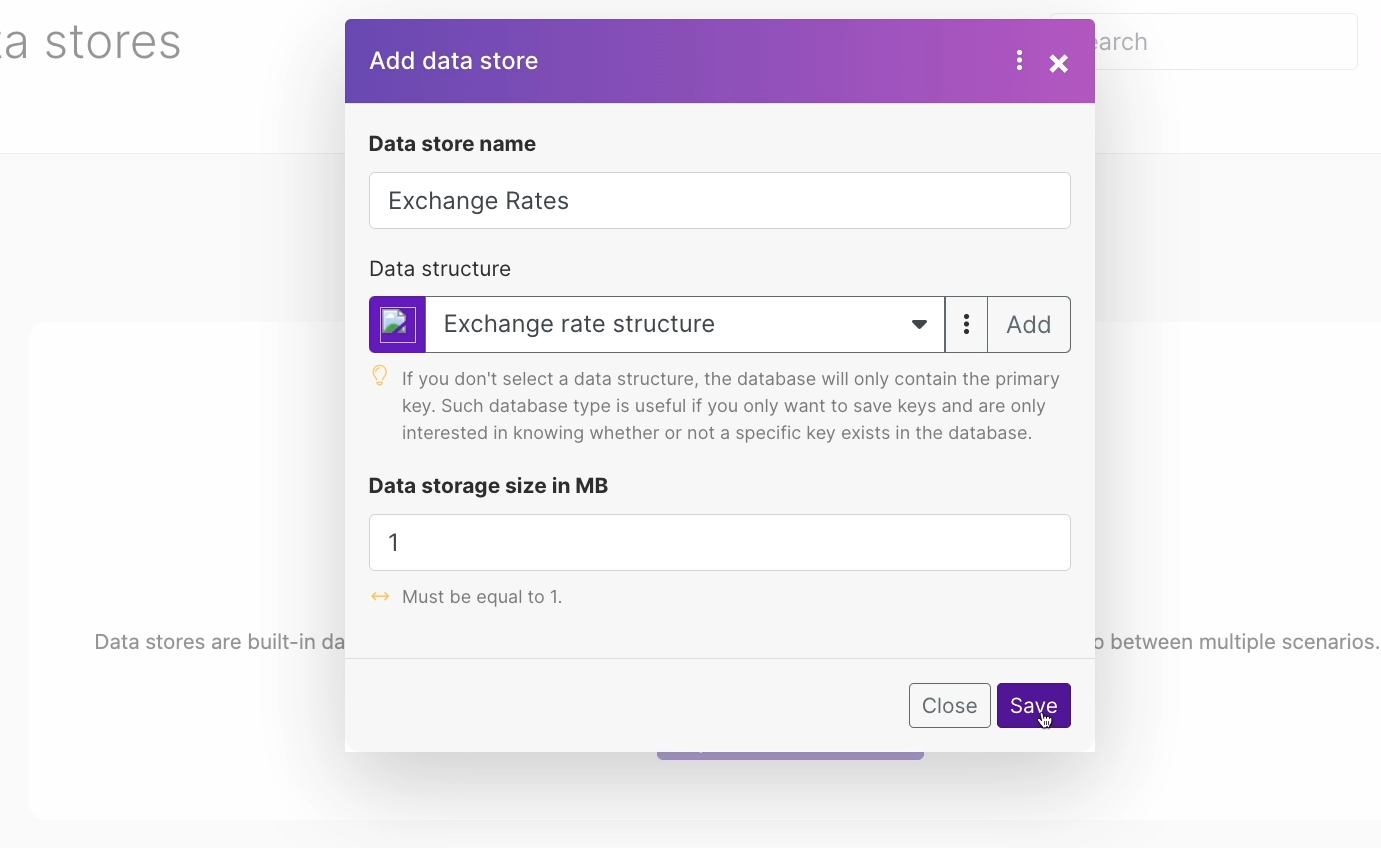
In the window that pops up, you can give your data store a name, choose its size, and give it a structure.
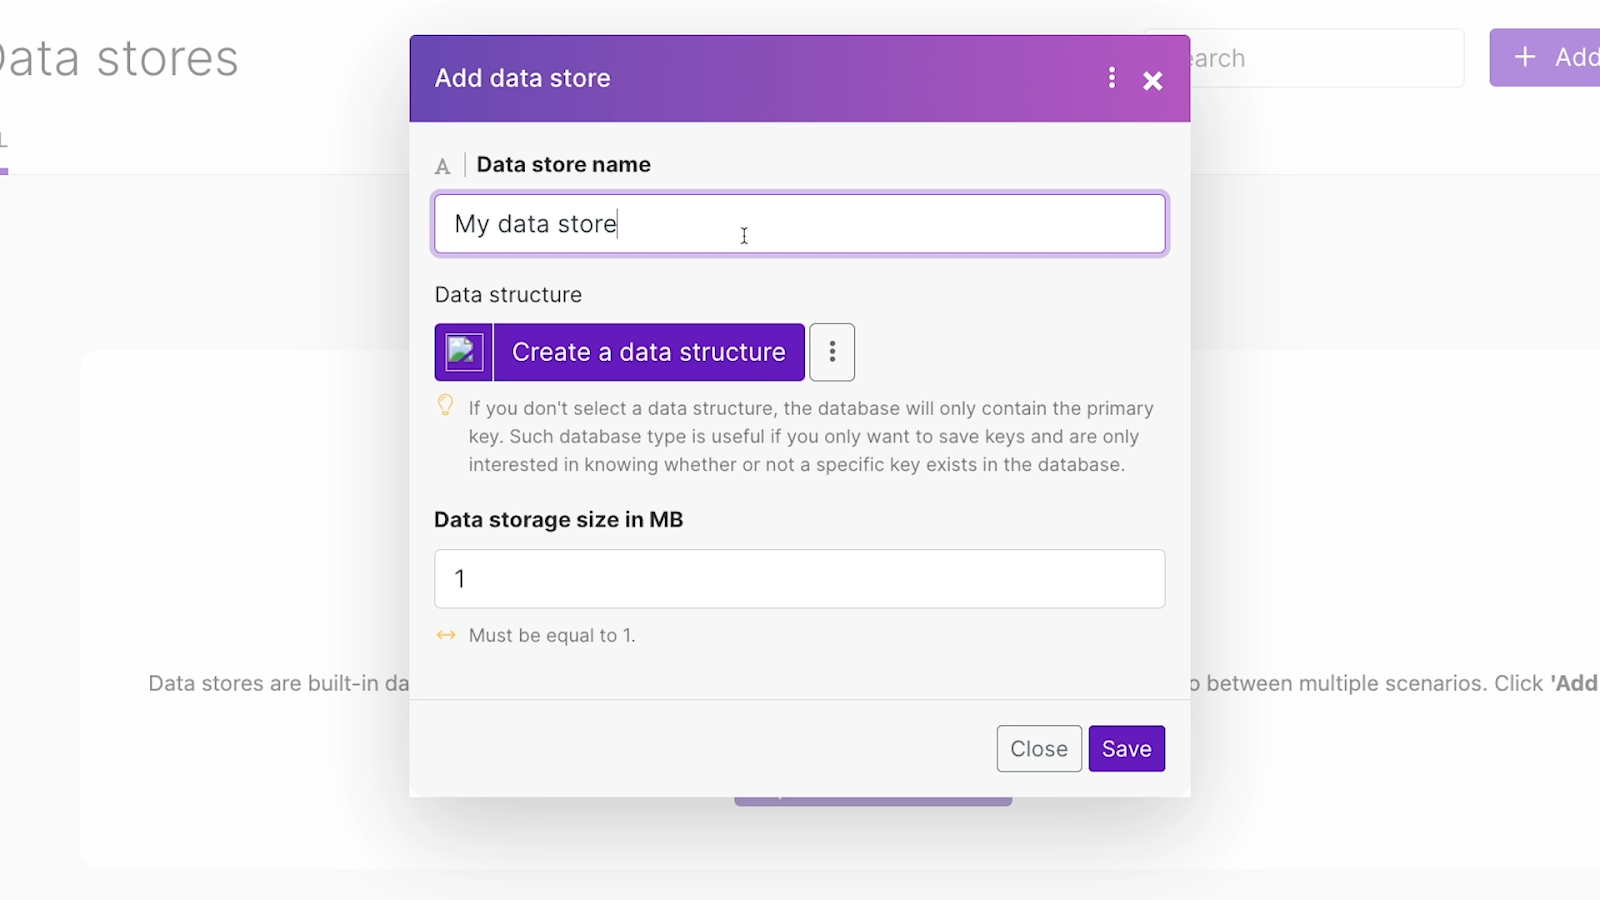
Your maximum data store size will depend on your subscription level. On the free plan, you’ll be limited to just 1 megabyte.
When you click on “Create a structure”, you’ll be able to add fields to your data store. When you create a structure, you’re just defining the fields that will be present in the table, such as “Full Name.” You’re not going to enter the actual data yet, like “John Smith.”
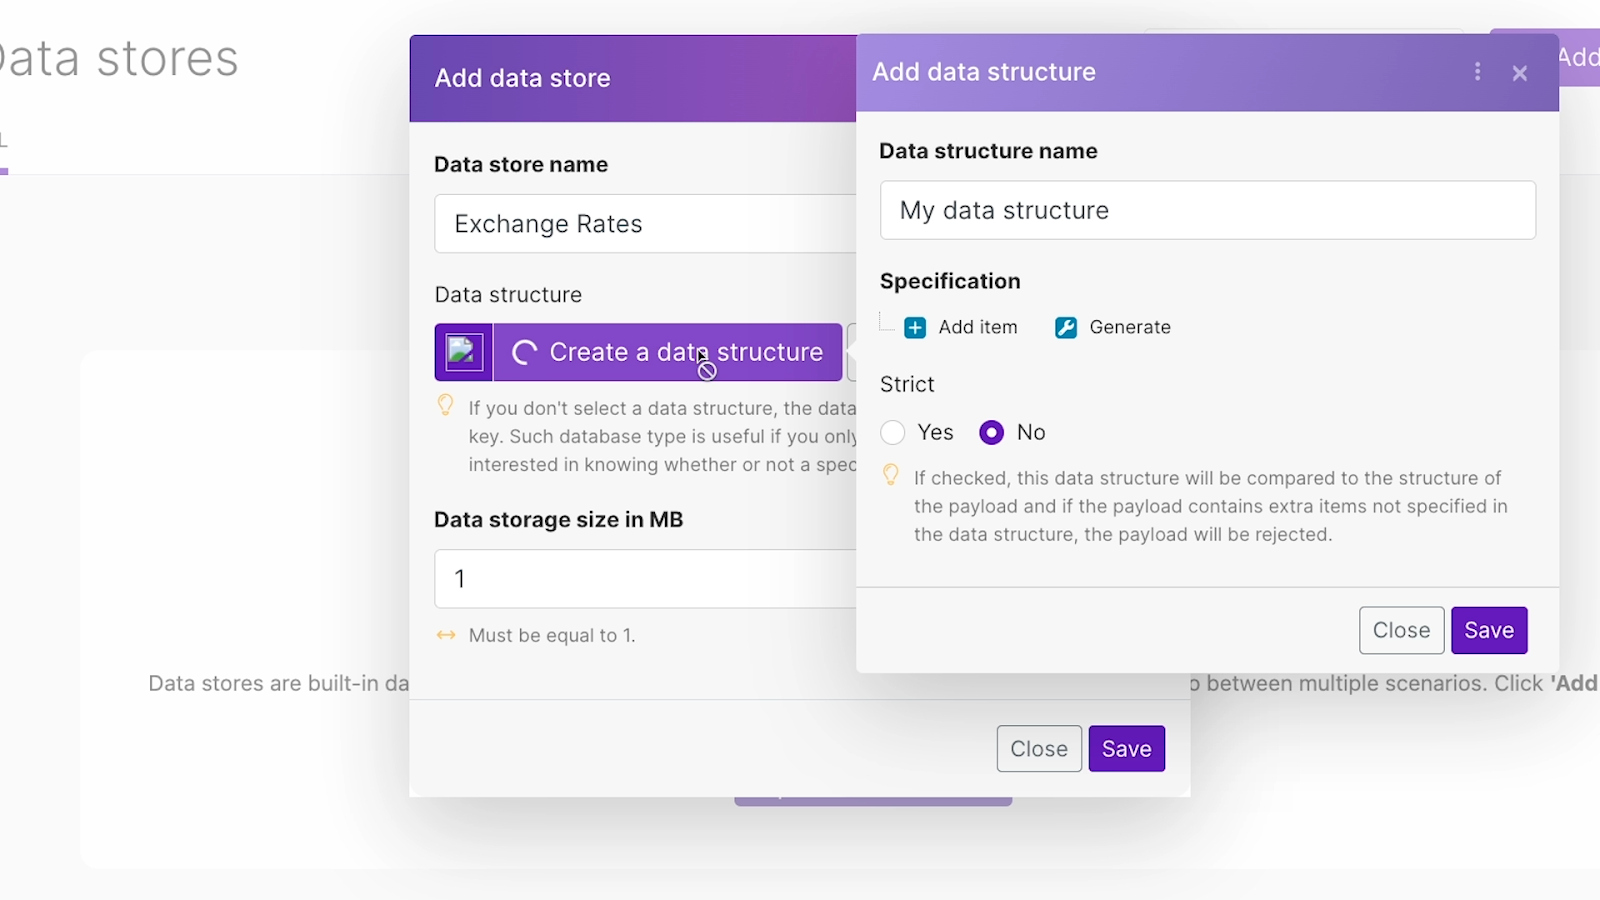
To add a new field to your data store, click on “Add item” under “Specification.”
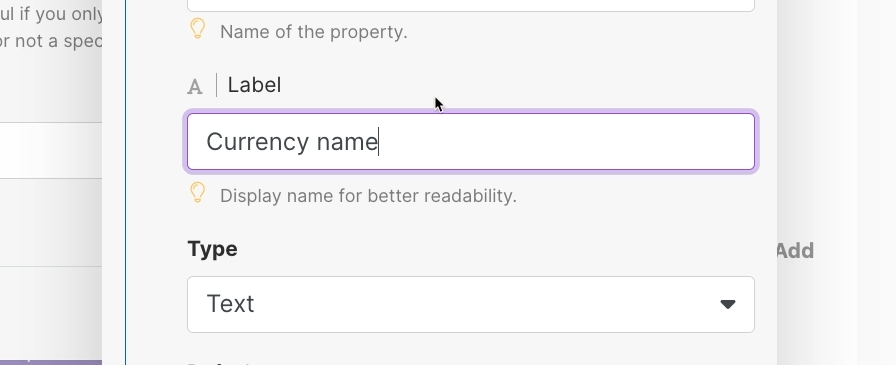
Initially, you’ll see three fields to fill in here: “Name”, “Type”, and “Default.” If you enable advanced settings, you’ll also see a “Label” field.

A field’s Name represents the programmatic name of the field. This is the text that Make will look for or return whenever it references this field. If you change the name of a field in your data store, you’ll need to make sure that you update any automations that reference that field.
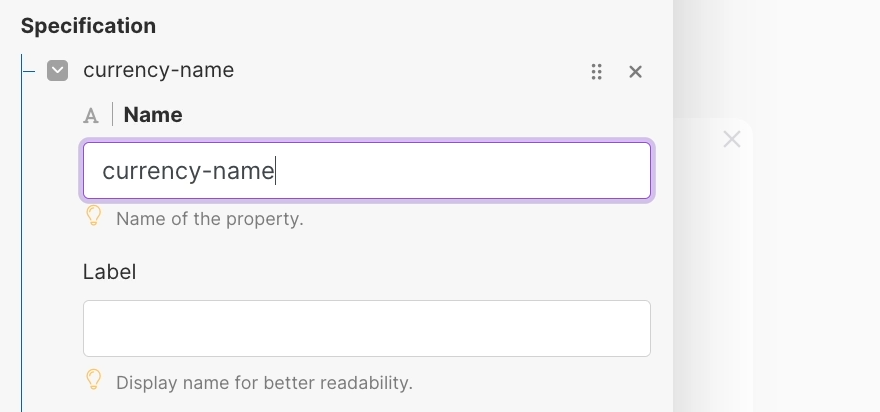
The label is an alternative title for the field that’s primarily intended for people to read. It’s often better to keep the name of each field constant and just update the label if you want to change what the field’s called.
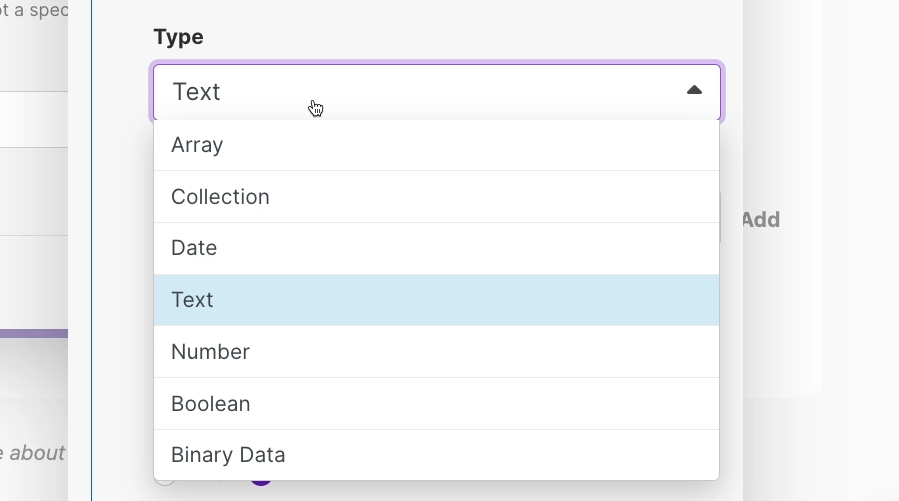
Under “Type”, you can select the data type that your field will accept, such as “Text” or “Date.”
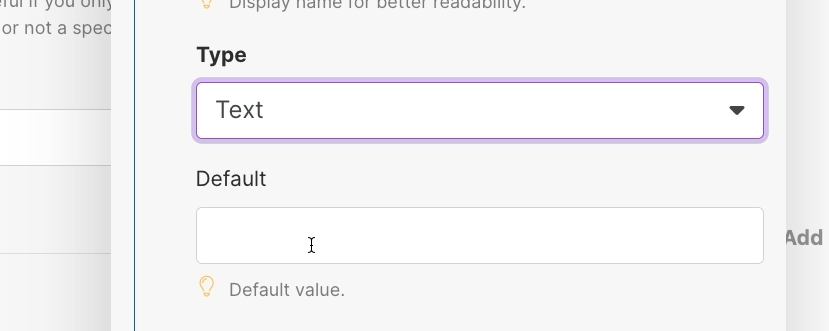
In “Default”, you can specify a default value for the field. Note that this option won’t be available for every field type – for instance, it’s not present for “Date.”
You can add several items to create as many fields as you want. Note that in addition to all of the custom fields that you specify here, every data store will also have a field called “Key”, which is meant to be used as a unique identifier for each record.
Once you’re done, click on “Save” to close the field configuration menu.

Then click “Save” again to create your data store using the chosen structure.
To add records to your data store manually, hover over it and click on “Browse” to open the data store.
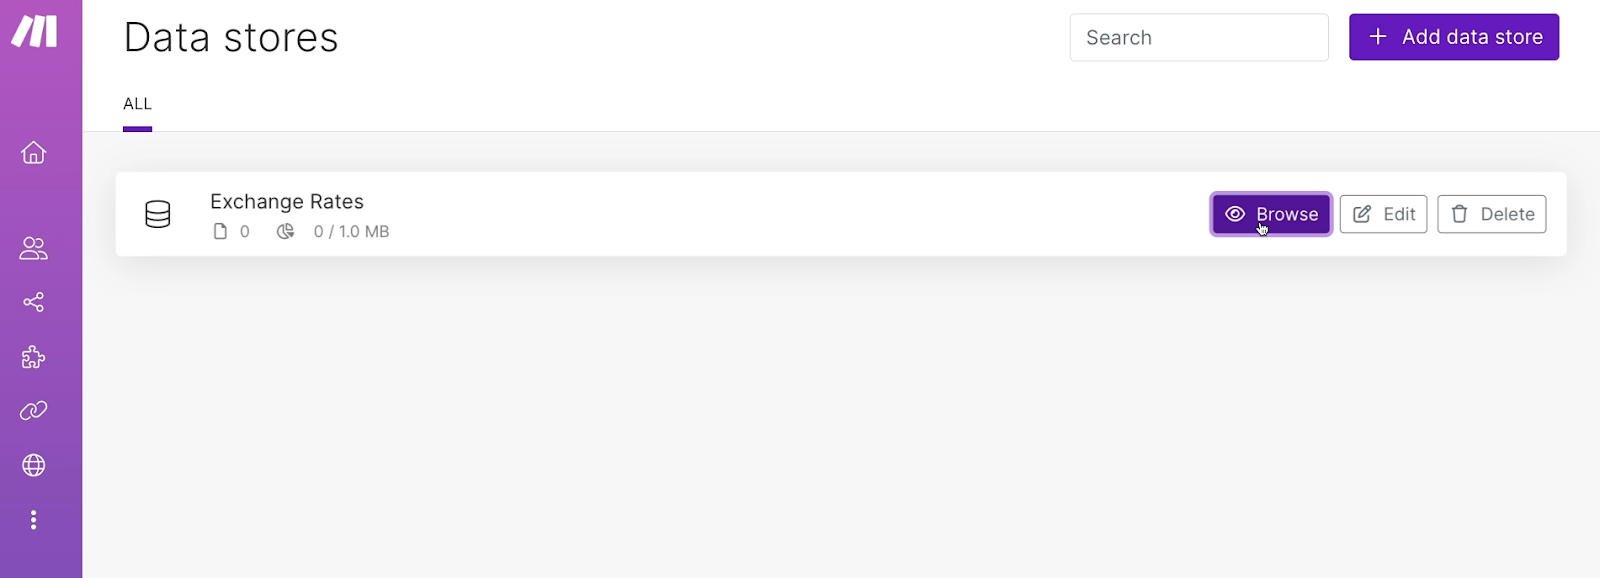
Then, click on ‘Add’ and fill in each field.

Once you’re done adding records, be sure to click “Save” to commit your changes.

Once you’ve created a data store, you can use Make scenarios to automatically find, add, and update records in it. However, you can’t trigger automations to run when you add or update a record in a data store.
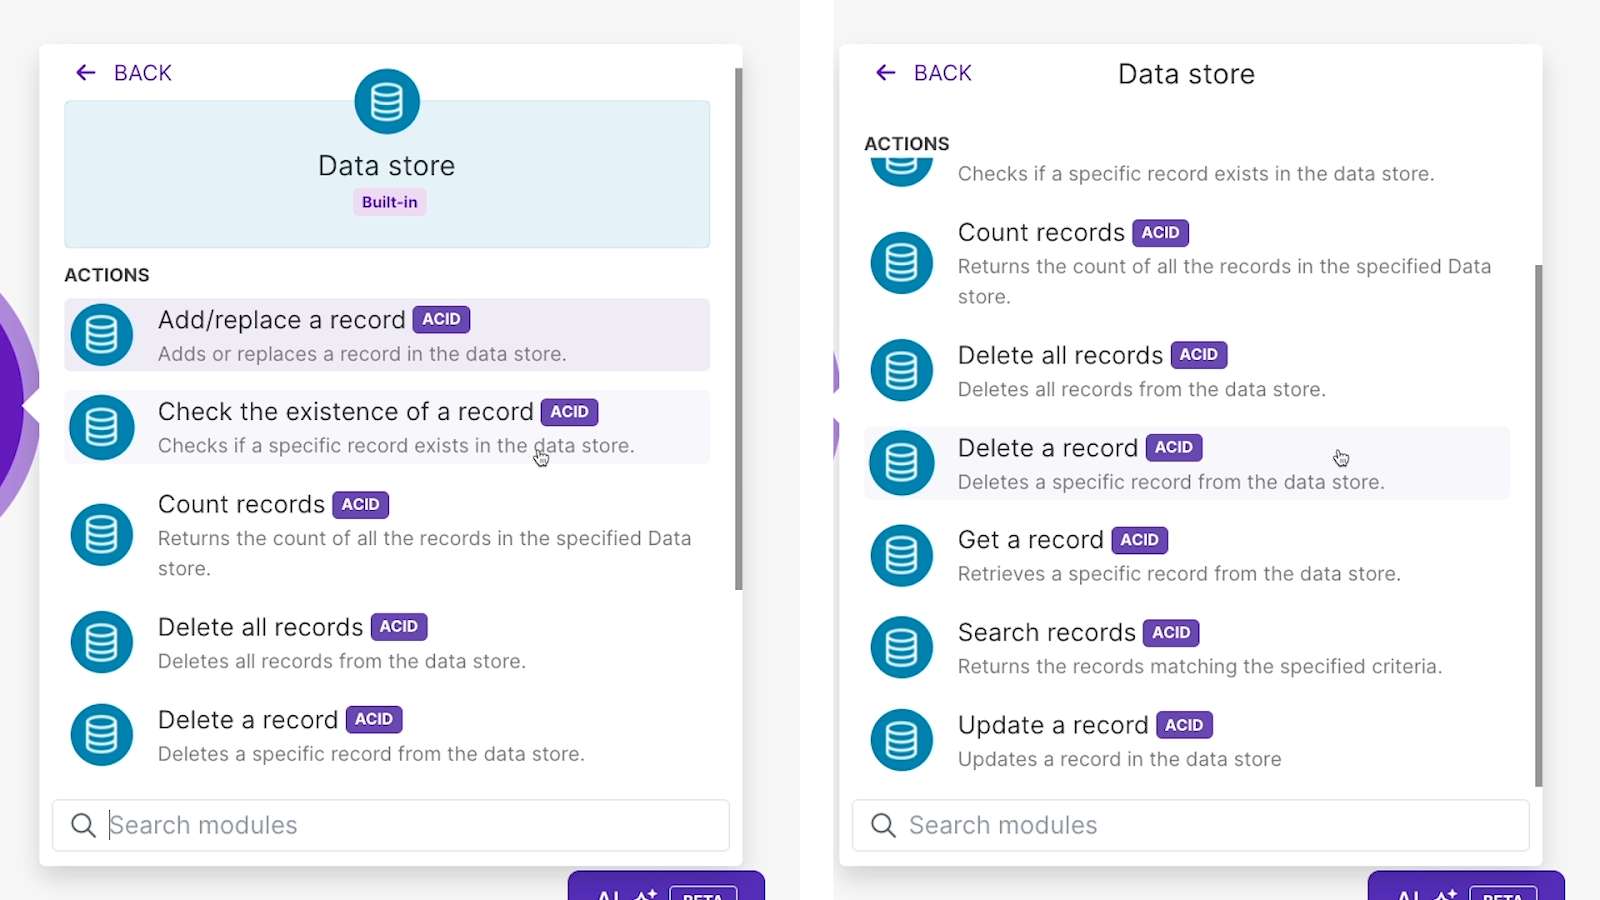
To automatically look up records in a data store from a Make scenario, add a new module to your scenario, and search for “Data store.”
In the “Data Store” module, select “Search records.”

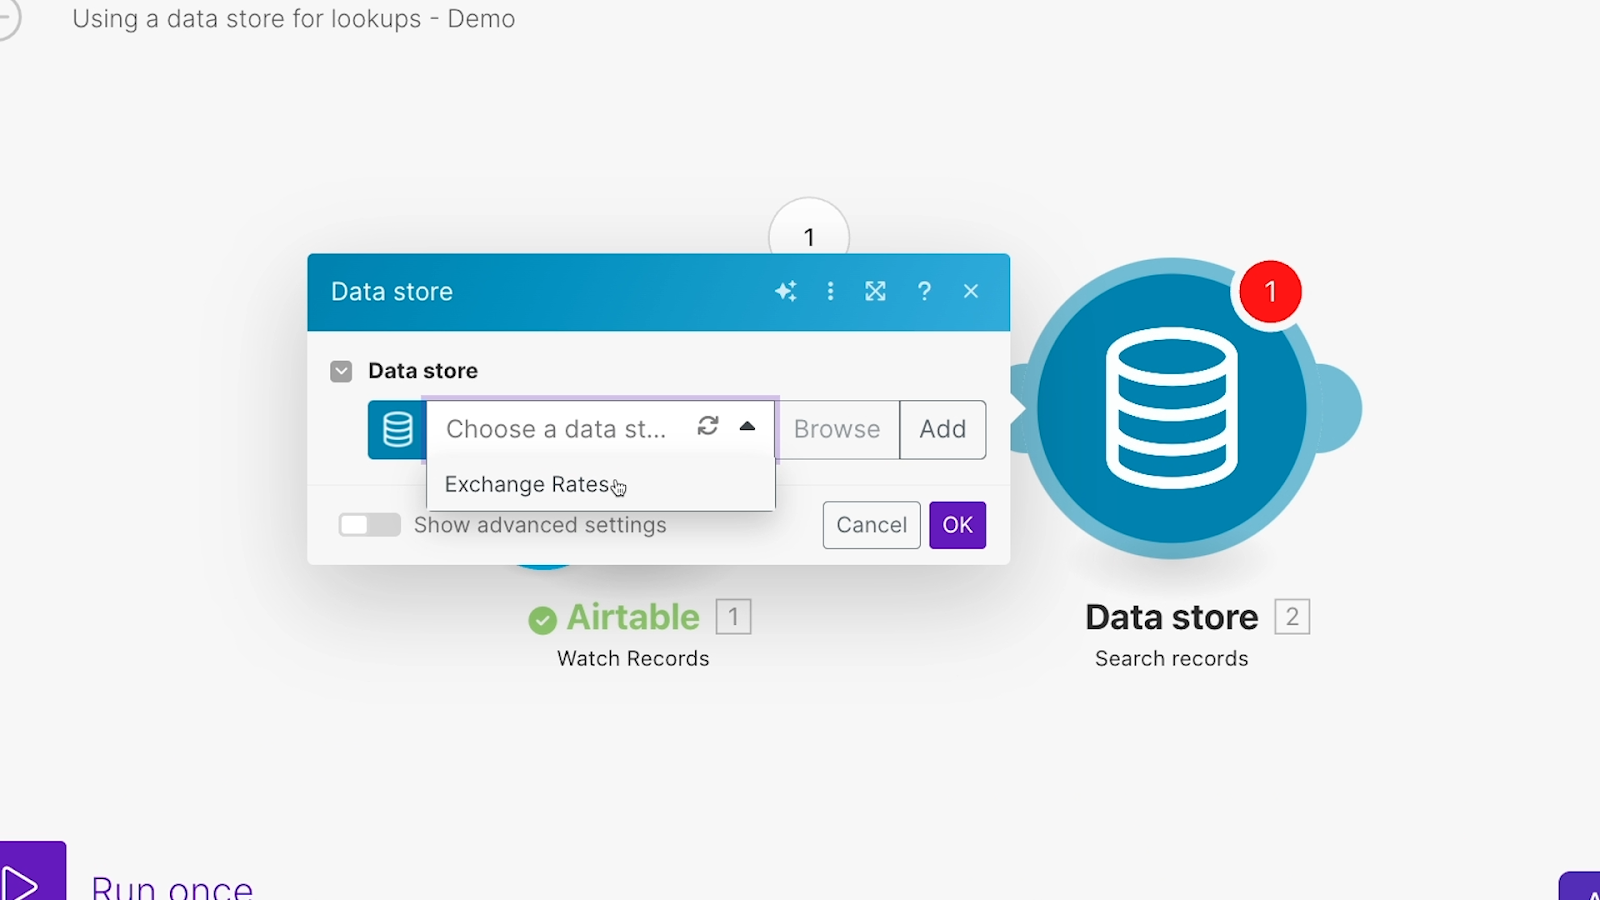
Then, pick the data store you want to search in.
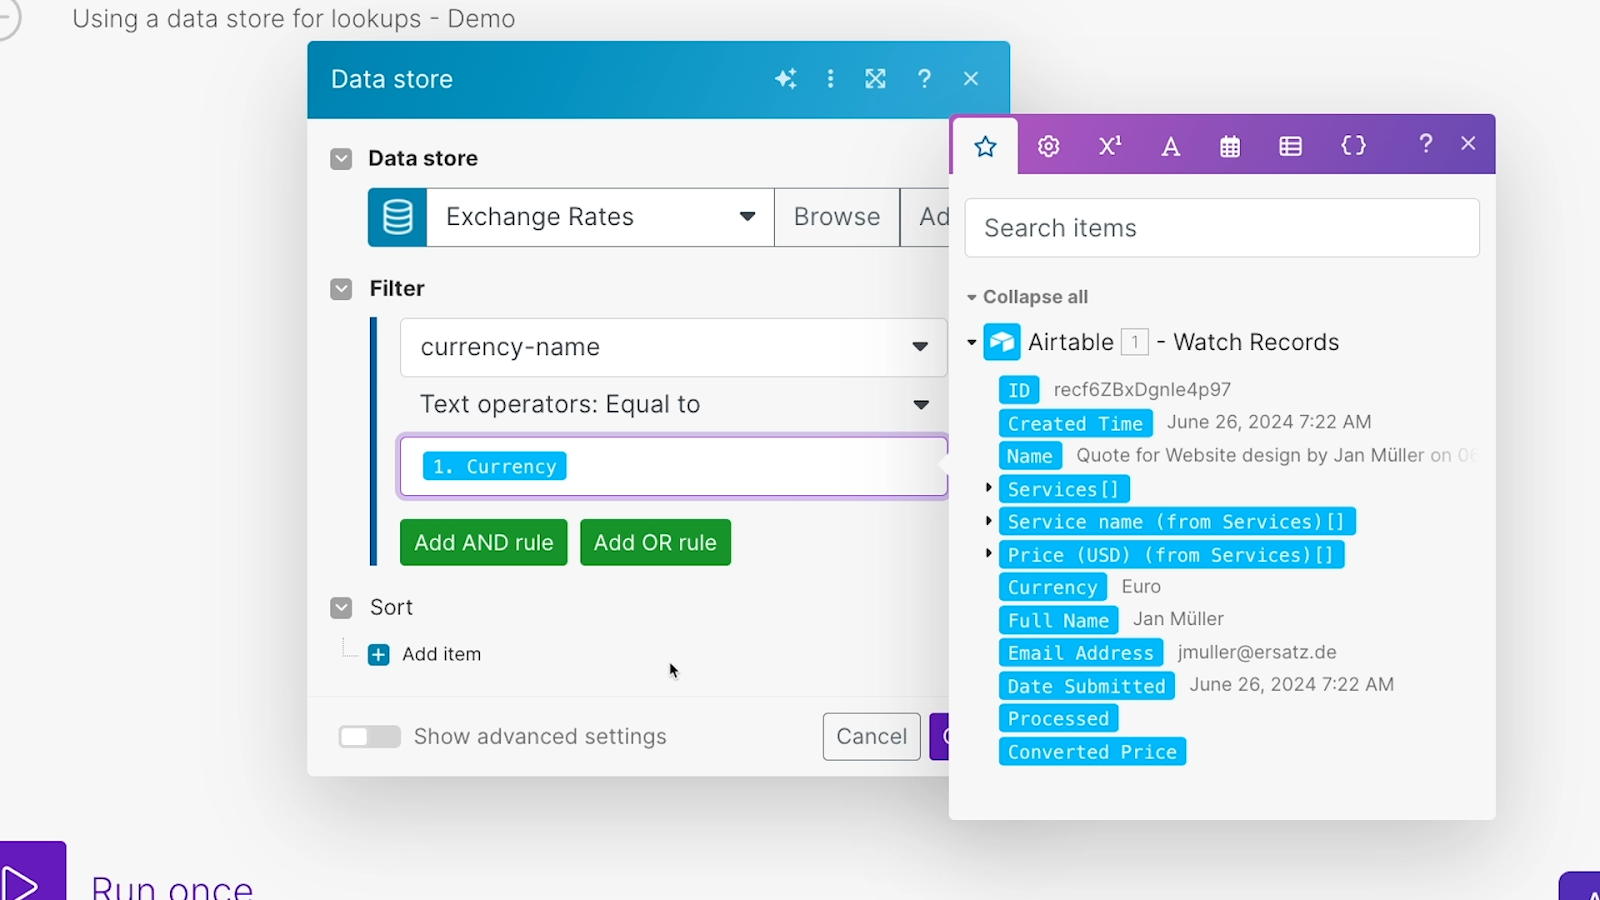
Choose the field that you want to search within, and provide a value to search for. You can also specify a sort order for the search results here.
When you run this module, you’ll see any matching records that were found in the data store.
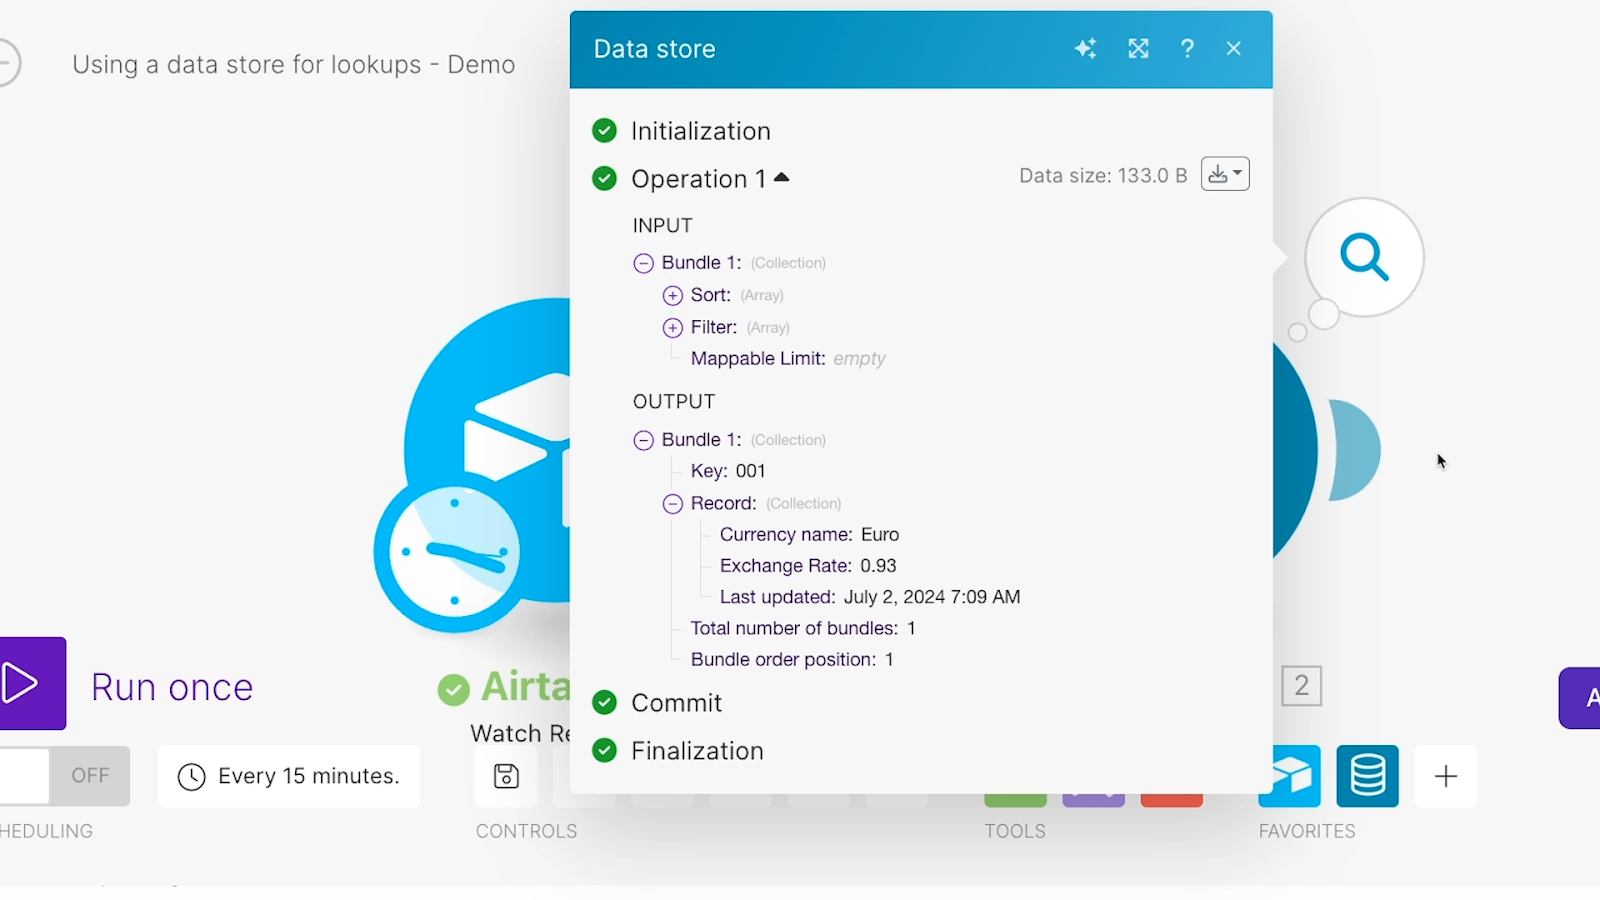
Then, you can use that data in any subsequent steps in your automation. As usual in Make, the value in each field will be returned as a separate variable.

There are a couple of different ways to automatically create records in your data stores, but the most efficient and flexible options will usually be to use the “Update record” option.

With “Update record”, you can either update an existing record, or create a new one if it doesn’t exist yet.
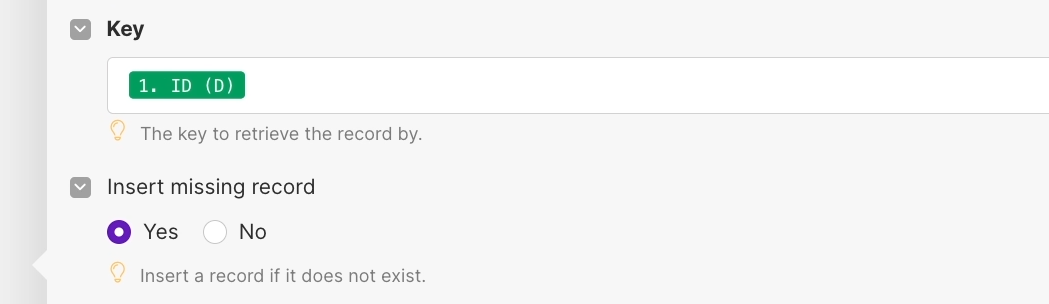
Just specify the data store you want to use, and the key to search for.

Then, choose whether or not to create a new record if no match is found.
Fill in every field that you want to update with the new value that will be entered.
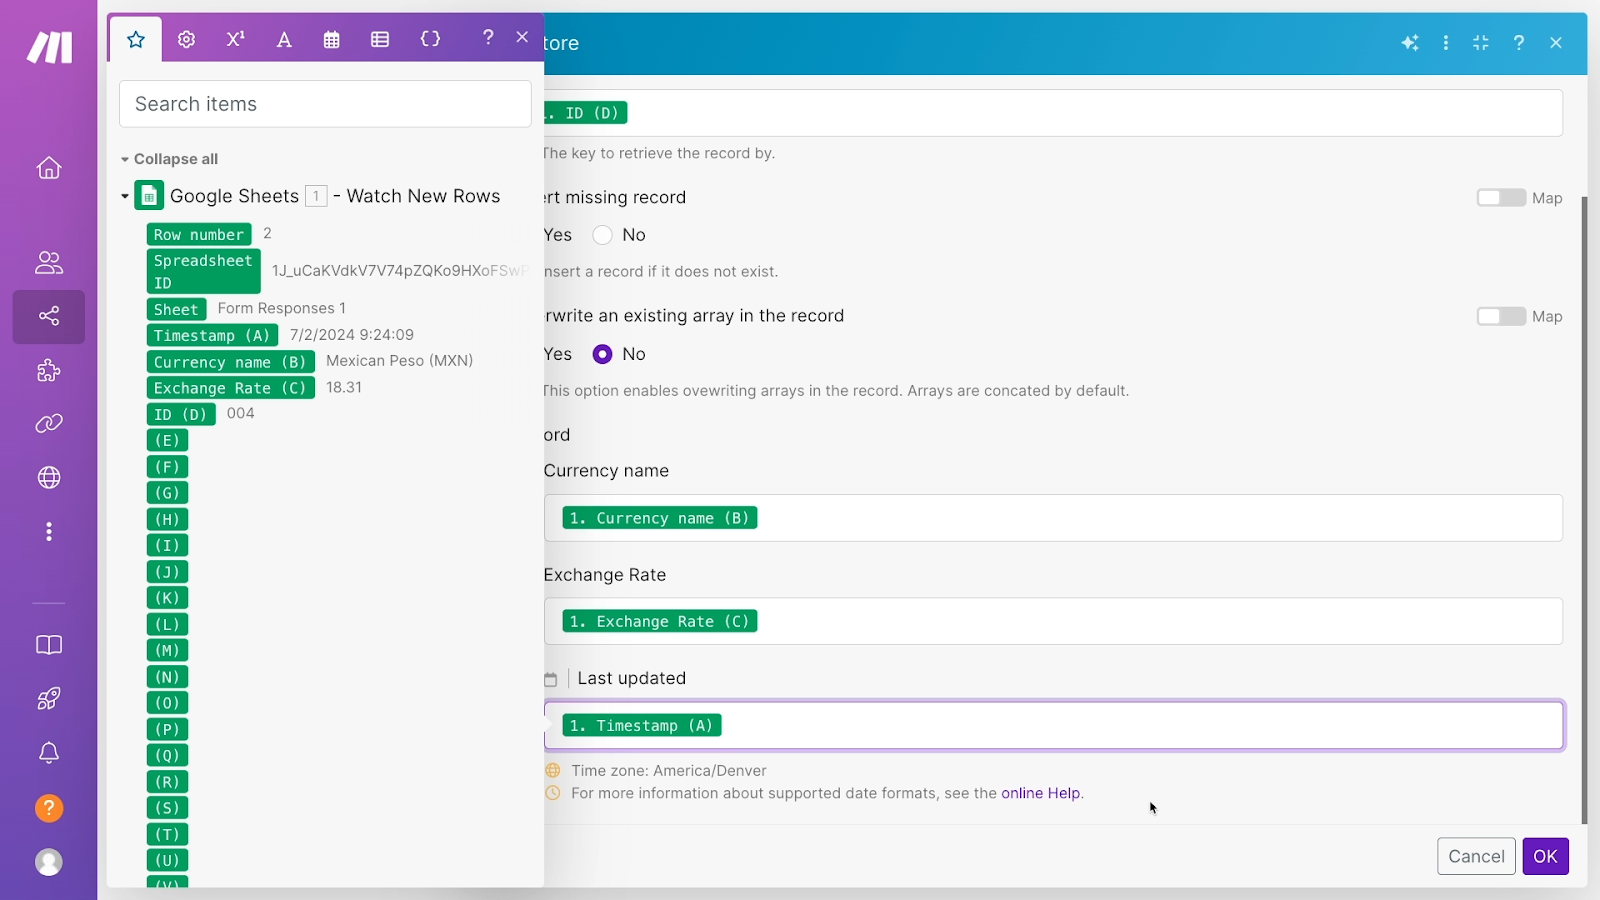
If you leave a field blank here, then the contents of that field will not be updated when the scenario runs. However, if you’re using the “update” module to create records as well, you’ll probably want to fill in every field.
Once you’re all set, click OK to close the configuration window.
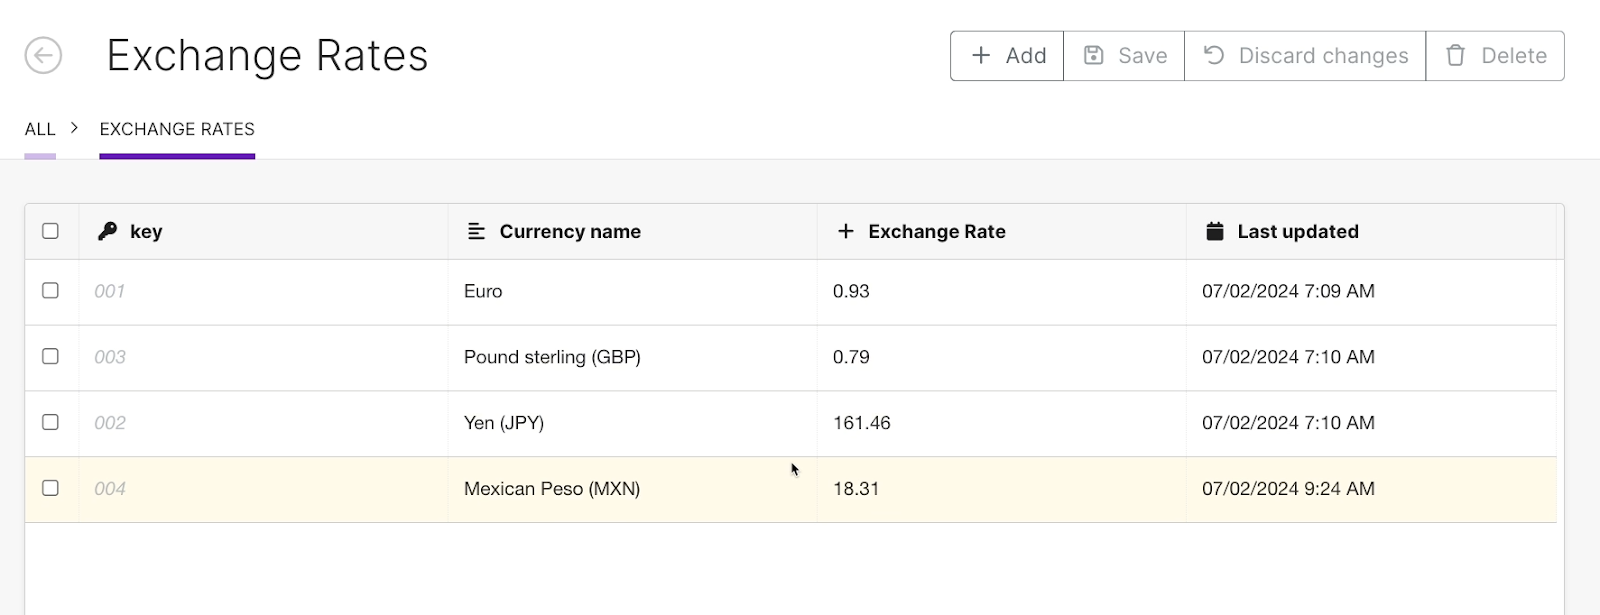
When you run the module, you should see the record created or updated as appropriate.
Of course, data stores are certainly not the only way to do a lookup in Make, and frankly, they’re often not the best way.
Instead of using a built-in feature like a data store, we’d often recommend using Airtable to create an Operational Database (ODb). With an ODb, you can store data for easy reference, control how your automations run, and share data with your team using interfaces.
You can learn more about using an ODb with your no-code automations in this blog post. In the post, we give a brief overview of all the key benefits and use cases of connecting your automations to an Operational Database.
The post primarily demonstrates an ODb connected to Zapier, but the same principles apply to Make. In fact, one of the key benefits of using an ODb is that you can search the same database from several different automation providers.
To learn more about designing workflow automations that leverage an ODb, you can also sign up for our Workflow Designer course. With over 2 hours of video content and activities, we’ll teach you how to design and implement automated workflows that support entire teams with techniques like an ODb.
Of course, an ODb may be overkill in some circumstances. If you just need a small set of data that likely won’t be referenced in many places, then the data stores that we’ve looked at today are a great choice.
With Data Stores in Make, you can quickly create a simple database that you can reference from any Make scenario. Once you’ve established the structure for a data store, you can add, update or delete records with a simple built-in module.
If you’d like to learn more about Make, Zapier, and other no-code automation tools, check out our blog or our YouTube channel. You can also follow XRAY on Twitter, Facebook, or LinkedIn.