AI and no-code automation are a natural pairing.
You can take the ability of an AI like Claude to generate and analyze text, and combine it with automation’s time-saving potential to produce a fast, efficient, and effective workflow.
That’s why in this tutorial, we’re going to show you how to automate Claude by Anthropic with Zapier.
To begin, we’ll give you a brief overview of what Zapier is and what it does for the uninitiated.
Then, we’ll show you how to set up your Anthropic account and connect it to Zapier.
Finally, we’ll walk you through the process of building an example automation that sends a prompt to Claude to extract action items from any email that you tag with a custom label.
Before we dive into automating Claude, we’re going to quickly cover what Zapier is and how it works for anyone who might not be familiar with it.
Zapier is a no-code automation provider. It lets you build automated workflows by connecting your web apps together.
When an event happens in one app, one or more automatic events will be performed in other apps.
For instance, in the automation – or “Zap” – we’re going to build today, everything kicks off when we apply a custom label to an email in Gmail.
Then, Zapier sends a preconfigured prompt to Claude that includes text from the email’s body.
Finally, the Zap automatically sends an email back to us with the action items that Claude extracted from the original email.
In short, it will give you a summary with a single click. And you don’t need to write any code to build it.
You should know that even though we’re just gonna connect Gmail and Claude in this tutorial, Zapier supports over 7,500 apps right now - and that number’s always growing.
The odds are good that Zapier can automate the apps you already use every day.
While Zapier does have a free plan, you’ll need a paid plan to build automations like this with more than two steps.
You can learn more about using Zapier in our Zapier beginner’s guide here. If you’re brand new to Zapier, we’d strongly recommend checking out that guide before proceeding with this tutorial.
Note that Zapier’s UI has already changed in the few months since we posted that guide. However, everything still works the same under the hood.
In order to start automating Claude with Zapier, you’ll need to set up an Anthropic Console account, and you’ll need to set up an API billing plan.
That’s because Zapier is going to access Anthropic through its API, or “Application programming interface”.
You can learn more about what APIs are here.
Go to console.anthropic.com and sign in with your existing Anthropic account, or create a new one. If you’re making a new account, you’ll need to provide a couple details about your organization.
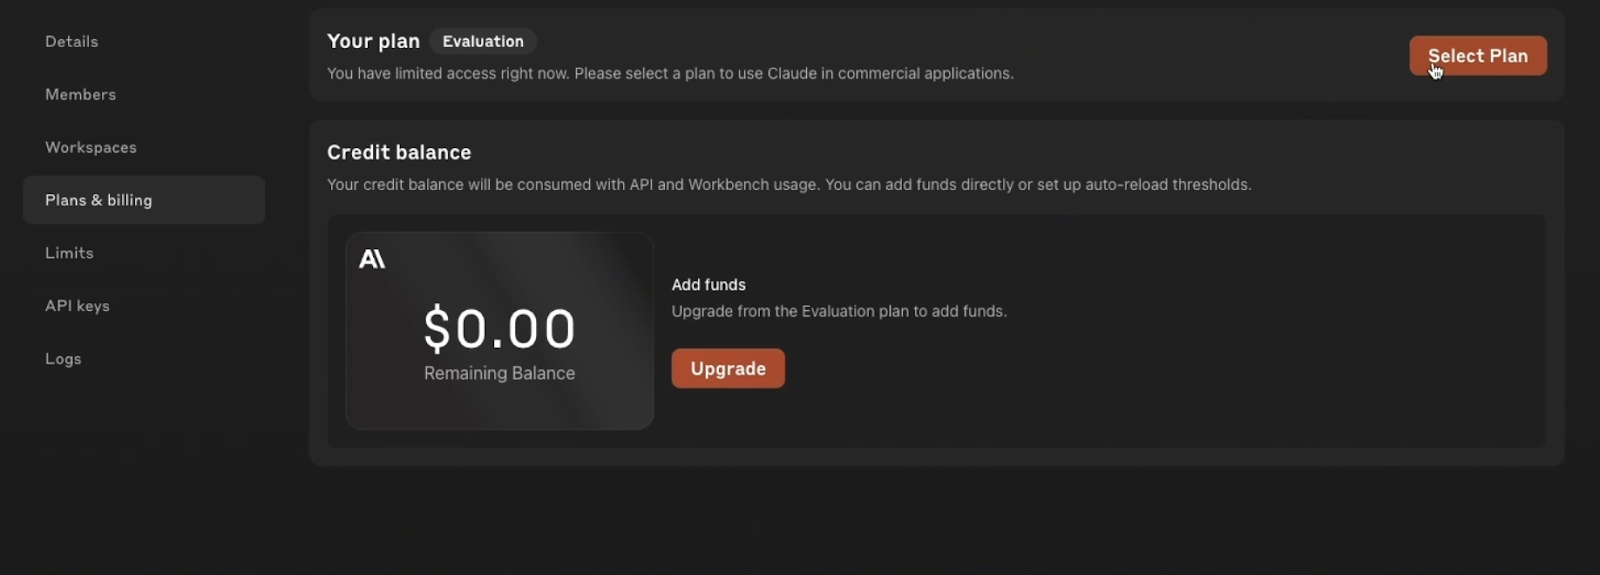
Once you’re signed in, click on “Settings”. Then choose “Plans & billing”.
New Anthropic console accounts always begin on the “Evaluation” plan, which doesn’t grant access to Anthropic’s API.
Click on “Select Plan” to see your options.
You can either go with the “Build” plan, which will require you to load up your account with prepaid credits, or the “Scale” plan, which will bill you monthly for your activity.

The “Scale” plan will require you to contact Anthropic’s sales team, so to get set up fast, it’s best to just go with the “Build” plan.
You’ll just have to provide some details about how you plan to use Claude, and where you’re located. Then, you can add a payment method and credits.
Note that you won’t need to pay any kind of subscription fee. You’ll only be charged for the credits you add to your account.
The good news is that running prompts through Claude’s API is generally going to be very cheap - often just a cent or less for each one.
You can learn more about pricing details on this pricing page.
Once you’ve created a console account and added a payment method, you’ll be ready to connect Anthropic to Zapier.
To connect Anthropic to Zapier, start by signing in to Zapier.
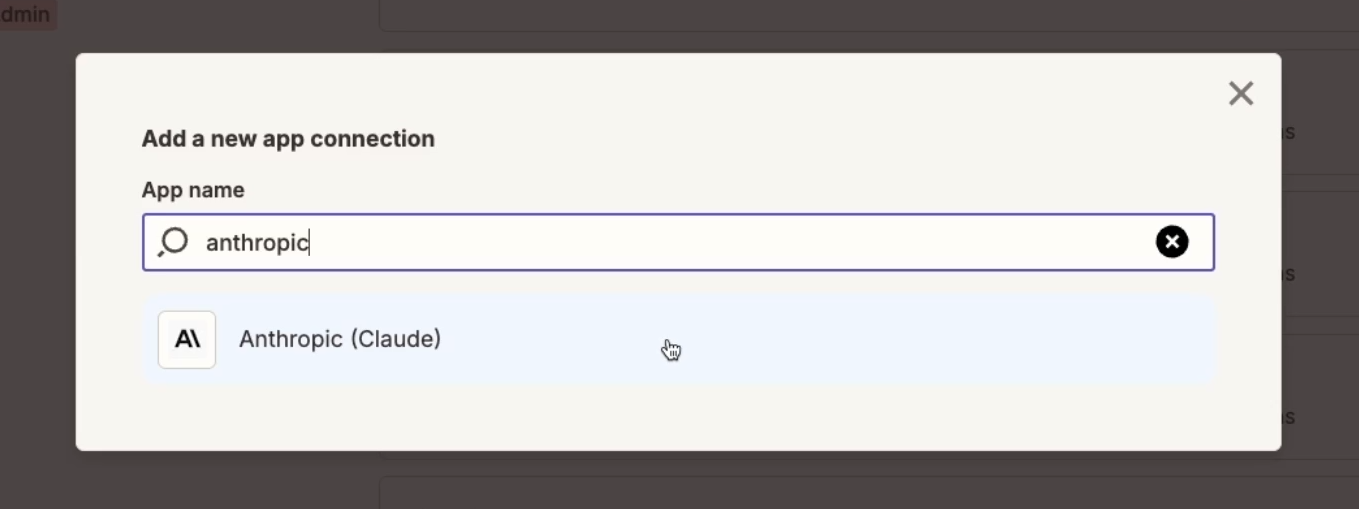
Click on “Apps” in the left hand menu. Then, choose “Add connection”.

Search for “Claude” or “Anthropic” to find the app, and choose it from the list of results.
You just need one piece of information to authorize Zapier to access your Anthropic account - an API key.
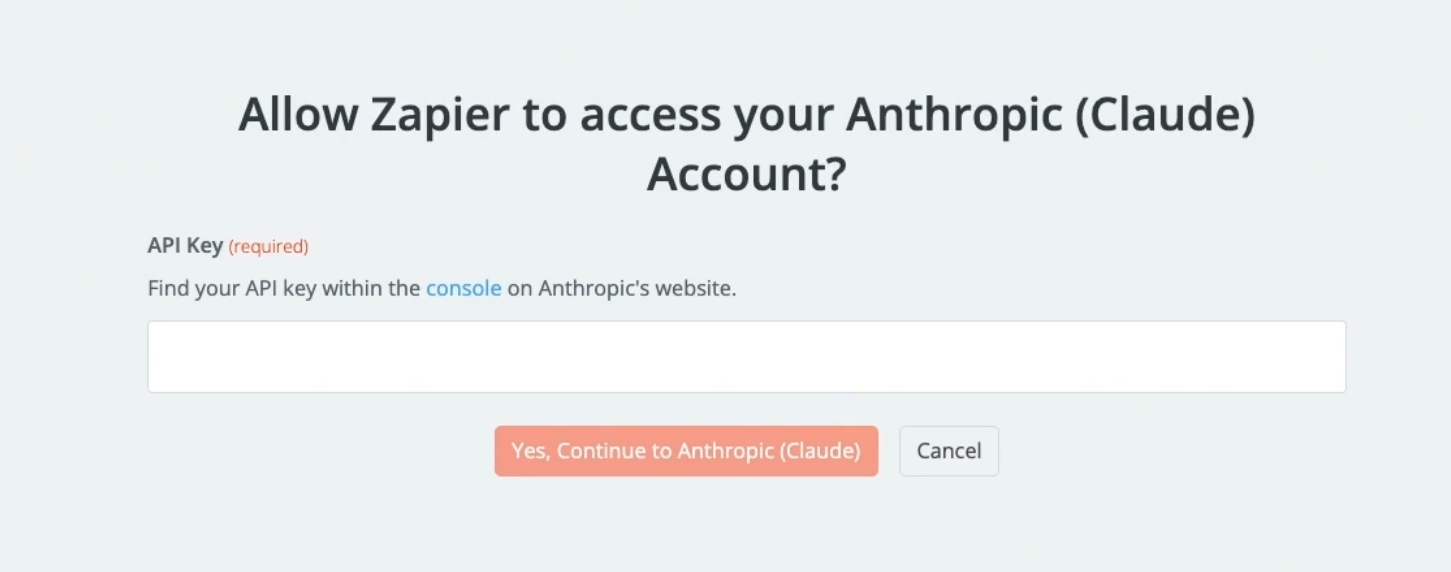
To create an API key, go back to the Anthropic console. You can follow the handy link that Zapier provides.
Then, on the “API keys” page in the Settings tab, just click on “Create Key”.

Give your key a unique and descriptive name so that you know what it’s for. You’ll be able to track usage by key, so we’d recommend naming it something like “Zapier Key” so you can see how much API activity is coming from your Zaps.
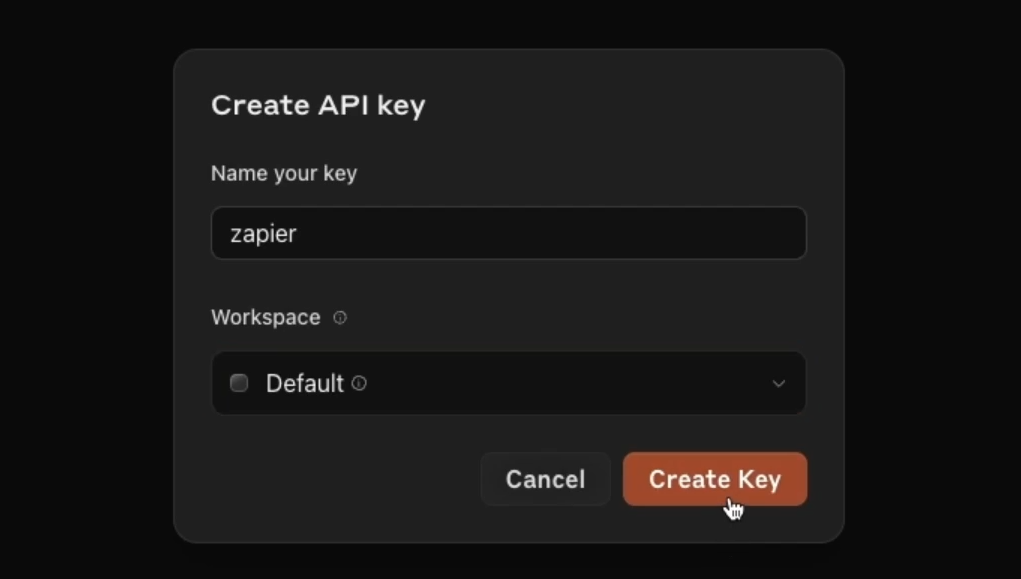
Choose a workspace for your key, and click “Create key” to finish.
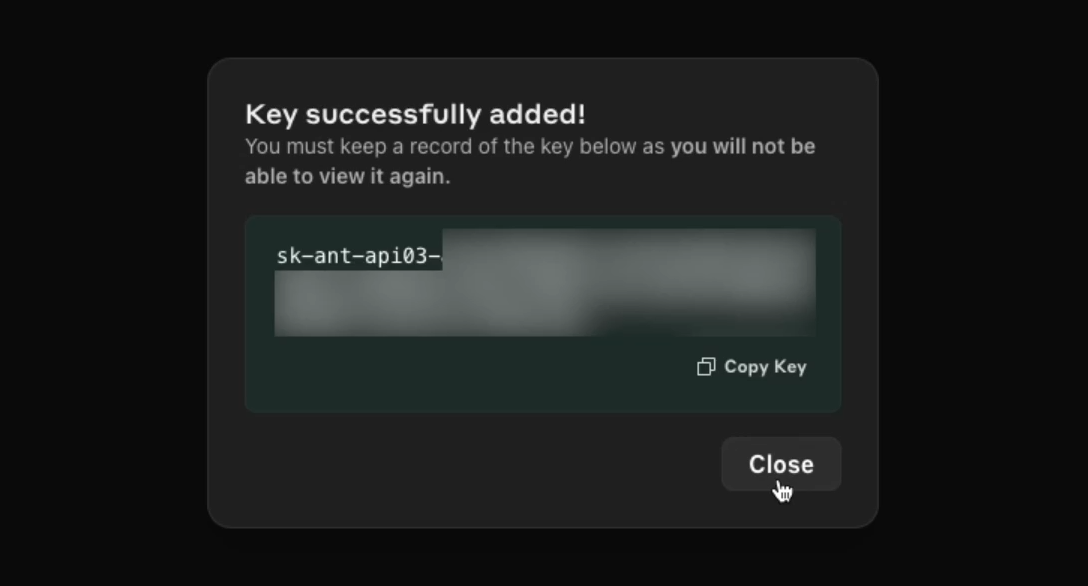
Then, make sure to copy the key before closing this window, since Anthropic won’t reveal it to you in full again.
Paste it into Zapier, and click Continue.
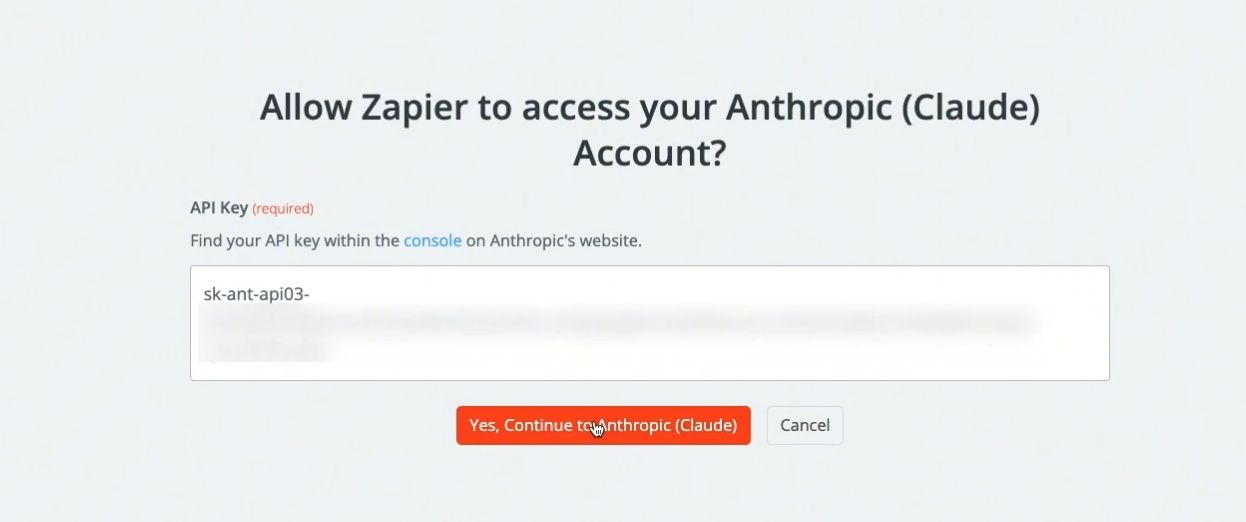
Now, your Anthropic connection in Zapier is all set, and you’re ready to start building an automation.
To build a Zap that automates Claude, begin by clicking on “Zaps”. Then, create a new Zap.
As mentioned earlier, the automation that we’re going to build will start whenever we apply a custom label to an email in Gmail.
Even though we’re going to be building an automation that uses Gmail specifically, the same principles will apply to any other app that you want to connect with Claude.
So if you want to build an automation that launches prompts from Microsoft Teams, or from Hubspot, the information in this tutorial will still help you out. This is just one specific example that illustrates some general concepts.
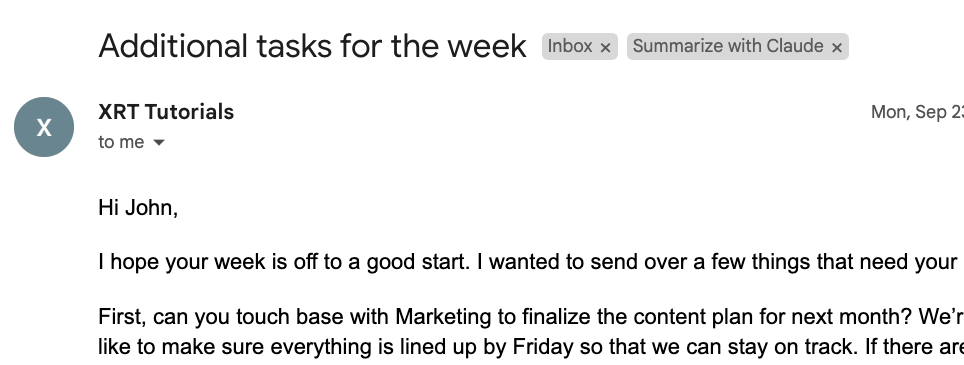
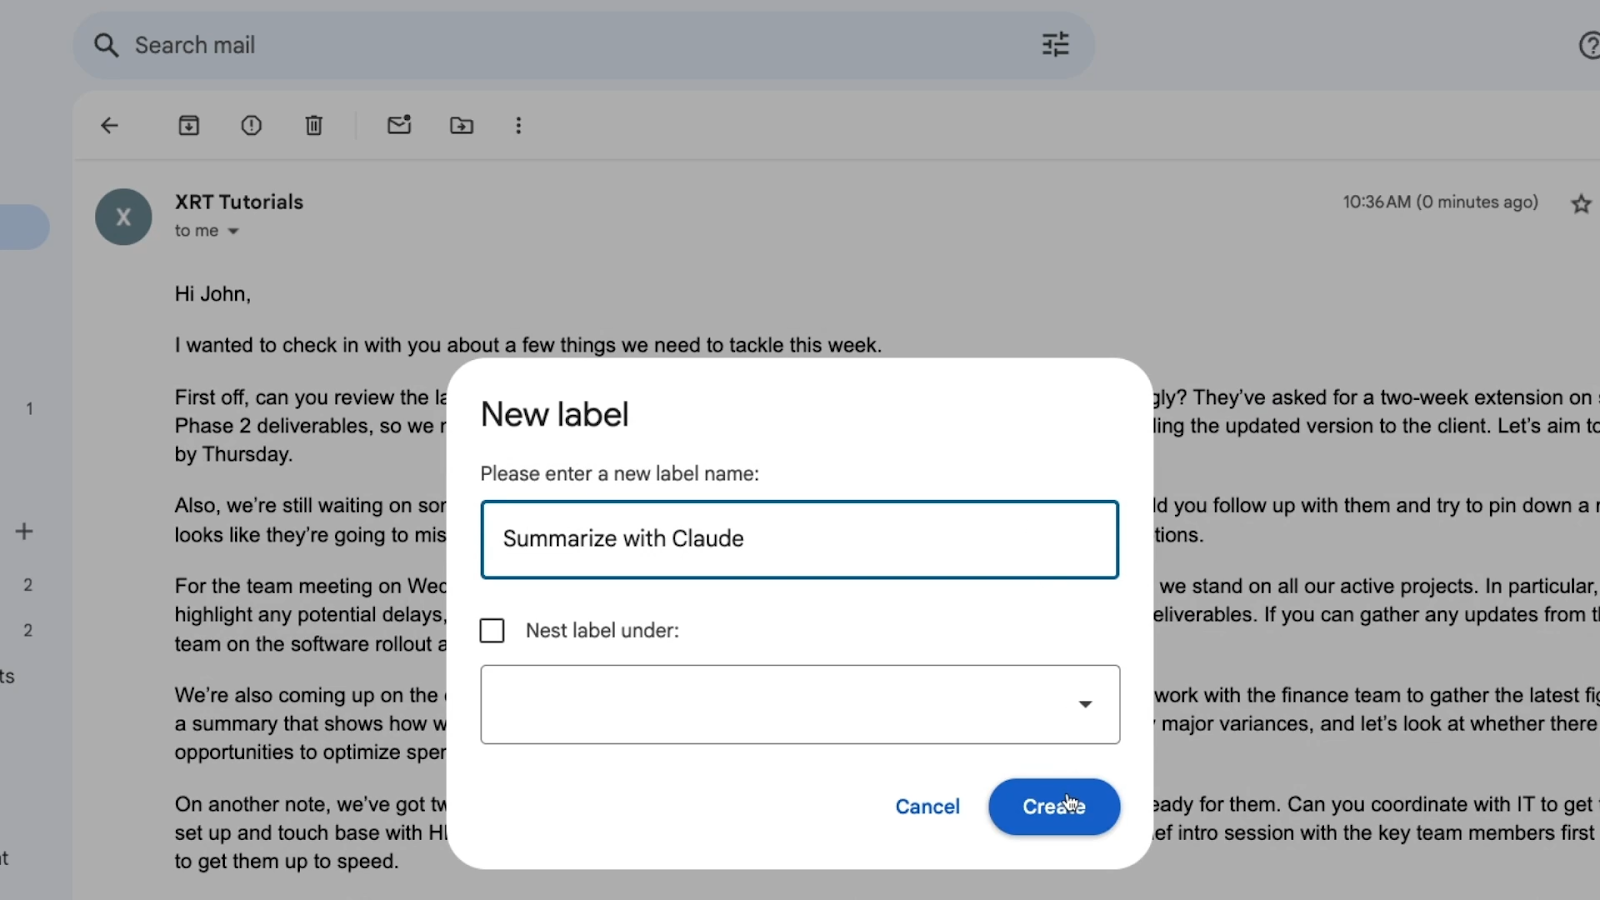
We’ll start by making our test data first. For our example, we’ll create a custom label in GMail – “Summarize with Claude” – and add it to an email so that we’ll have some test data to work with as we’re building the automation.
Always make sure you have some test data to use before you build your automation.
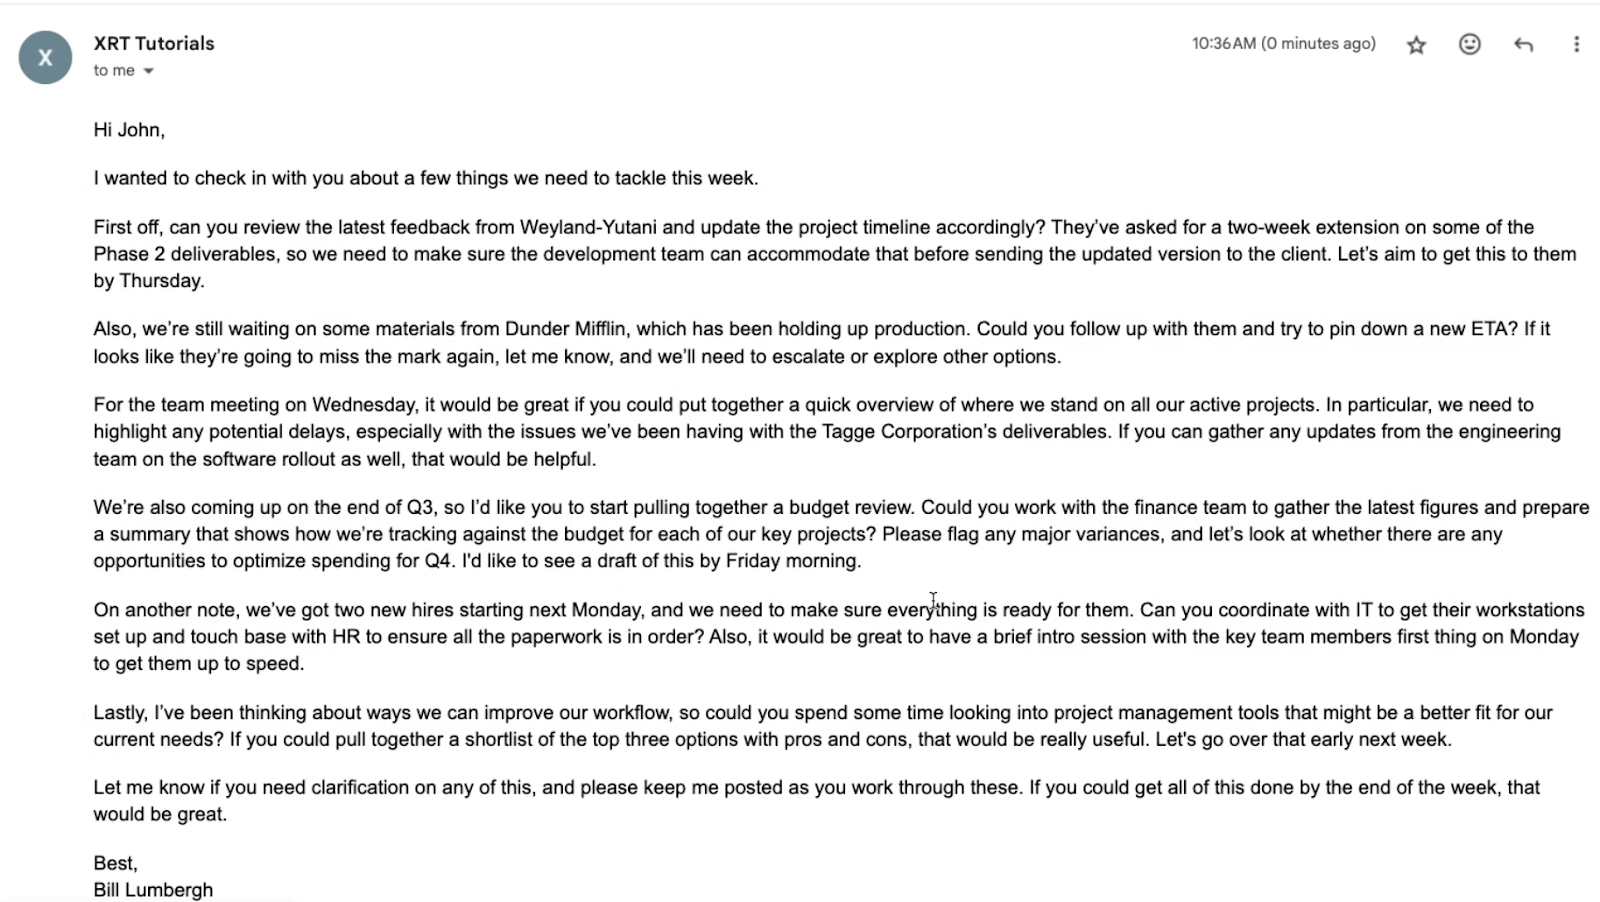
Below, you can see a perfect candidate for this automation – exactly the kind of wordy, demanding email you’re probably all too familiar with.
Once your test data is ready, add a trigger to your Zap. The “trigger” controls when the Zap runs.
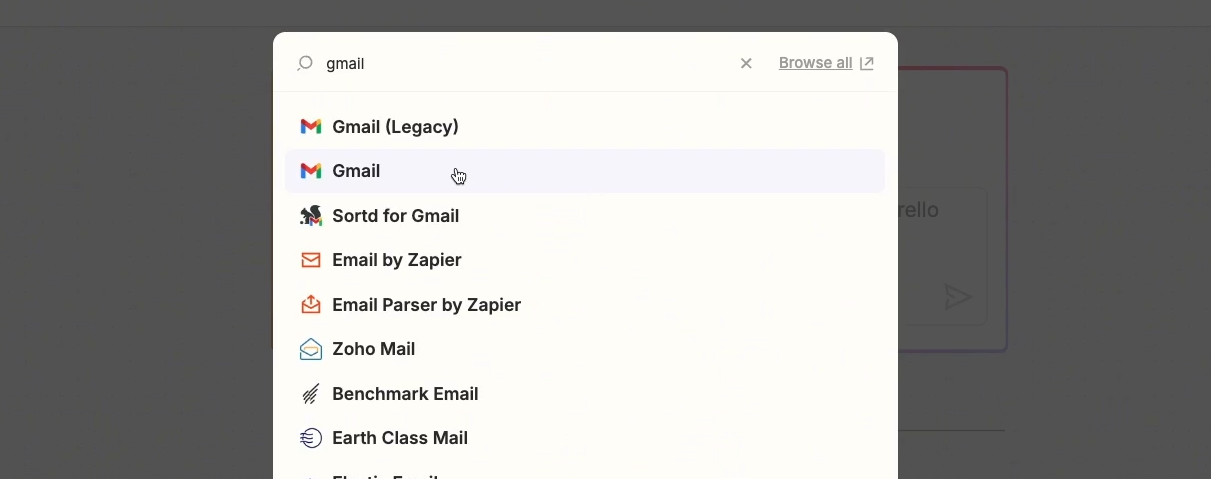
Choose an app for your trigger. For our example, the triggering event will occur in GMail.
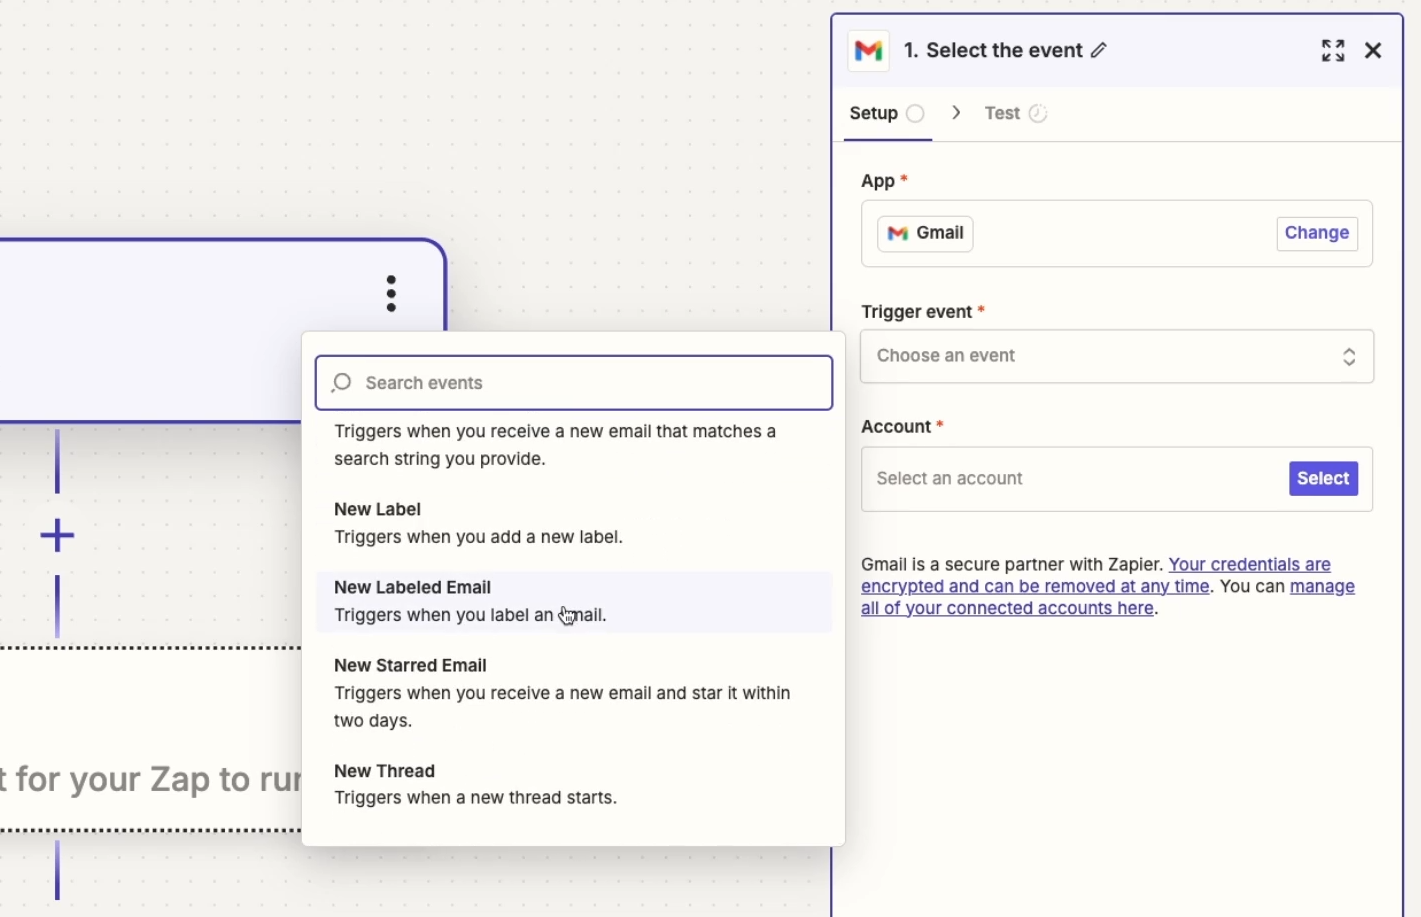
Next, select a specific event that will trigger your automation. In our example, that event will be a newly labeled email.
Note that you will need to connect your Google account to automate it with Zapier, but you won’t need to mess around with API keys or anything like you had to with Claude.
You’ll just need to sign in to Google and click a button to approve Zapier.
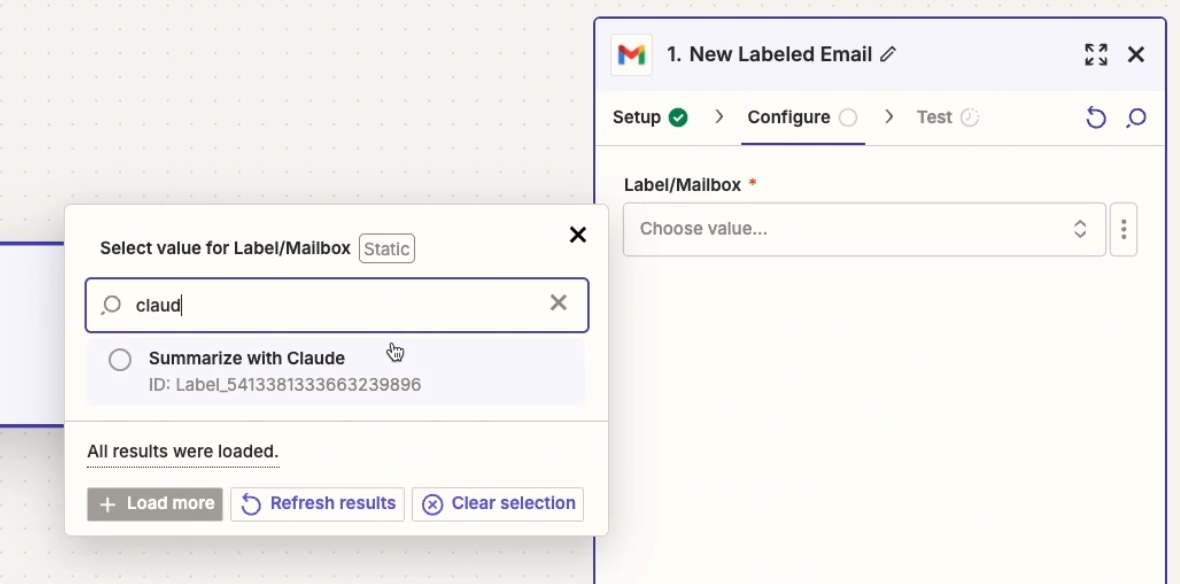
Next, configure the specific settings for your trigger. Configuring the GMail trigger in our example is extremely simple.
All you have to do is identify the label that you want the automation to trigger for. In this case, that will be our custom label - “Summarize with Claude”.
With the trigger configured, you can give it a test to pull in some data. This test data is required to build the other steps in the automation, and will show you what kind of information Zapier can retrieve and work with.
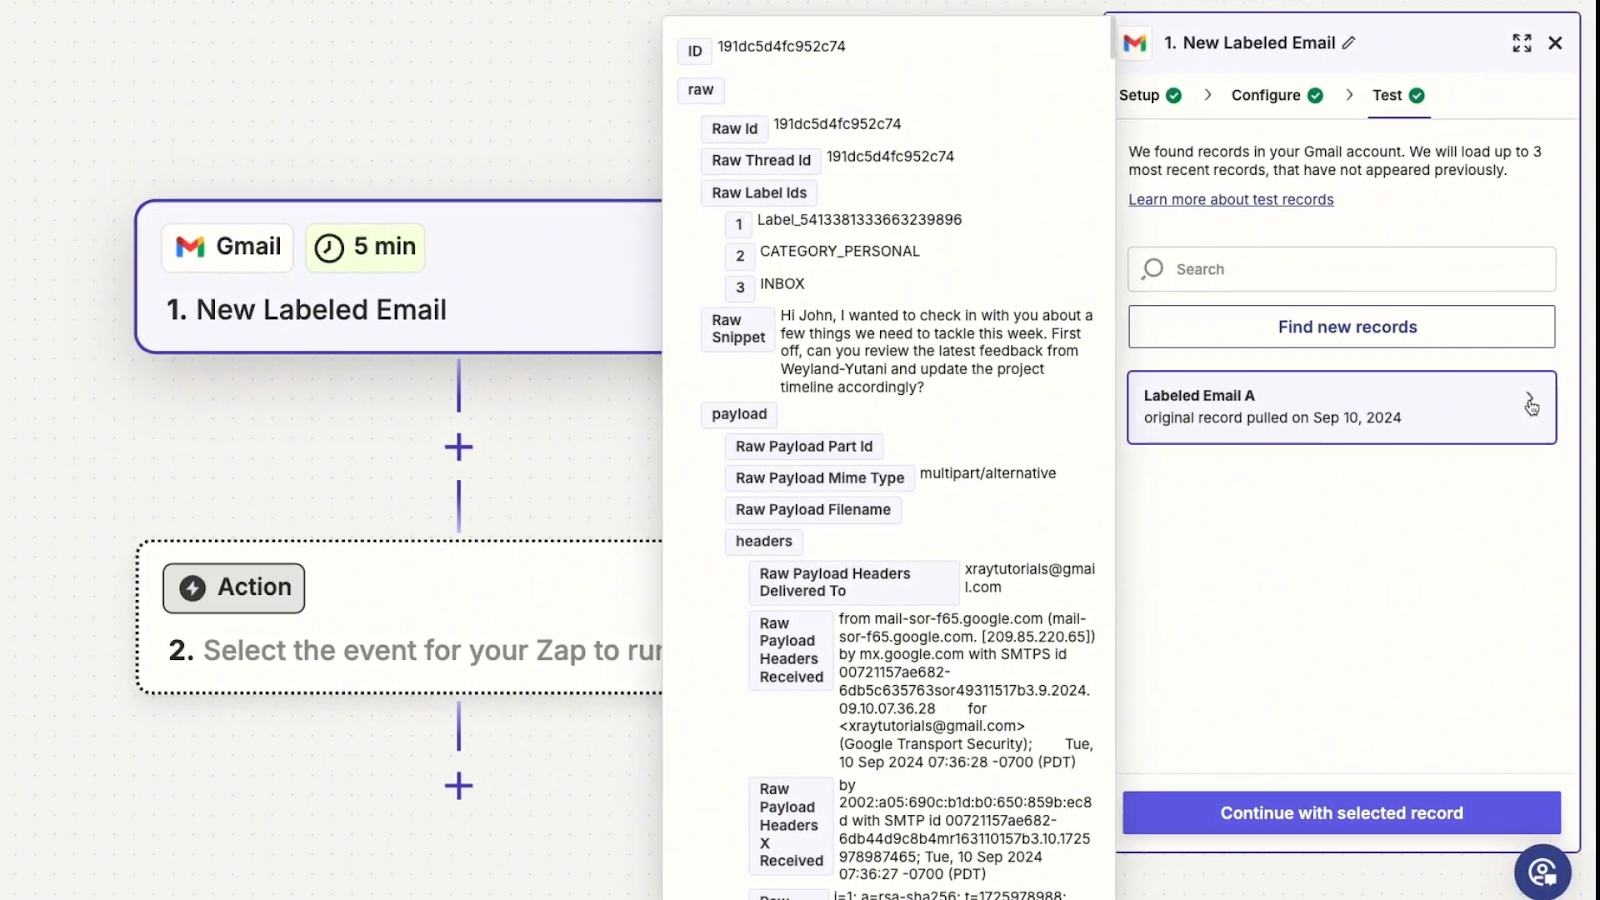
After a successful test, you can see a long list of data, like the email addresses of the sender and recipient, the email body, and many other items that you typically won’t need to use.
With a successfully tested trigger, you can now add a step to your Zap that sends a prompt to Claude.
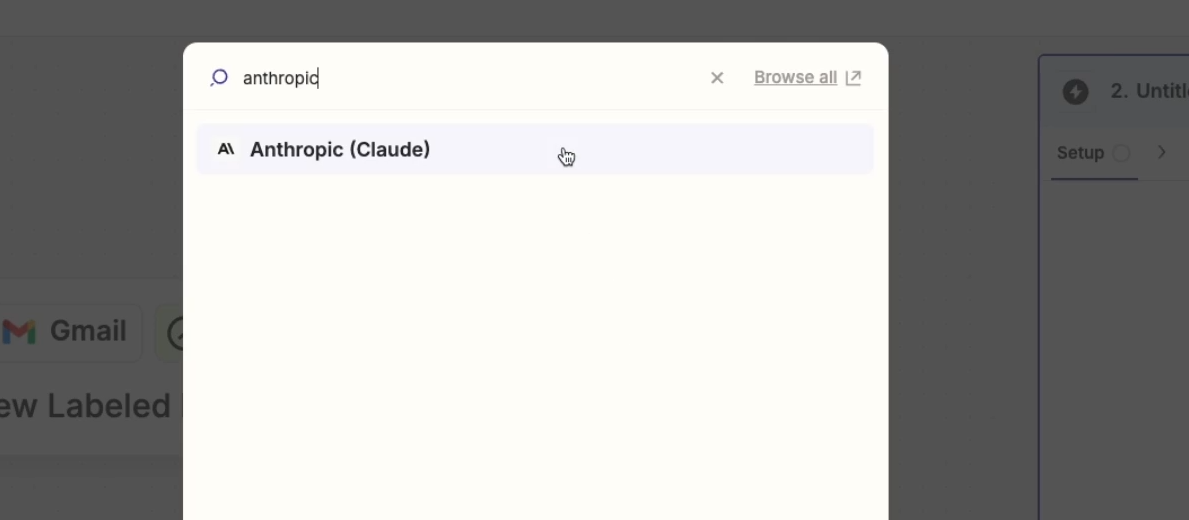
Add an action, and choose “Anthropic (Claude)” as the app.
For the time being, there’s only one choice for an action: “Send message.” Pick that, and choose your connected Anthropic account if it’s not already selected.

Then, click “Continue.”
Unlike the trigger, there are several options to configure here - and you can find even more by setting “Show Advanced Options” to “True.”

As you configure your prompt, note that only fields marked with an asterisk are required. You could just fill out your message and leave all of the other settings to their defaults if you want to get set up quickly.
However, configuring your action a little more precisely usually pays off.
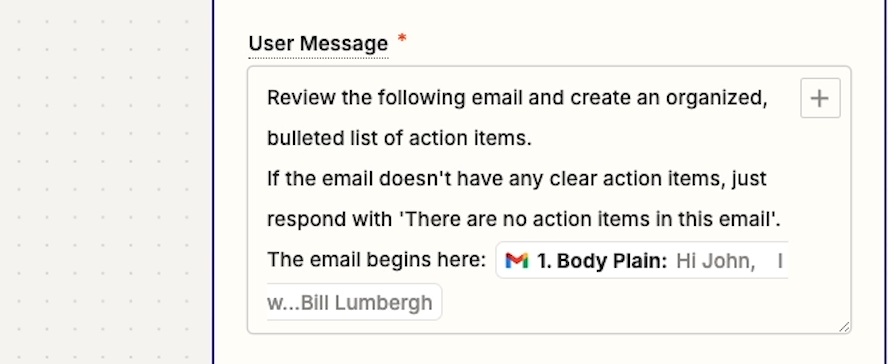
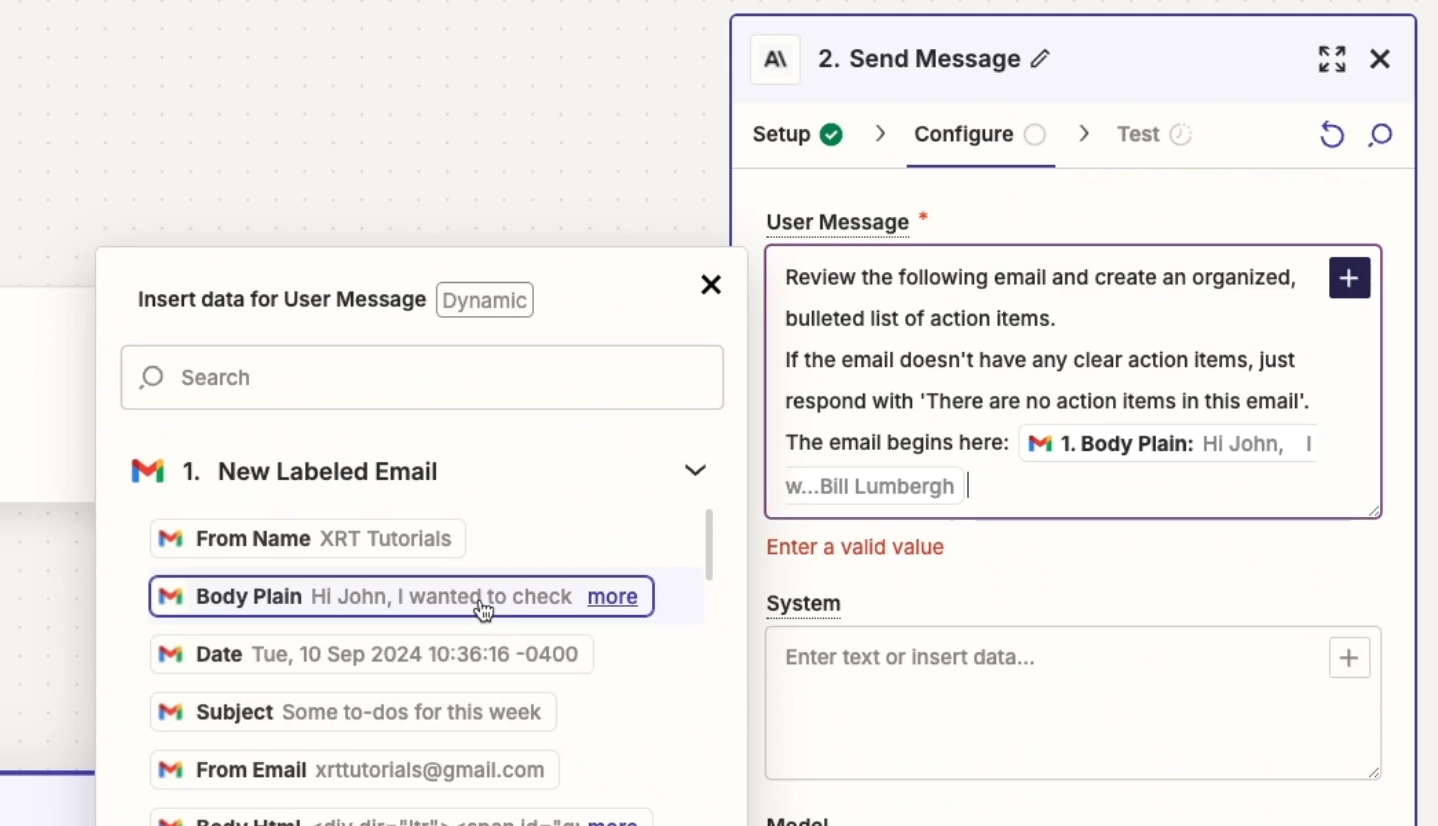
First, you’ll see the “User Message” field. Here, you’re just going to enter a prompt pretty much like you would if you were chatting with Claude directly.
The most important difference is that you can also include dynamic data retrieved from previous steps in the Zap.
For example, we can include the body of the email that triggered the Zap so that Claude can analyze it and find action items.
Under “System,” you can provide instructions for the role that Claude should assume. Entering additional information here can help to shape Claude’s style and approach to answering your user message.
Next, you can choose a model to use.

We’d recommend going with a faster model for any Zap that uses Claude. Zapier won’t wait indefinitely for a response, so you’ll want to prioritize getting a reply quickly, even if that means you can’t always use the latest and greatest model.
In the “Memory Key” field, you can provide a unique key to connect your conversation with previous ones.
For example, if we use a key like “EmailActionItems”, then Claude will use previous conversations with the “EmailActionItems” key as context, until it hits its context limit.
This can be a good way to give your conversations more depth and to improve the results over time.
Next, there’s an option to upload images so Claude can use “vision” to analyze them.
We won’t attach an image to this prompt in our example, but keep in mind that you could add images here as dynamic data retrieved from earlier steps - such as an image attached to the original email.
In the “Max Tokens” field, you can set a token limit if you'd like to keep the response short and your API charges low.
Finally, there are settings for “Temperature,” “Top K,” and “Top P.”
All of these settings are about changing the predictability or creativity of the AI.
We won’t get into all of the technical nuts and bolts about how these work – if you’re interested in the details, you can explore this IBM documentation to learn more about how these factors influence an AI’s output.
However, for most users, reading the descriptions in Zapier will be fine.
In our example, we’ll set “Temperature” to .7 to make the answers a little more creative, but not all the way at the max of 1.

Once you’ve configured all of your settings, you can give your prompt action a test. Note that running a test on a Claude prompt in Zapier will actually send the prompt to Anthropic’s API, and will incur a small charge on your account.

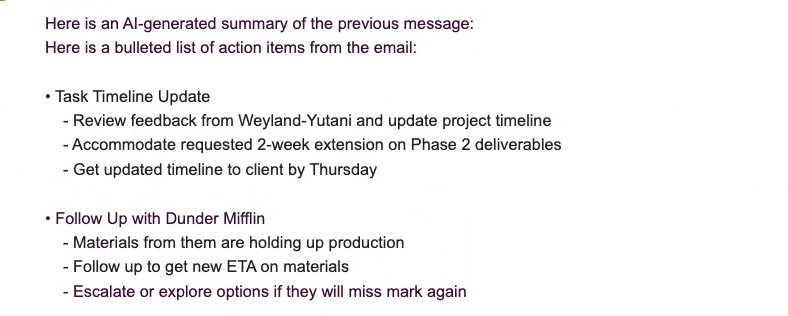
Our test was a success, and we can scroll down past the user message to see Claude’s answer.
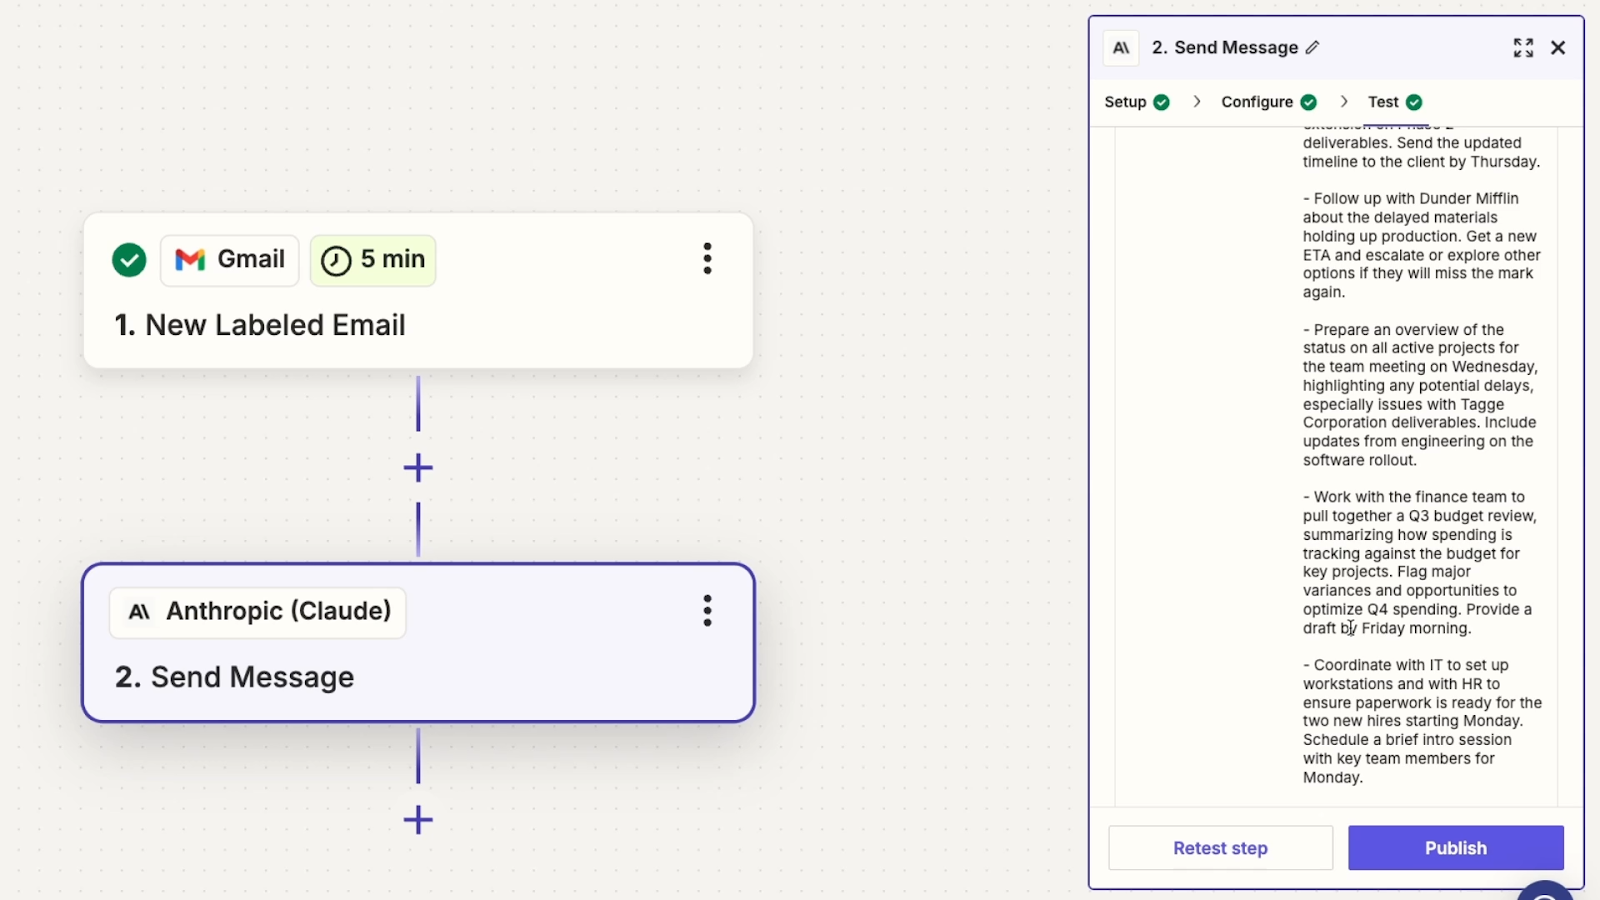
Not bad. This definitely produces a much more readable list of tasks than the original email.
But you can always tweak your prompt, system message, and settings to fine tune your results if you’re not satisfied.
Now that we’ve got a response from the AI, the last thing we need to do is make sure the output actually gets sent to us somewhere we can easily read it.
Again, you could send it to thousands of different apps, but we’ll just go with the logical choice and send it right back to our Gmail inbox.
Add another action to the Zap, and choose Gmail as the app again. For the action, we’re going to choose “Reply to email.”
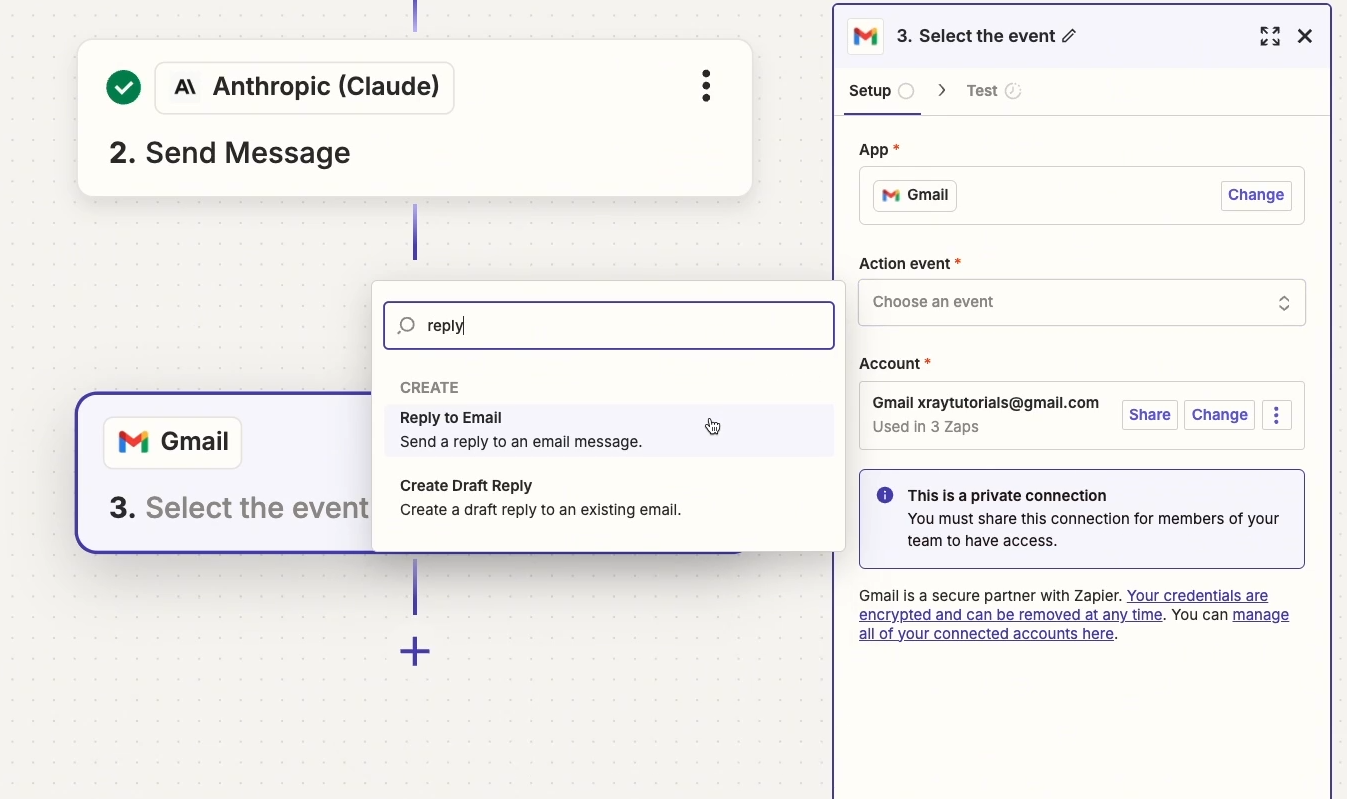
Then continue to the configuration.
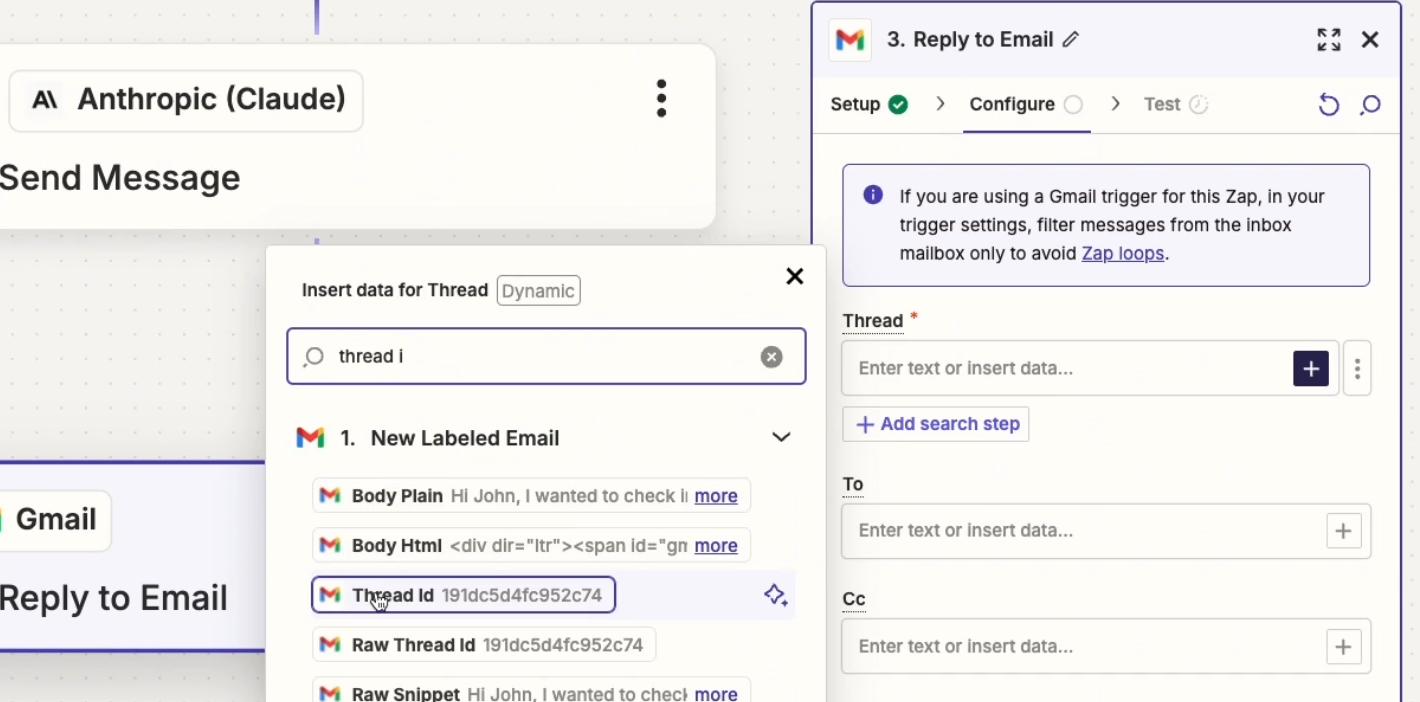
First, you need to identify a thread to reply to.
Change the field to “Custom” instead of “Static,” and insert the thread ID retrieved in the trigger.
For the “To” email, just enter your own email.

By only entering your own email here, you can make sure that the reply doesn’t get sent to the original sender.
CC and BCC are optional, but you will need to enter a “from email” - that can be your email address again.
You’ll also need a “from name.”
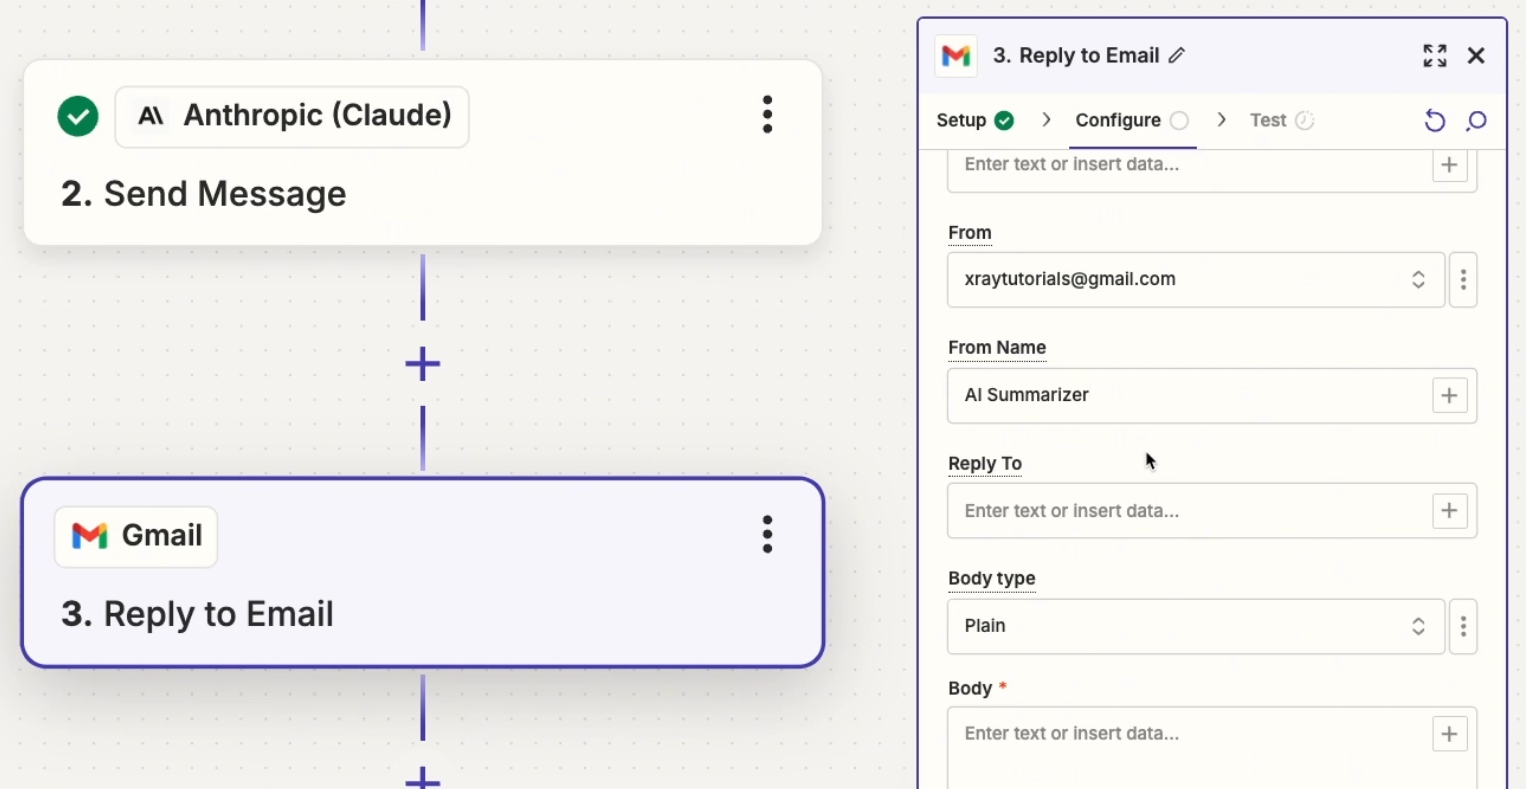
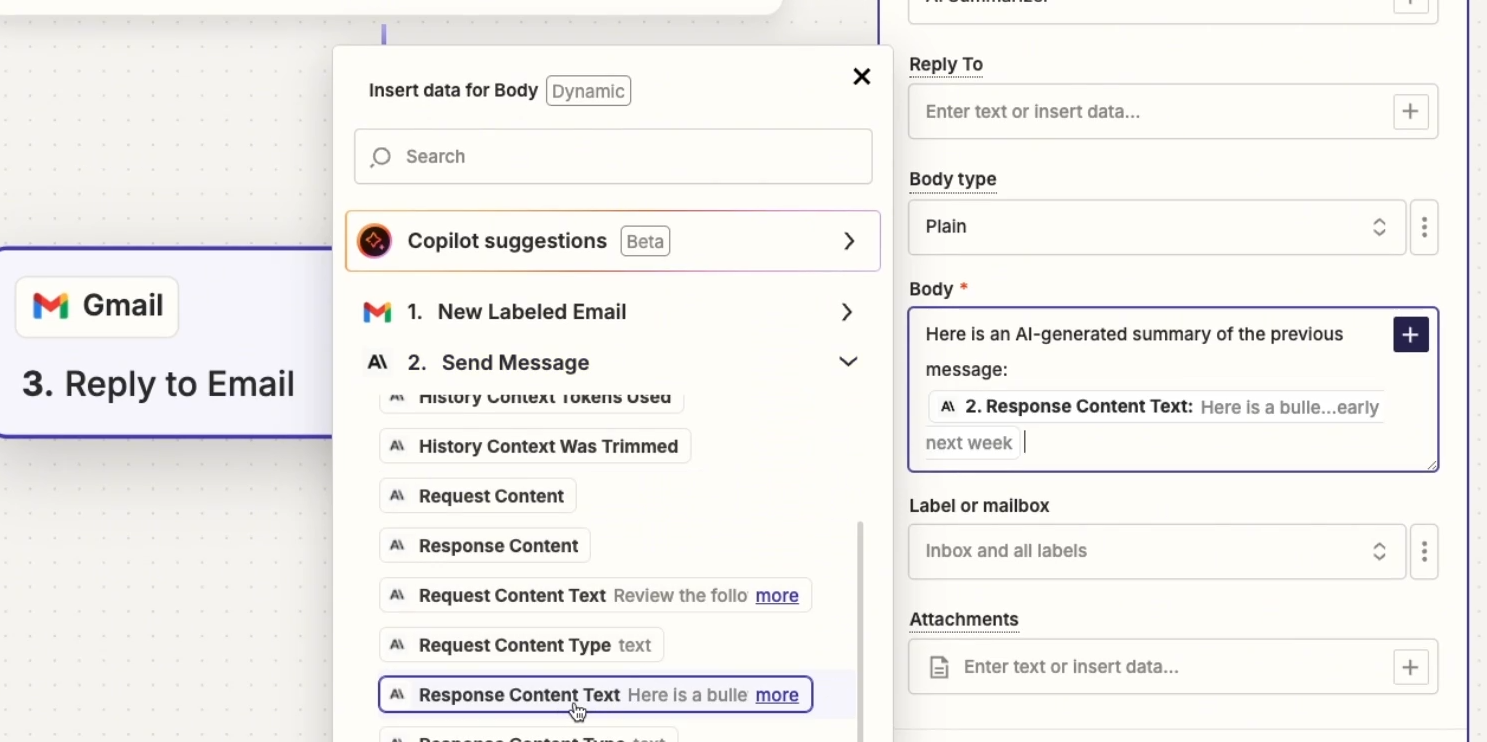
Keep the body type as plain, type up a brief message, and insert Claude’s response from the previous step. It’s the “Response content text” variable.
You don’t need to add any labels or attachments, so you can continue and test.

After your successful test in Zapier, check your Gmail inbox to see the final message.

Now, you can turn the Zap on and start using it.
Once it’s on, it will trigger after you add a label to an email. However, it won’t be immediate.
Zapier will check for new emails at set intervals, which you can see here in the left-hand menu of the Zap builder.
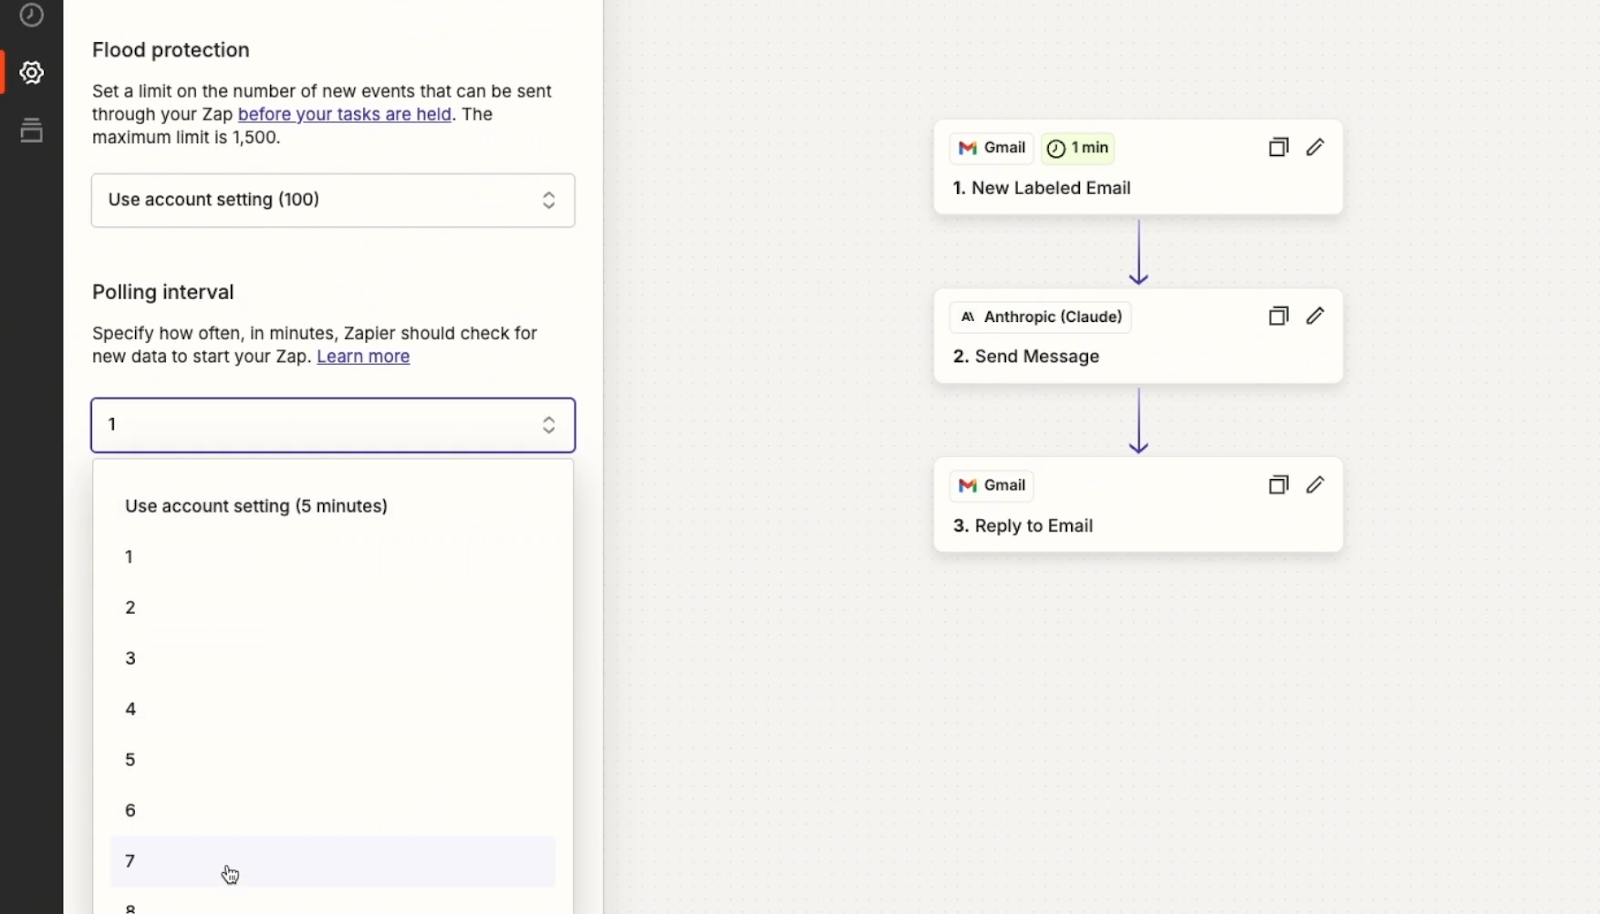
Depending on your plan, you may have to wait up to 15 minutes. But on higher subscription levels, you can reduce the wait down to just a minute.
Anthropic and Zapier are a winning combination that will help you line up your daily tasks and knock them down in record time. Getting started is easy, and after you’ve completed this tutorial, you can try connecting Anthropic with any other apps that you want.
To learn more about optimizing your workflows with AI and automation, check out the other tutorials on our blog or our YouTube channel. You can also follow XRAY on Twitter, Facebook, or LinkedIn.