
If you're constantly doing the same tasks on your iPhone, iPad, or Mac, then there's an easy and free way that you can start saving time right now.
In this post, we’re going to show you how you can create automations to streamline your everyday life with Apple Shortcuts.
We’ll show you two different ways to create automations with Shortcuts.
We’ll start with a Shortcut from Apple’s gallery that uploads photos to Dropbox with a single tap.
Then, we’ll show you how to build a custom automation in Shortcuts that plays music whenever your device connects to a bluetooth speaker.
These are just two examples of the thousands of automations that you could build with Shortcuts, and they’re a great way to learn how Shortcuts work.
All you need to follow along with these tutorials is any Apple device. Our examples will be demonstrated on an iPad, but you’ll see similar options on iPhones, as well.
As mentioned earlier, there are two types of automations you can create with Shortcuts.
You can build automations that run on demand whenever you tap on their button.
Alternatively, you can create automations that run on their own based on conditions like the time of day, your device’s battery level, or whenever a specific app is opened.
We’ll cover both in this tutorial.
We’ll start with an on-demand shortcut from Apple’s gallery. This Shortcut will let us automatically upload the latest photo on our device to Dropbox with one tap.
To begin, open up Shortcuts. It should already be installed on any Apple device we own - like your Mac, iPhone, iPad, or Apple Watch. You can see the icon for the Shortcuts app in the screenshot below.
Once you’ve opened up the Shortcuts app, select “Gallery” from the menu on the left.

In the gallery, you can quickly create shortcuts with premade templates created by Apple. To easily find what you want, just search for the specific app or event that you want to automate.
For example, you can search for “upload” to find the shortcut for uploading a photo to Dropbox.
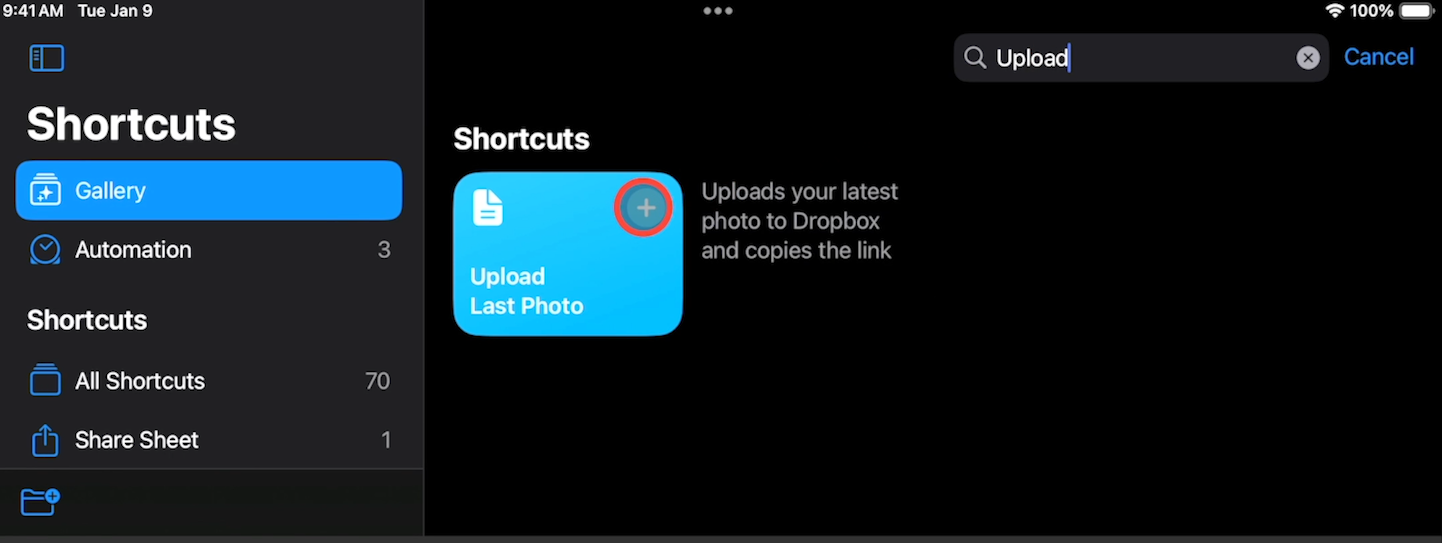
You can tap on the plus sign to add any shortcut to your device.
Note that some shortcuts from the gallery will immediately walk you through configuration options, while others won’t. However, you can always edit your shortcuts later.
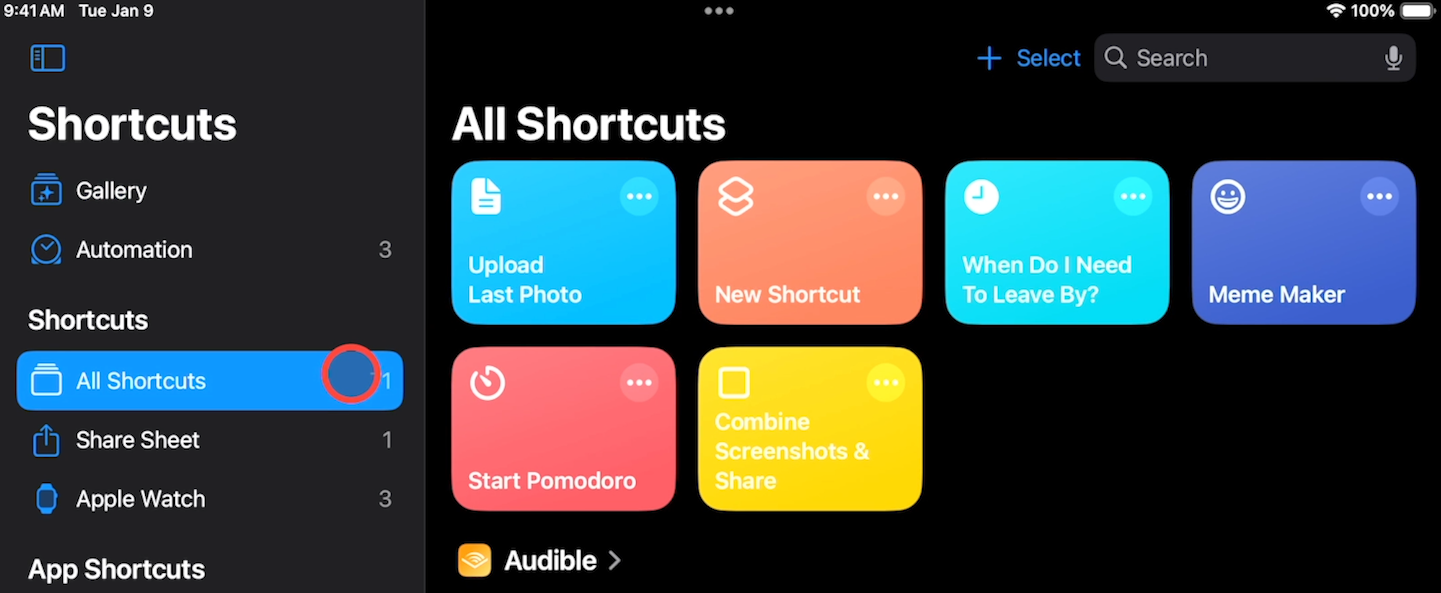
Once you’ve added the shortcut, you can tap on “All Shortcuts” to see it in your library.
To edit and configure an existing shortcut, just tap on the three dots in the top right corner of the shortcut.
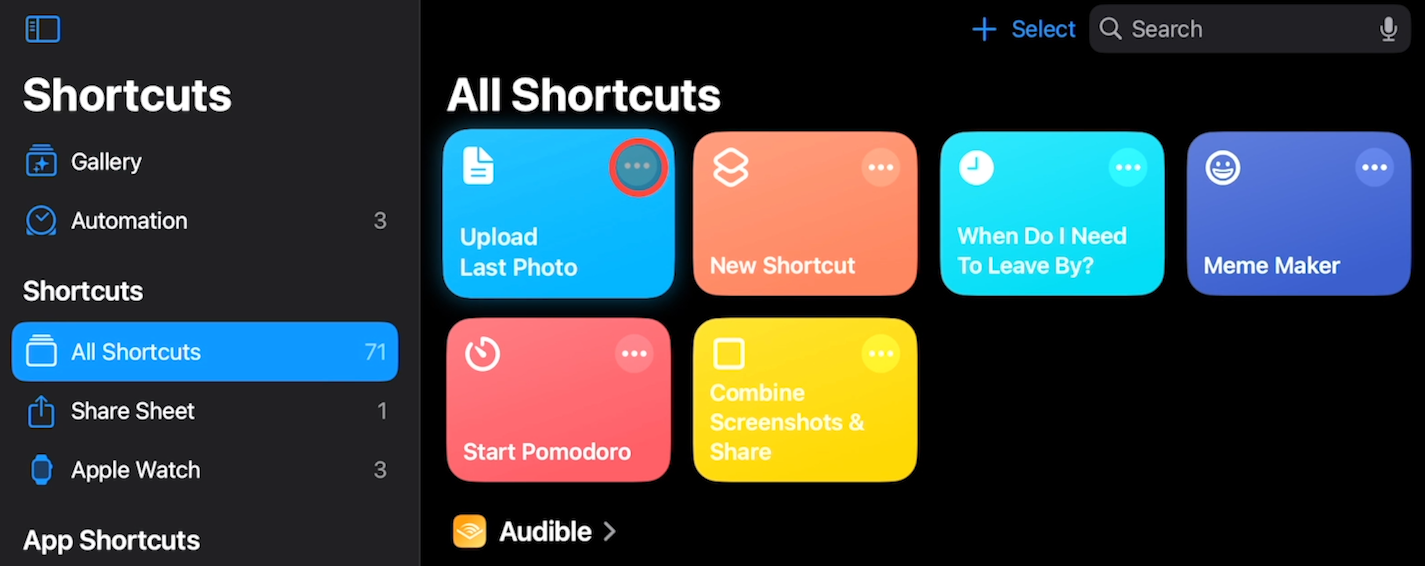
Then, you’ll see each action that the automation performs, with several configurable options.
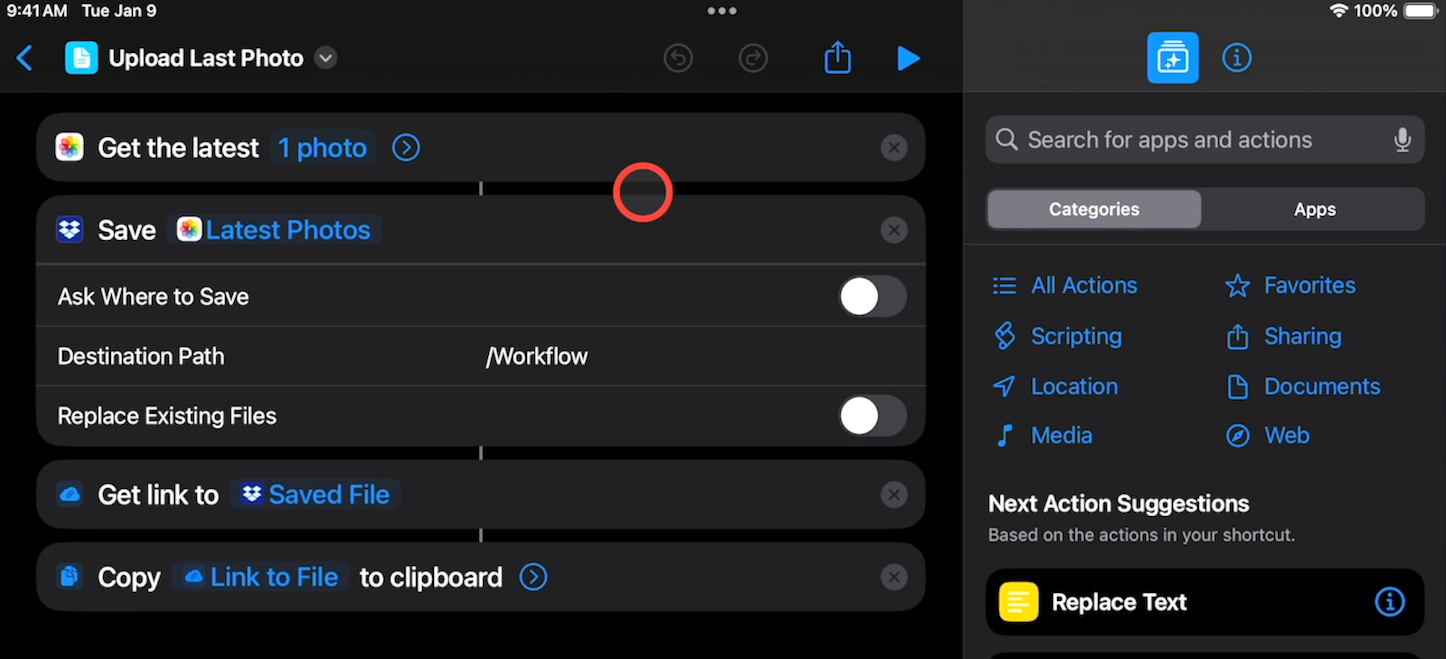
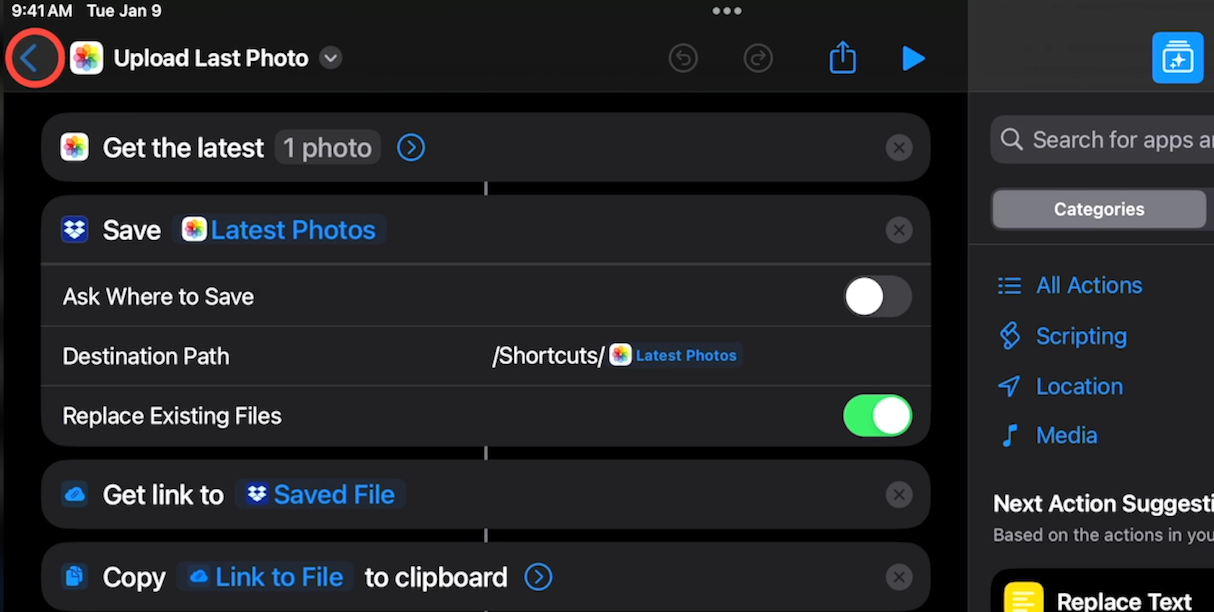
This automation starts with a step that retrieves the most recent photos on the device and lets you choose how many photos to get. You can set any number you want here, but we’ll just leave it as 1 photo in our example.
The second step saves the retrieved photo to Dropbox. The first choice for this action lets you choose whether or not the automation will prompt you to specify where the photo should be saved in Dropbox.
If you enable it, then the next two options will be hidden, since these options will let you choose a single static location where every photo will be saved.
For our example, we’ll leave “Ask where to save” disabled and instead configure a single location where the photos will be saved every time.
Next, for the destination path, you can set a location and filename for every photo. By default, they’ll be saved in the Dropbox root folder, and every file will be named “Workflow.”
First, we’ll save all of the files uploaded with this shortcut into a dedicated “Shortcuts” folder by typing /Shortcuts/ into the file path.
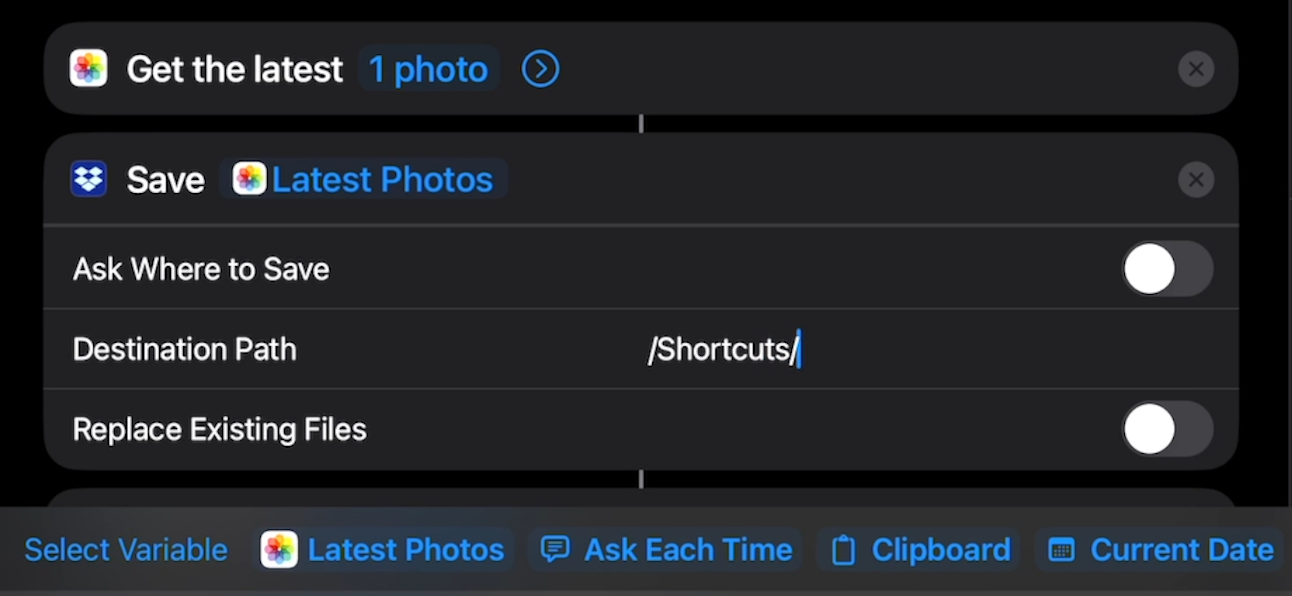
To help distinguish each photo, we’d recommend using a dynamic name. Instead of typing a name, choose “Latest photos” next to “Select variable.”
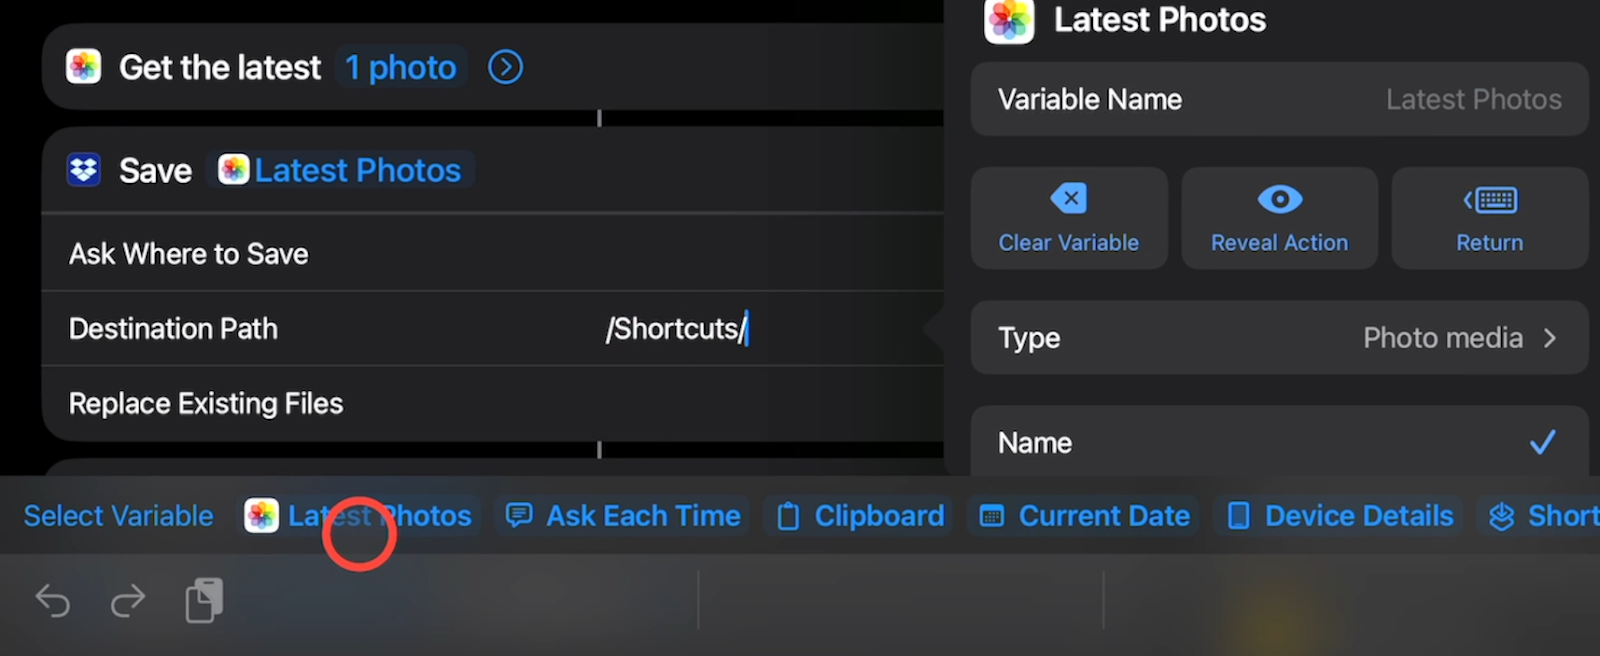
This will let you retrieve unique data from each photo processed by the automation, such as its file name, width, date taken, file size, and a lot more.
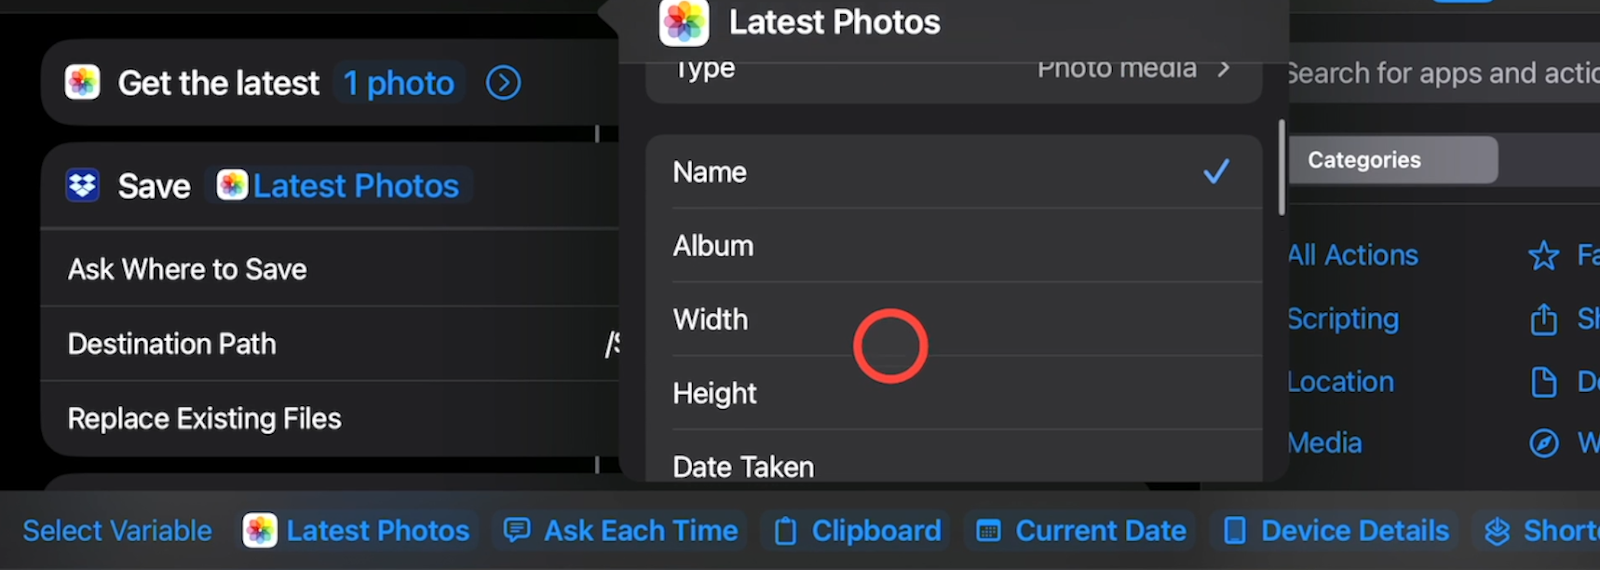
But the file name, which is already selected, will work just fine here.

Now, every photo you upload will go into this dedicated folder, and each photo will have a unique name. Using dynamic data like this to name files will make your shortcut automations much better than using static data.
Enabling “Replace Existing Files” will avoid redundant files by replacing old files with new versions when two items share the same name.
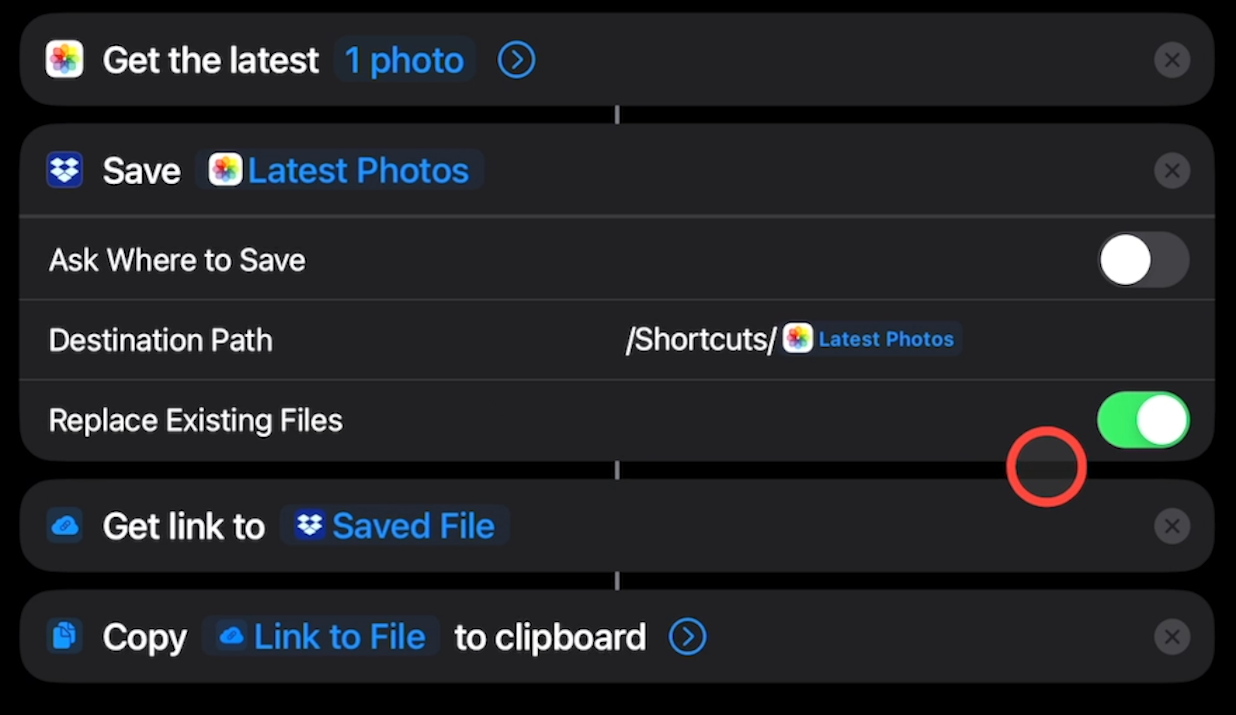
You don’t need to do anything to edit these last two steps, but it’s good to note that after the photo is uploaded to Dropbox, the automation copies the URL for the newly uploaded file.
If you’d like to add more actions to this shortcut, you can do so by selecting them from the right hand menu.
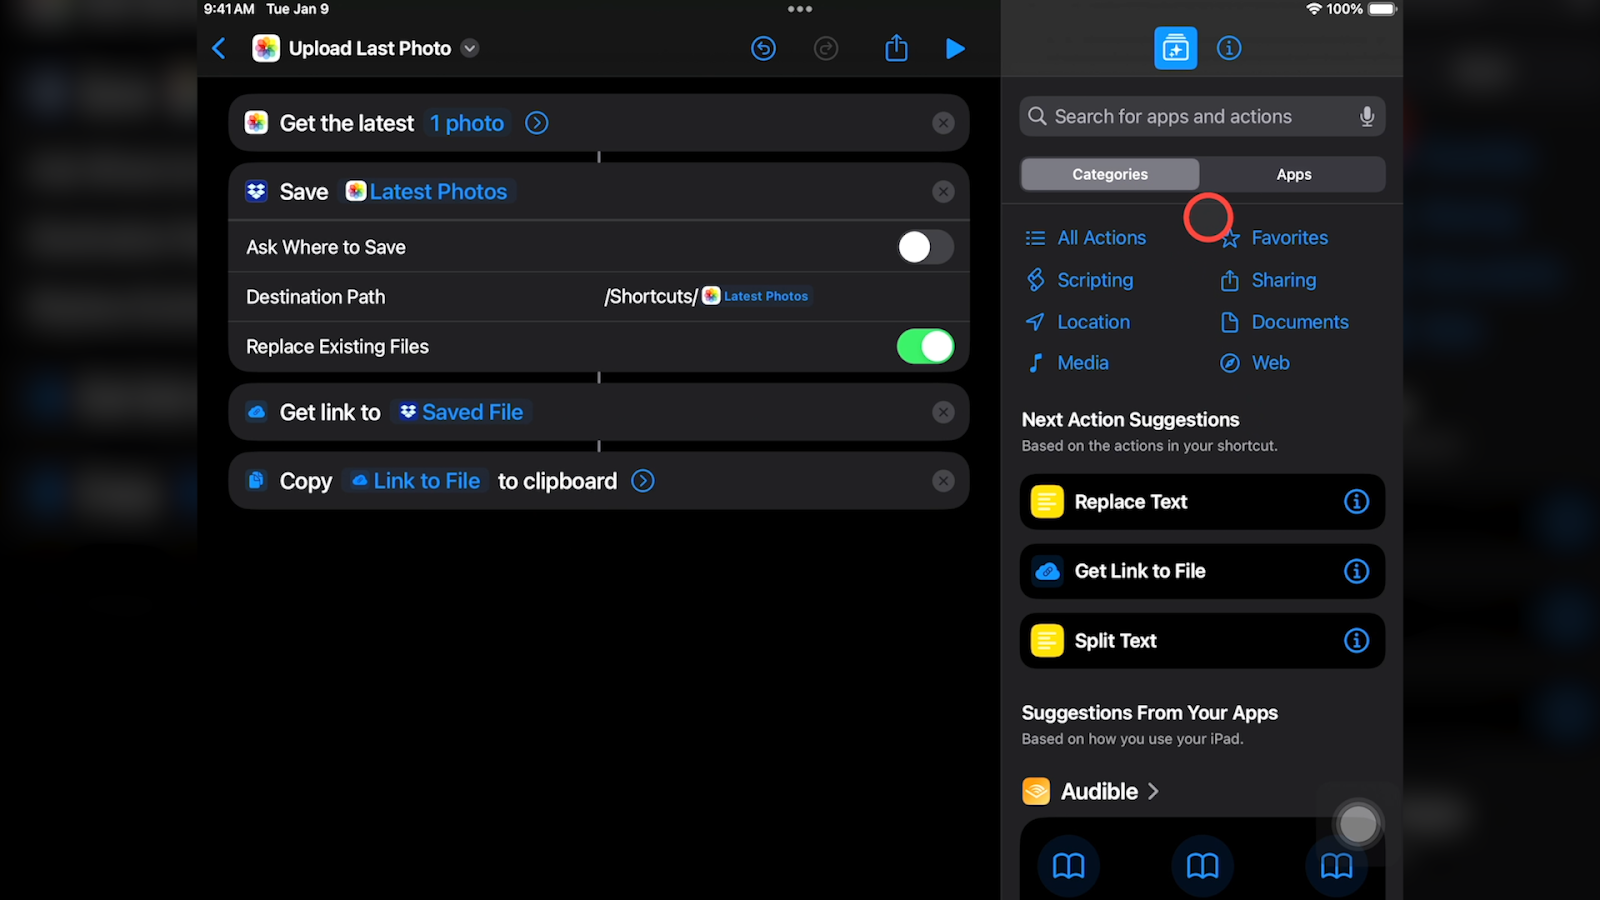
For instance, you might want to send a message containing the newly uploaded photo’s URL to share your pictures with friends or family.
Once you’ve added and configured all the steps you want in your Shortcut, you can test it by tapping on the “Play” button near the top of the screen.
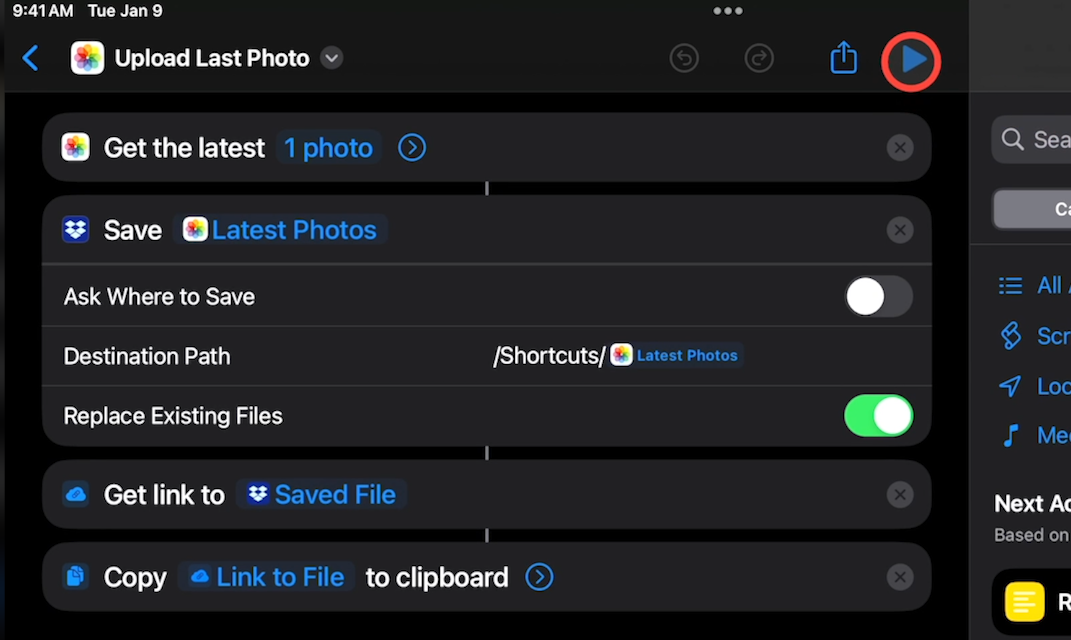
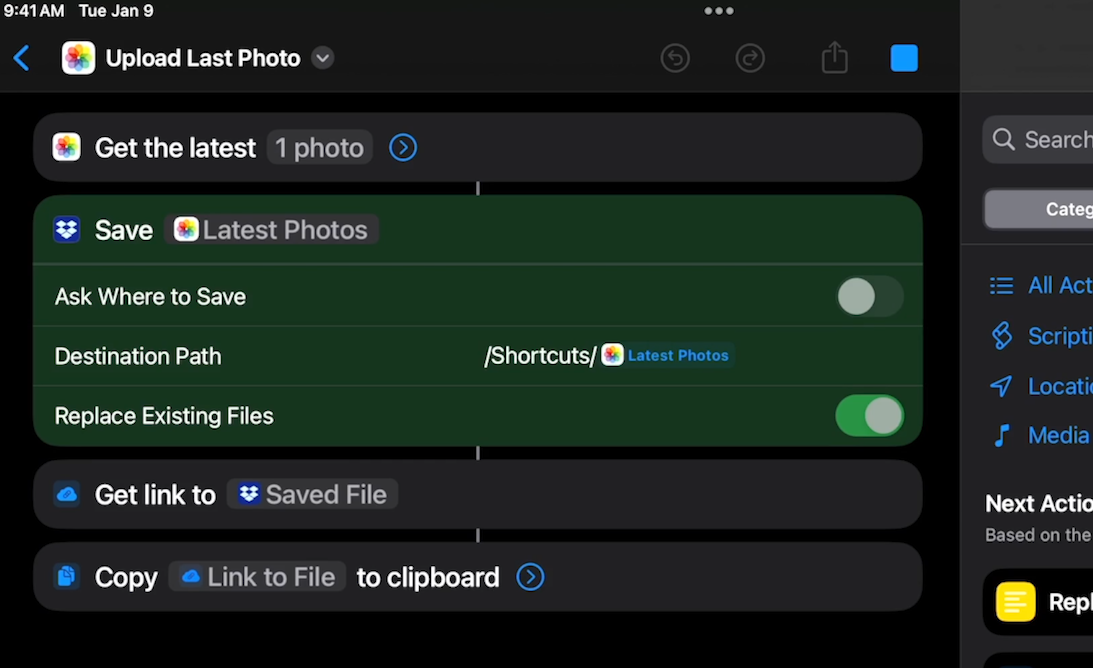
This will run the automation from beginning to end, highlighting each step as it starts. Note that you may need to authorize some actions during the testing.
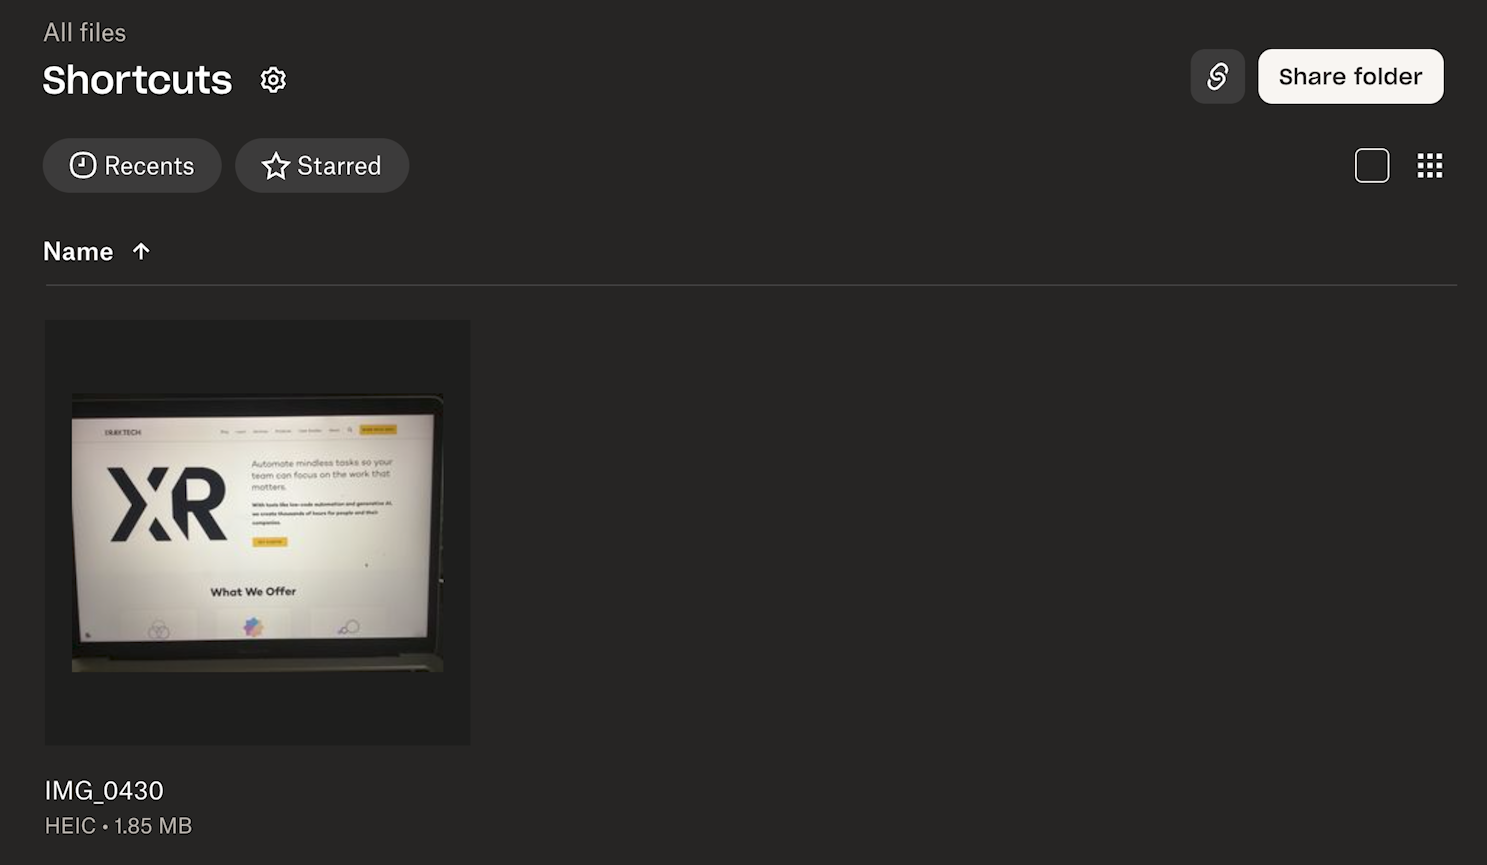
Once the test has concluded, check on your Dropbox account. In our example, it looks like the test was successful. Below, you can see our uploaded photo in the “Shortcuts” folder, with a unique name.
Once you’ve finished configuring your shortcut, tap on the arrow in the top left to exit the configuration menu.
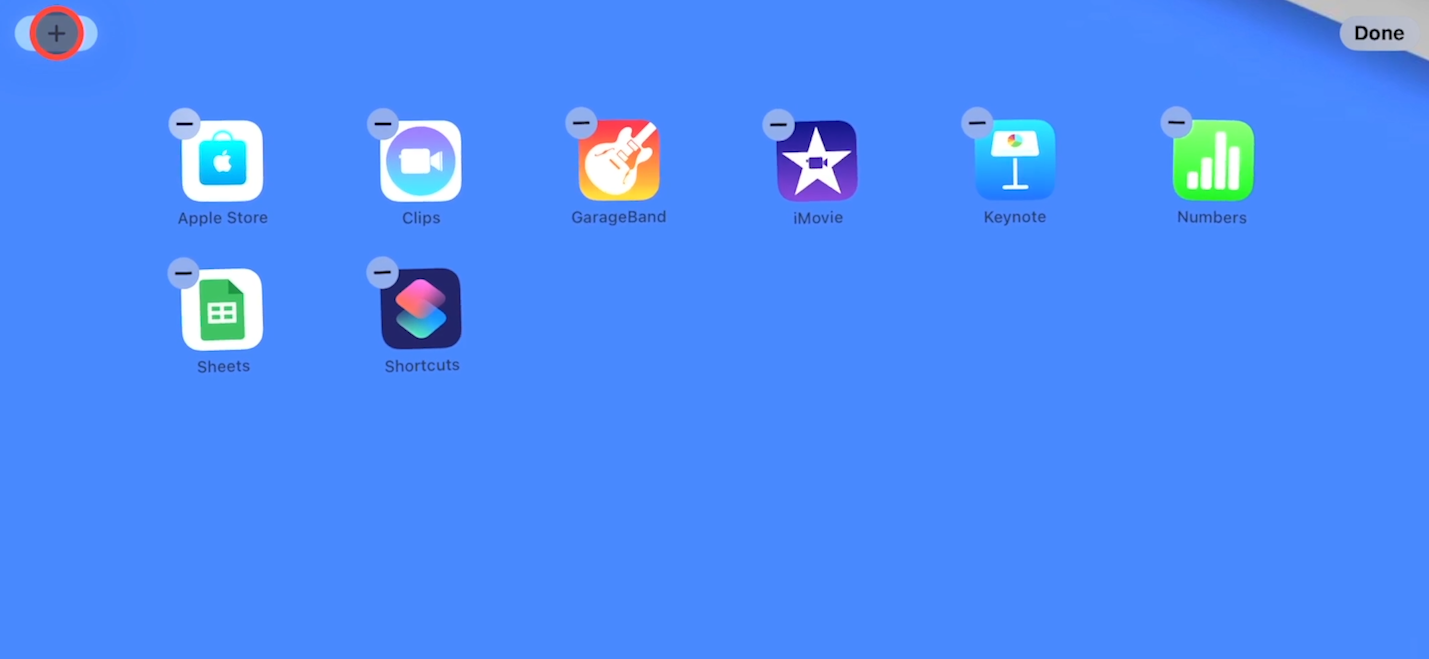
To add the shortcut to the home screen, just tap and hold anywhere on your device’s background. Then, select the plus sign that appears in the top left corner.
Search for “Shortcuts.”
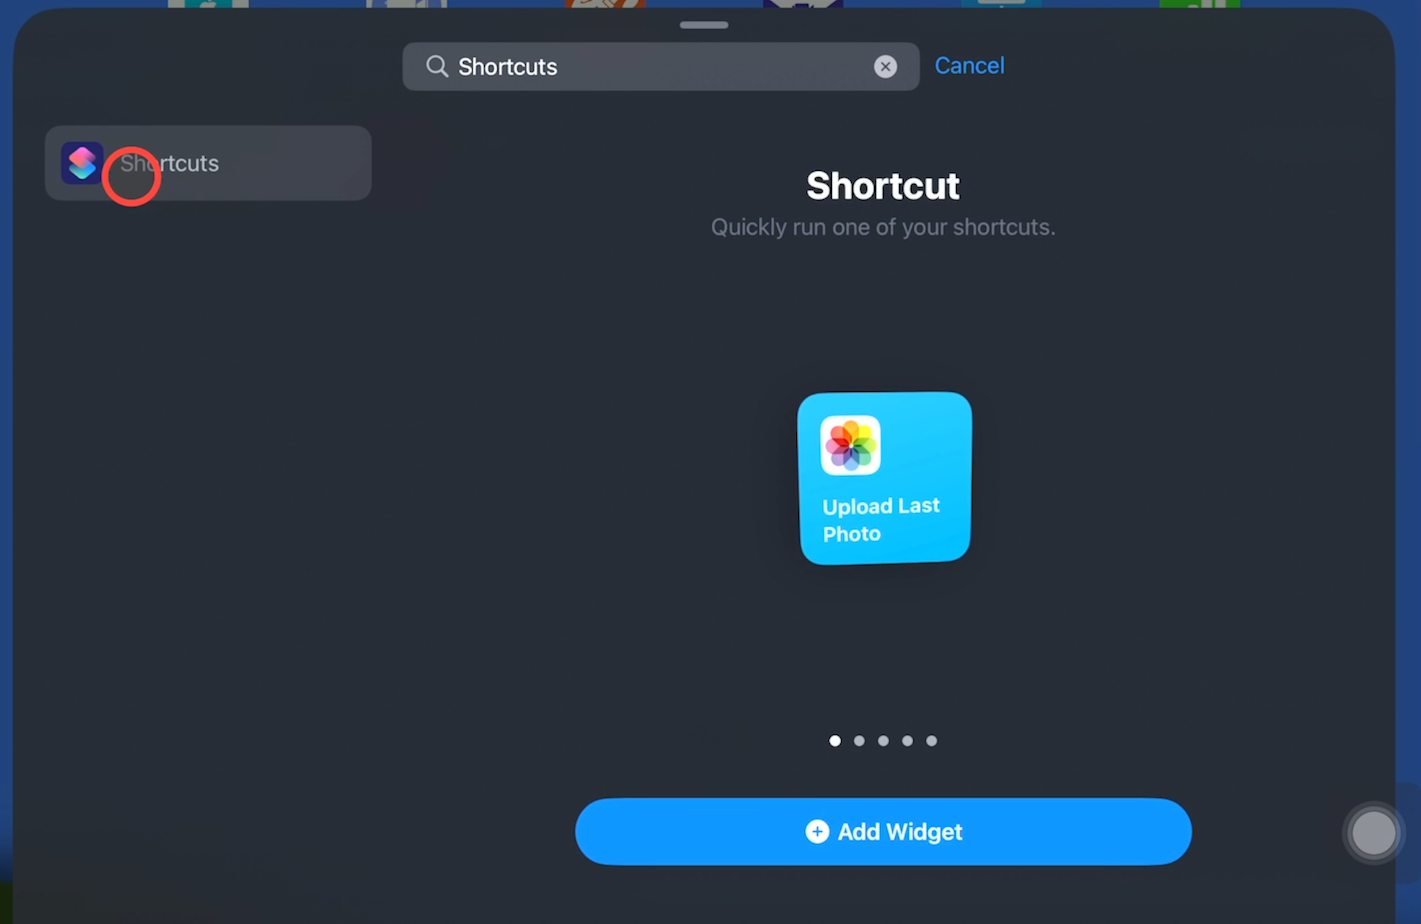
You can add a widget with a single shortcut, or a folder with several shortcuts. We’ll just choose the single shortcut for now.
If you want to change the shortcut in this widget, just tap and hold to edit it.

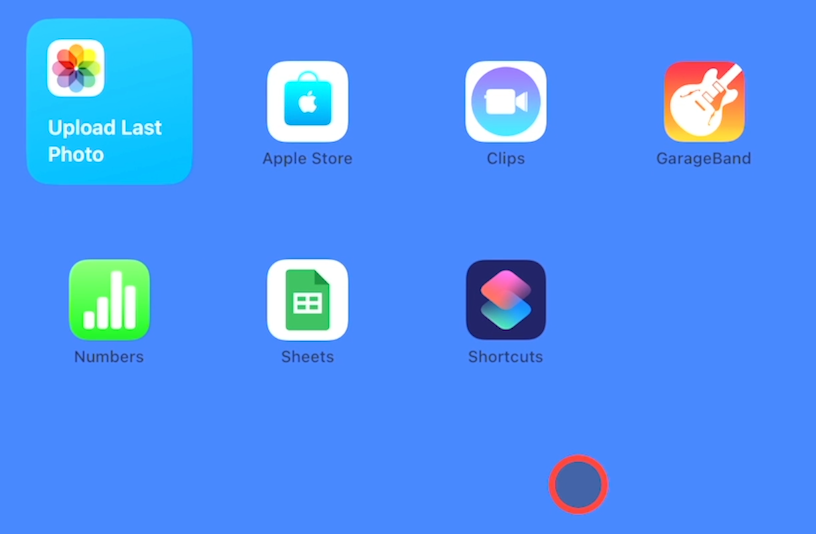
Once your Shortcut widget is all set, you can run it by just giving it a tap. As it’s running, you’ll see a little progress circle in the corner.
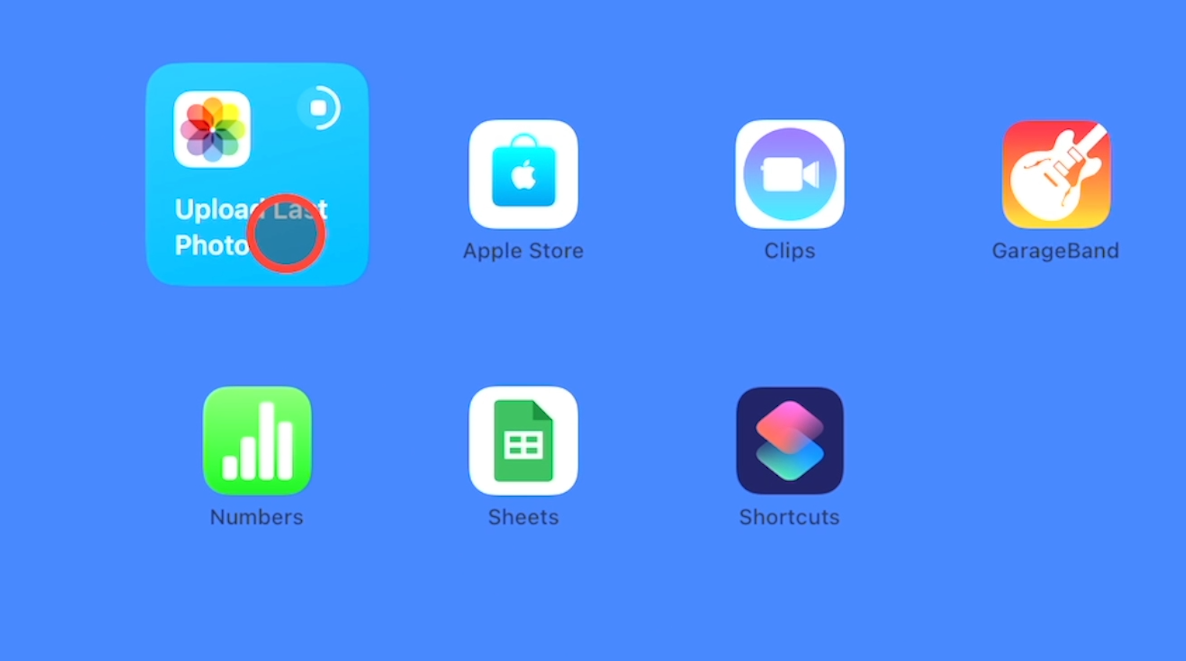
With the widget added to your home screen, you’re all set to use this Shortcut whenever you want.
Next, let’s create an automation that runs whenever certain conditions are met. We won’t need to tap or click anything to make this automation run.
Instead, this automation will instantly start playing a specific song whenever we connect to a specific Bluetooth speaker.
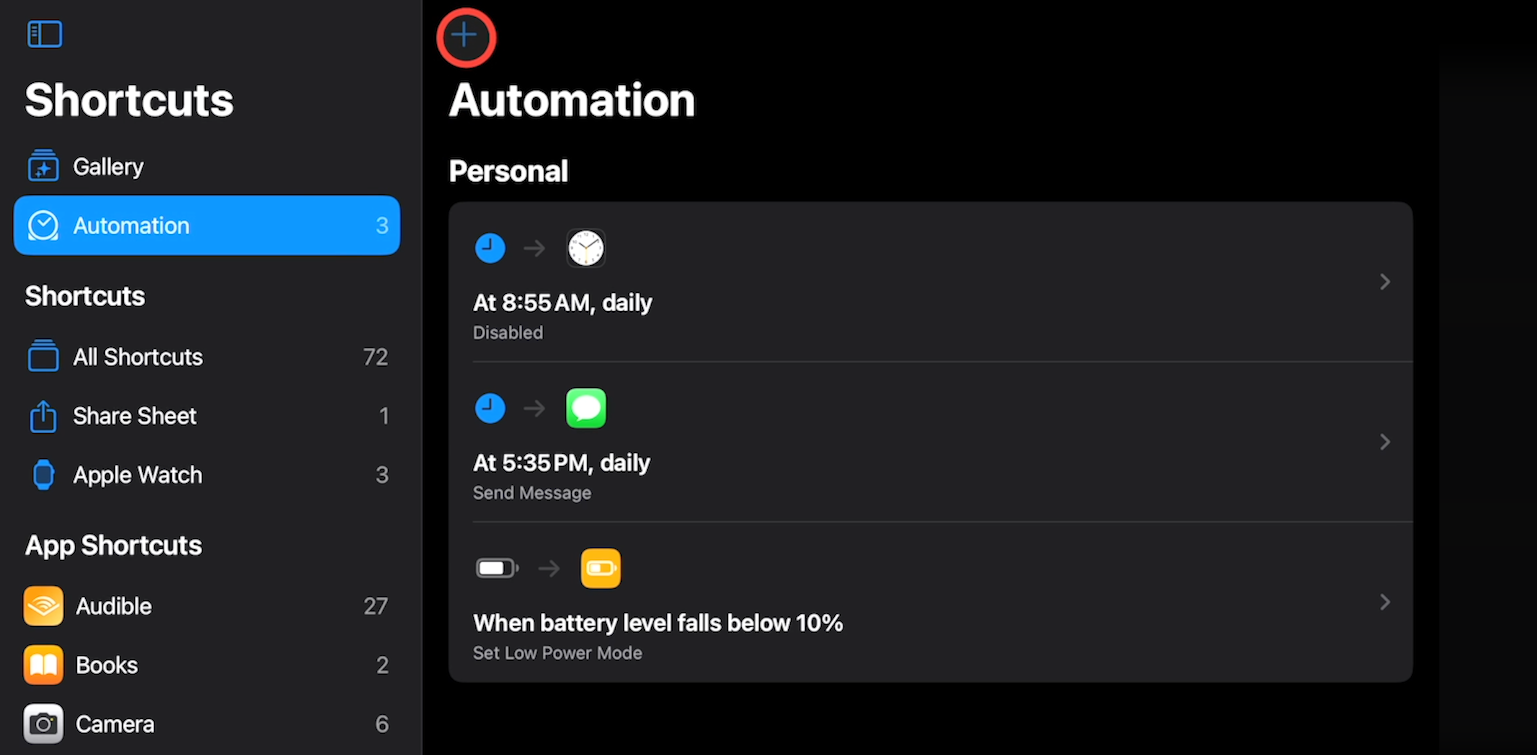
To create an automation that runs on its own, select “Automation” from the menu on the left.

Tap the plus button to create a new automation.
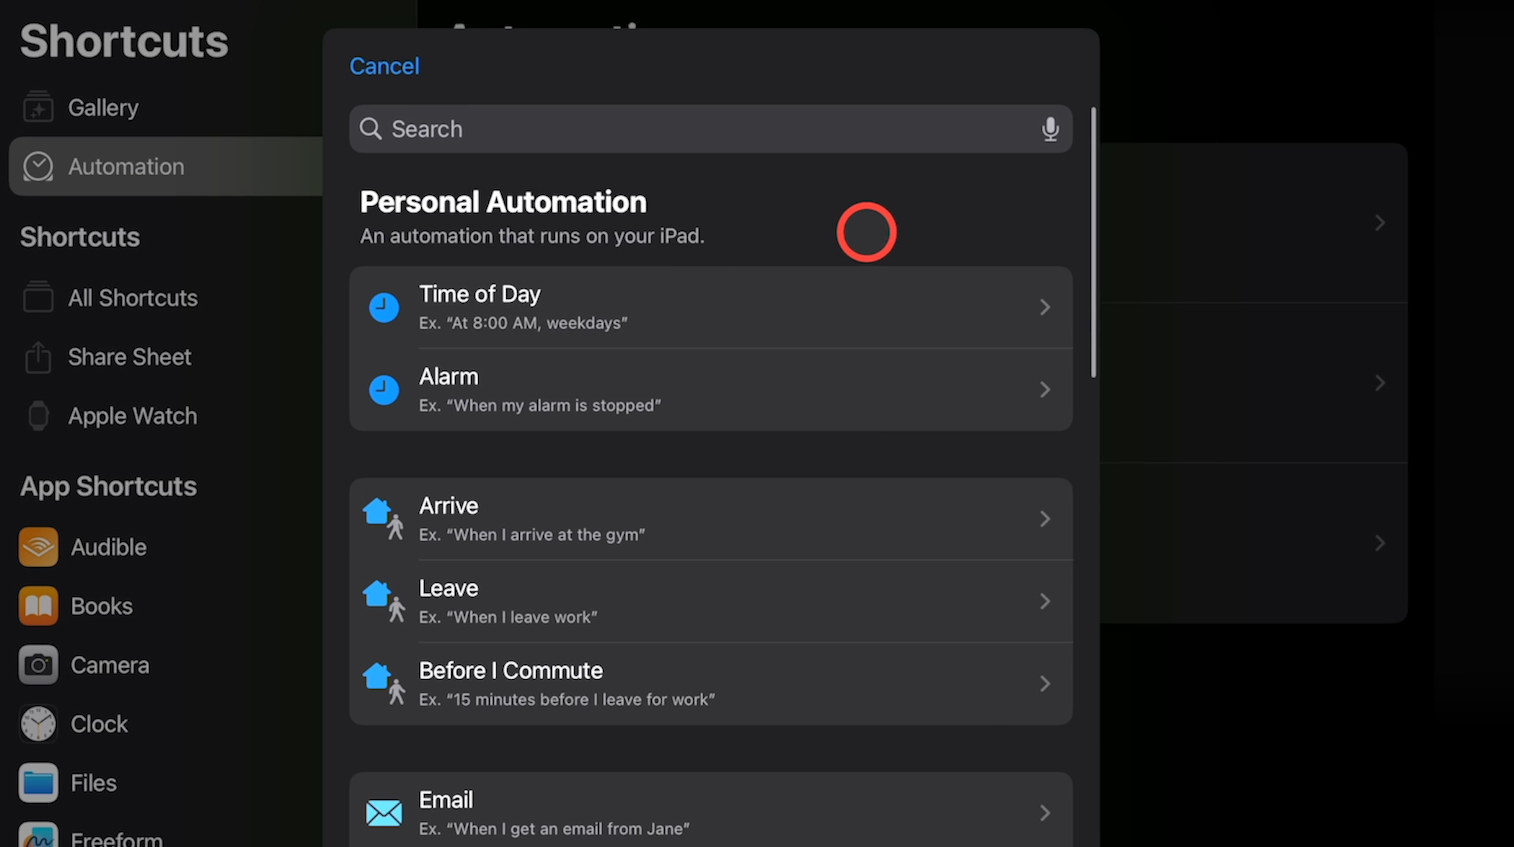
Then, choose a trigger.
The trigger is the condition(s) that will make your automation run. Note that some automated actions and triggers in Shortcuts will only be available for certain devices, since not all devices have the same hardware, software, or settings.
In the trigger list, you’ll see several options. For instance, we can see time of day, transactions, Wi-Fi and Bluetooth settings, battery levels, and more on our iPad.
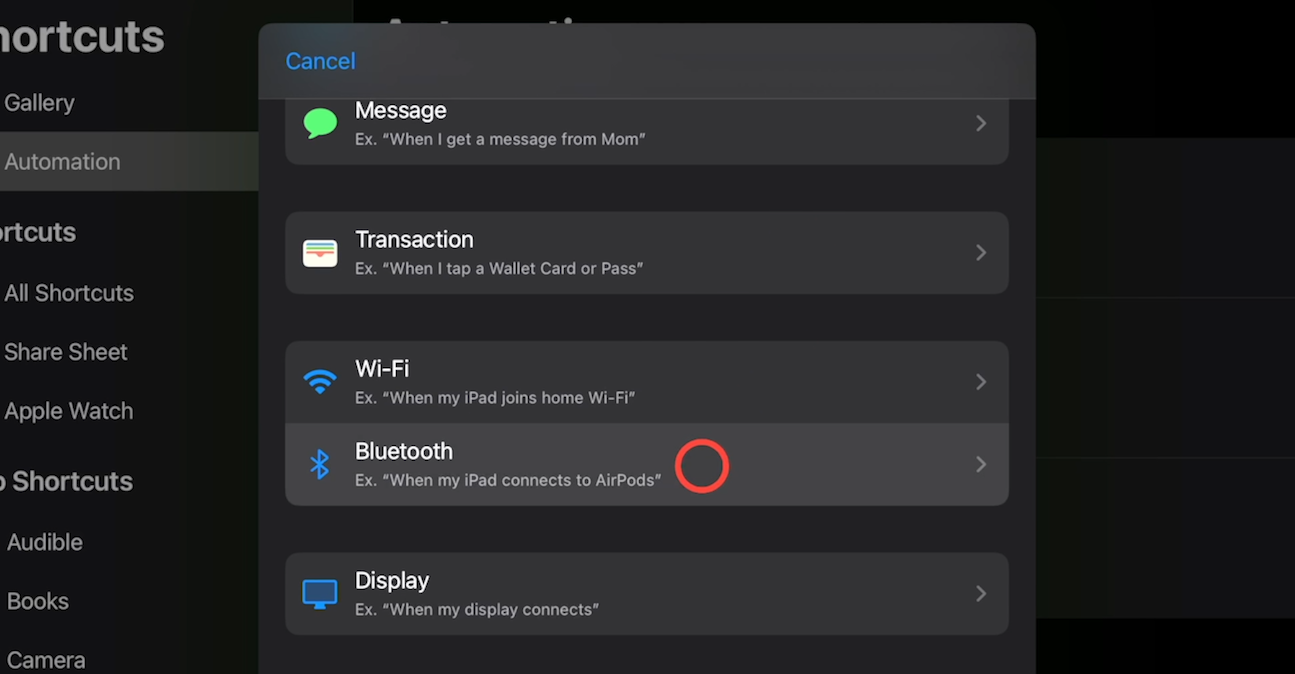
To trigger this automation, we’ll choose “Bluetooth,” which will enable the automation to run whenever the device connects to a specific Bluetooth accessory.
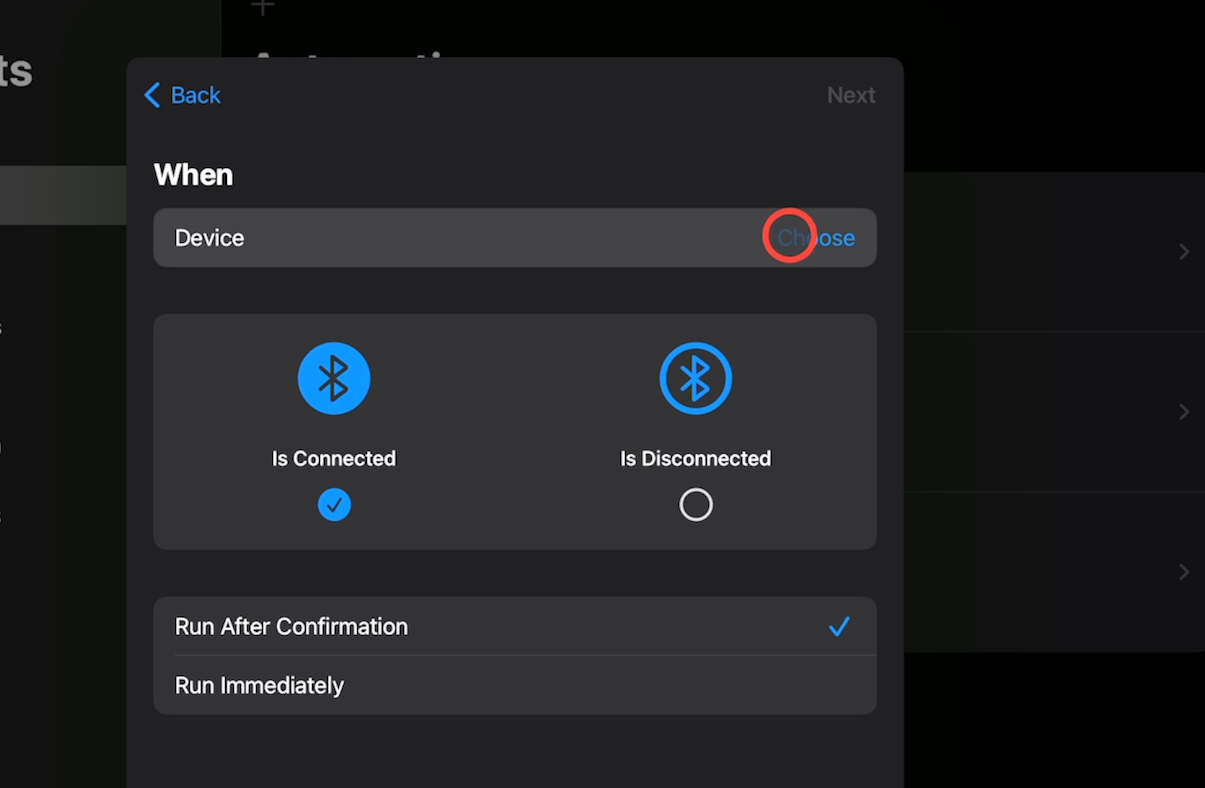
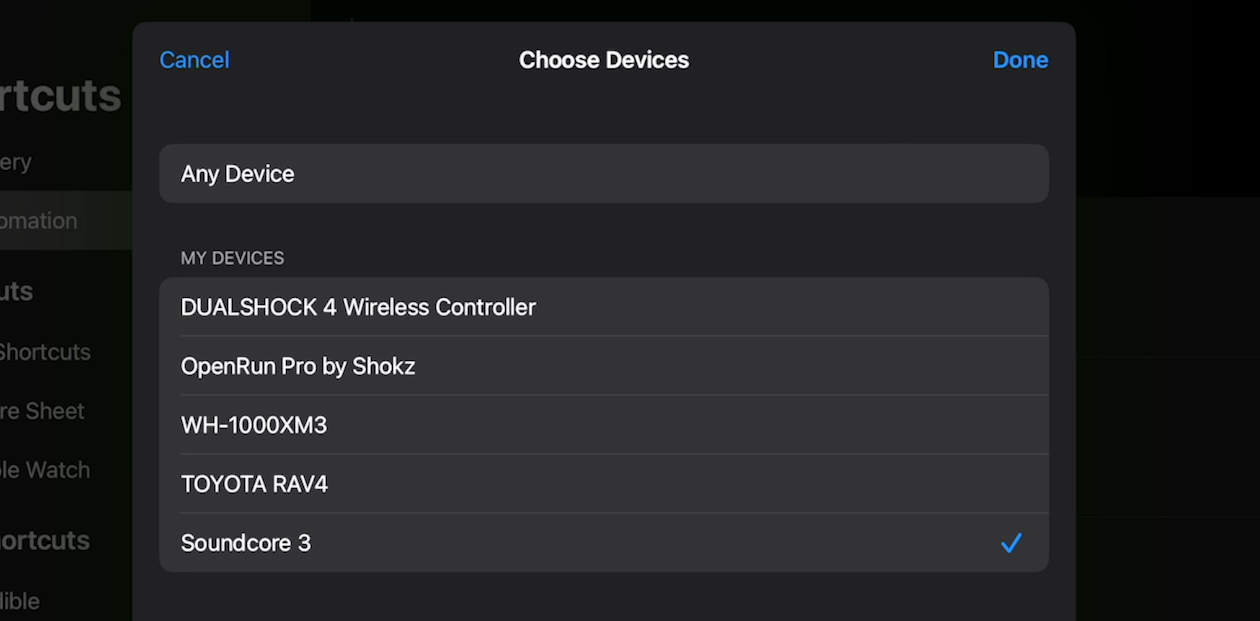
For the configuration options, start by choosing a specific Bluetooth device. The automation will only run when your Apple device connects to that Bluetooth speaker.
Alternatively, you could always select “Any device” to run the automation whenever you connect to any Bluetooth device. However, it’s usually better to choose a more specific trigger.
For example, we’ll choose a Soundcore speaker for our automation.
Next, you can pick whether the automation will run when the Bluetooth speaker is connected or disconnected. Leave it set to “connected.” After all, it wouldn’t make much sense to play music after disconnecting.

Then, you can choose whether the automation will run after confirmation, or run immediately.
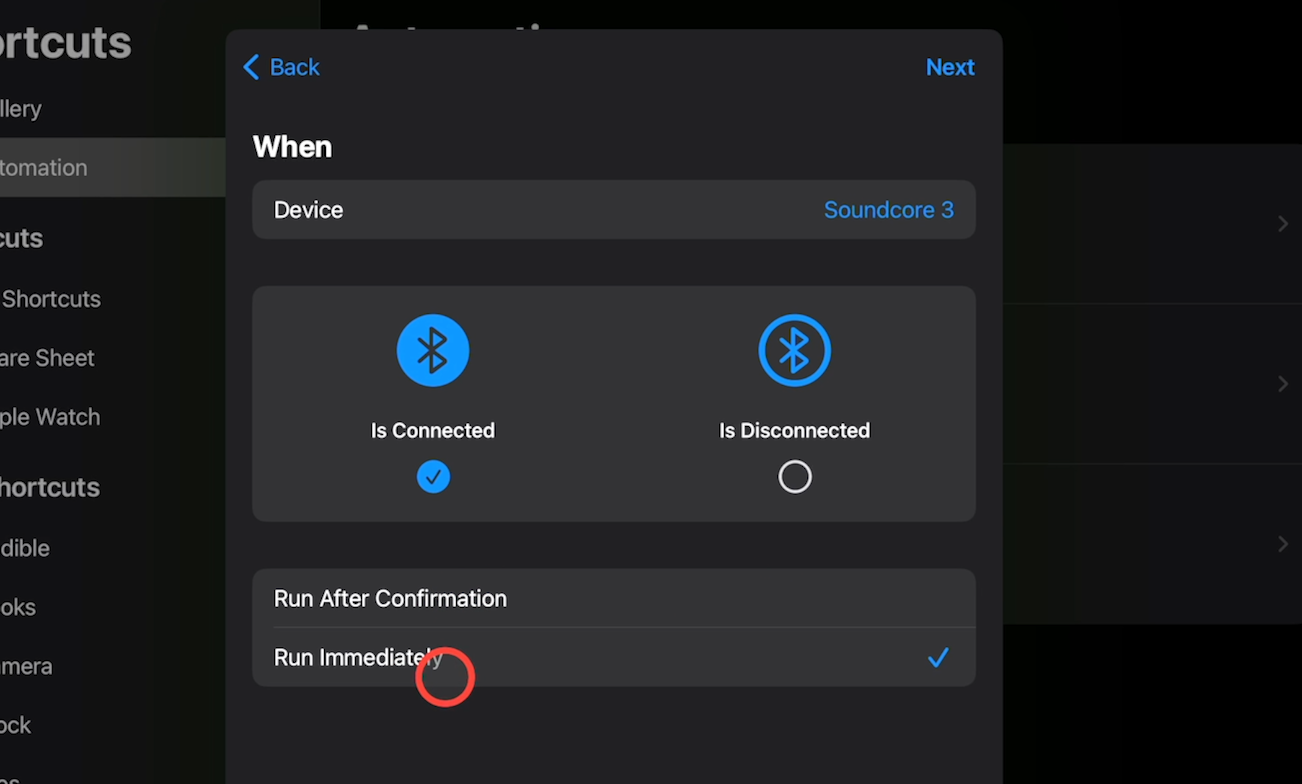
If you choose “run after confirmation,” you’ll get a pop-up asking you to confirm the automation before running it. In our example, we’ll set this to “Run immediately,” so it will start without requiring any input from us at all.
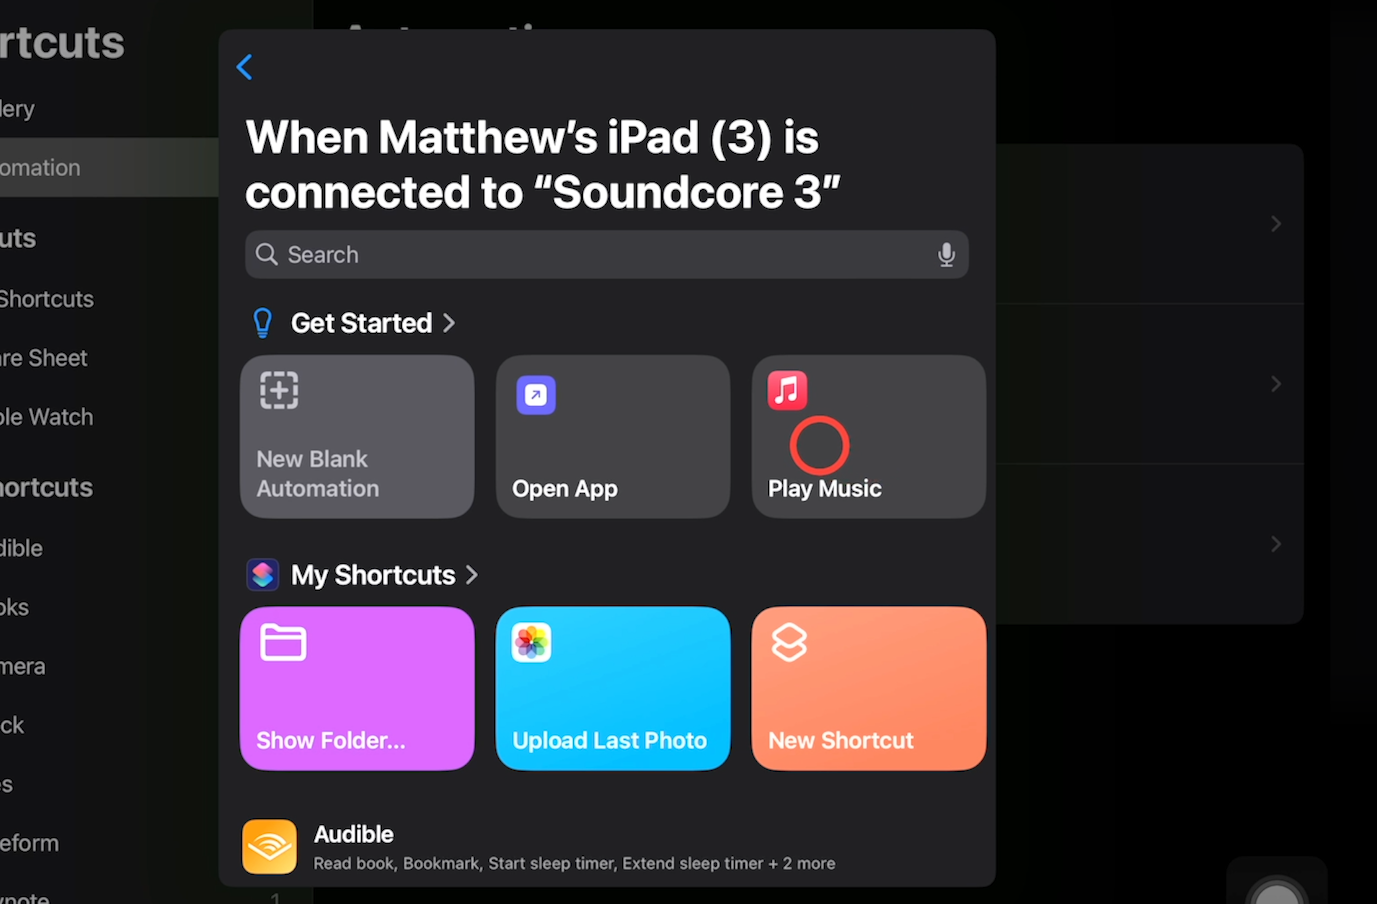
The trigger is all set, so now you can tap “Next” and add an action.
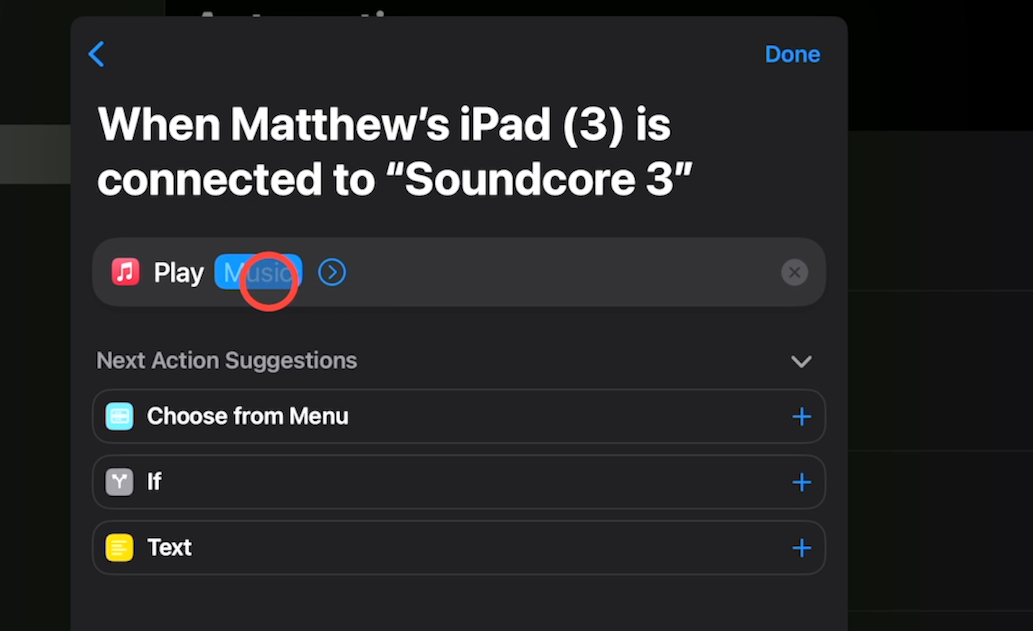
You can either select an action from the list, or search for a specific one. For this automation, choose “Play music” in Apple Music.
Then, select this ‘Music’ variable to assign a specific song to play.
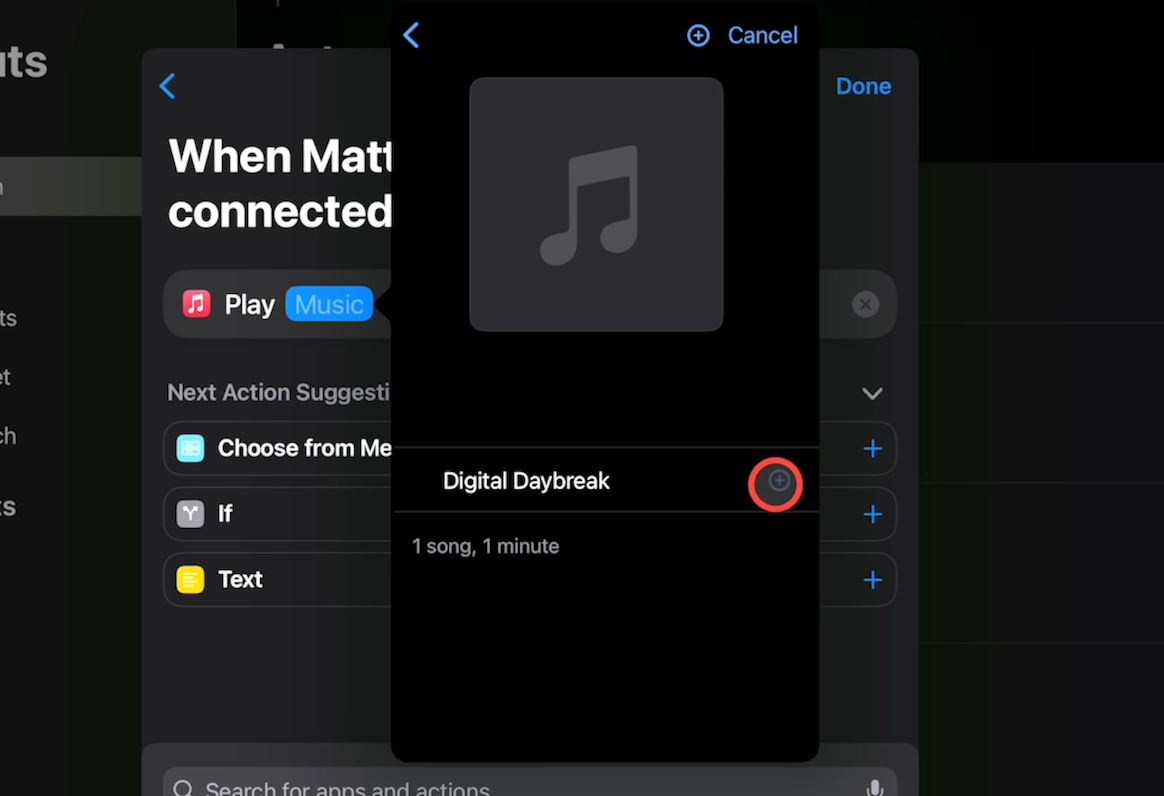
You can choose any song you like.
You can add more actions to your automations if you’d like, but we’ll stick with this 2-step automation for our example.
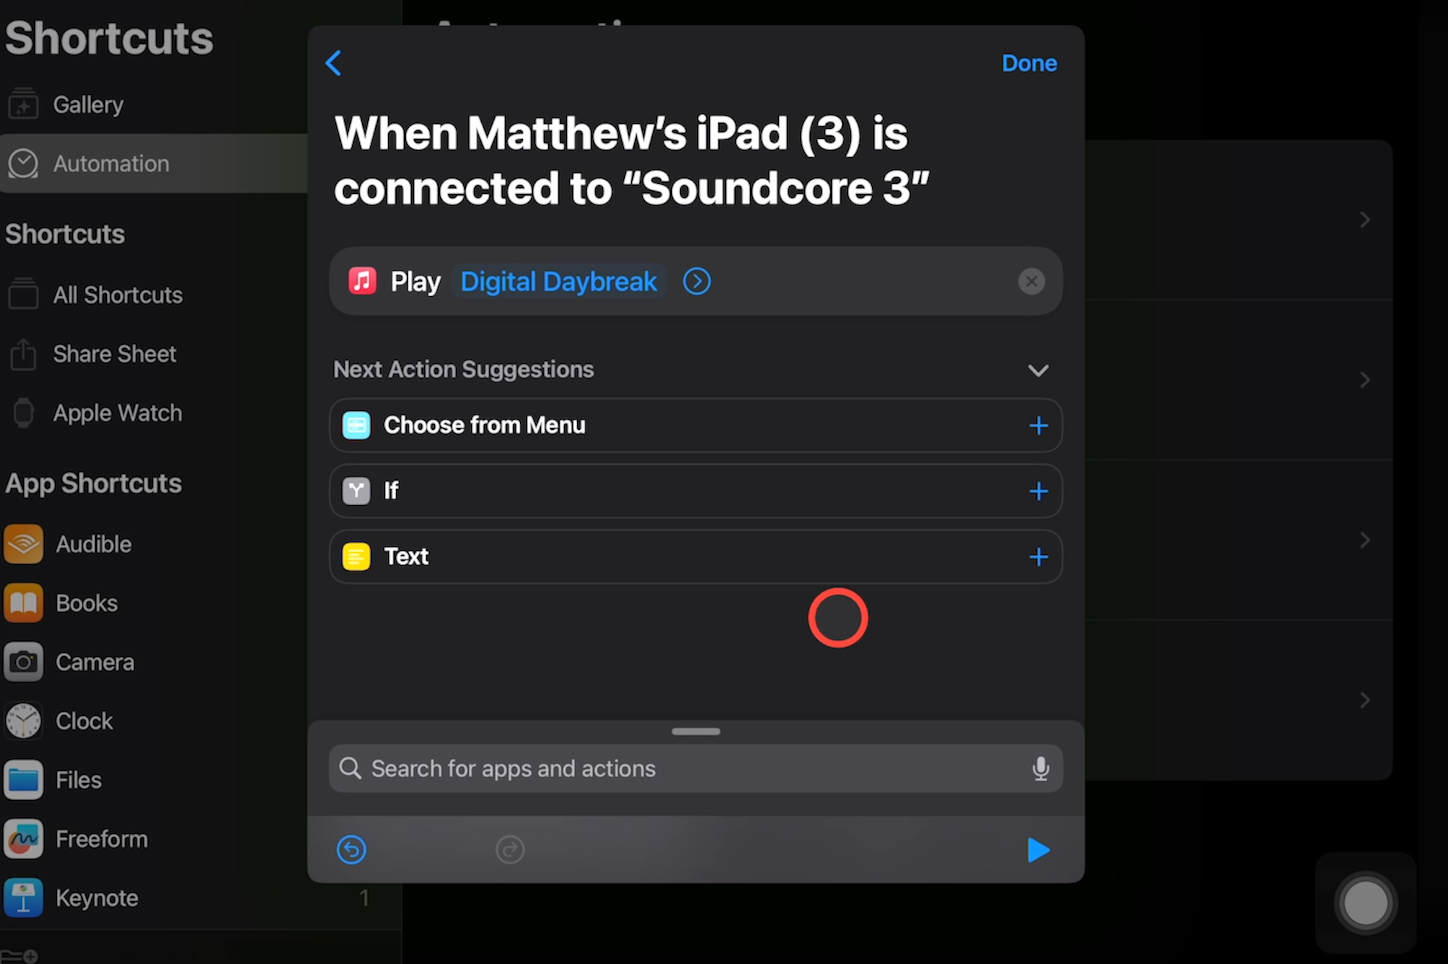
Once you’re finished, tap “done.”
Then, give your automation a test by connecting it to a bluetooth speaker.
Our automation instantly starts playing the song once we connect to the device. Perfect!
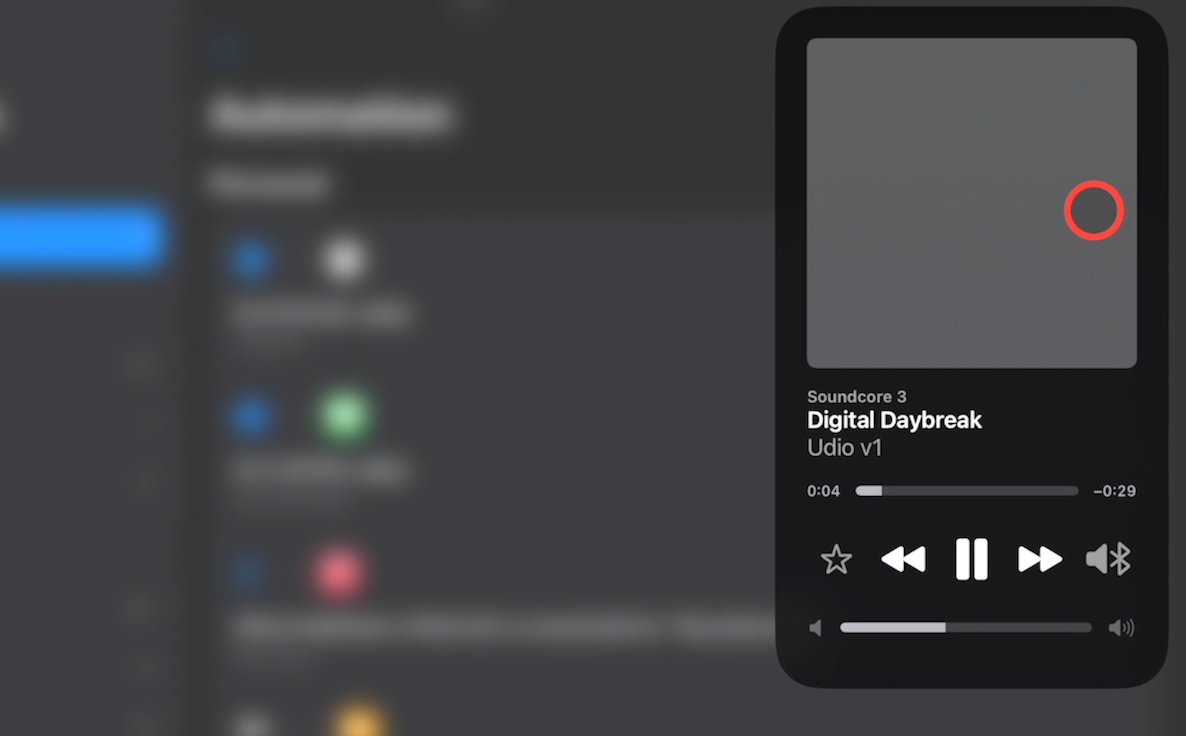
You can hear the AI-generated song we’ve chosen in the video version of this tutorial.
Shortcuts are a great tool for shaving a few minutes off your daily tasks and automating your personal devices. They’re totally free and just take a moment to set up, so try building your own today.
If you’d like to learn more about automating your devices at home and at work, be sure to check out our blog or our YouTube channel. You can also follow XRAY on Twitter, Facebook, or LinkedIn.

.pptx.png)

