How to Navigate Stripe Setup and Start Collecting Payments
Learn how to start accepting digital payments with Stripe - no coding required. This guide is perfect for brick-and-mortar businesses ready to expand online.
November 18, 2024

For brick-and-mortar businesses looking to expand into digital payments, Stripe offers a reliable and trusted solution. While Stripe is incredibly powerful, getting started can feel overwhelming if you're new to digital payment processing.
Here are five essential tips to help you make the transition smoothly, based on our experience helping traditional businesses embrace digital payments.
1. Prepare Your Business Documentation First
Before diving into Stripe's technical setup, gather all your business documentation. You'll need:
• Your business's legal name (exactly as it appears on IRS documents)
• Employer Identification Number (EIN)
• IRS letter 147C or similar verification document
• Business bank account information
• Business owner's Social Security number and other personal info

Pro tip: If you need a 147C letter from the IRS, call them directly to request it. While they may not explicitly offer a "147C letter," they will send you official documentation containing your EIN and legal business name, which Stripe will accept for verification.
2. Understand the Difference Between Products, Prices, and Payment Links
Stripe organizes your offerings in a hierarchy:
• Products are the base items or services you're selling
• Each product can have multiple prices (perfect for different tiers or variations)
• Payment links connect your products to customers without requiring any code
Start by creating your products first, then set up your prices, and finally create payment links.

This structured approach will make it easier to manage your digital offerings, especially if you're converting physical goods or services into digital payments.
3. Take Advantage of No-code Payment Links
Payment links are your best friend as a no-code business owner. They allow you to:
• Accept payments without writing any code
• Collect customer information like shipping addresses and phone numbers
• Add custom fields for business-specific needs (like license plate numbers for parking services)
• Enable multiple payment methods including Apple Pay and Google Pay
• Implement promotional codes and discounts

The best part? You can easily embed these payment links into any website builder platform, from WordPress and Wix to Squarespace and Softr. They’ll also work great on XRay Workflow.
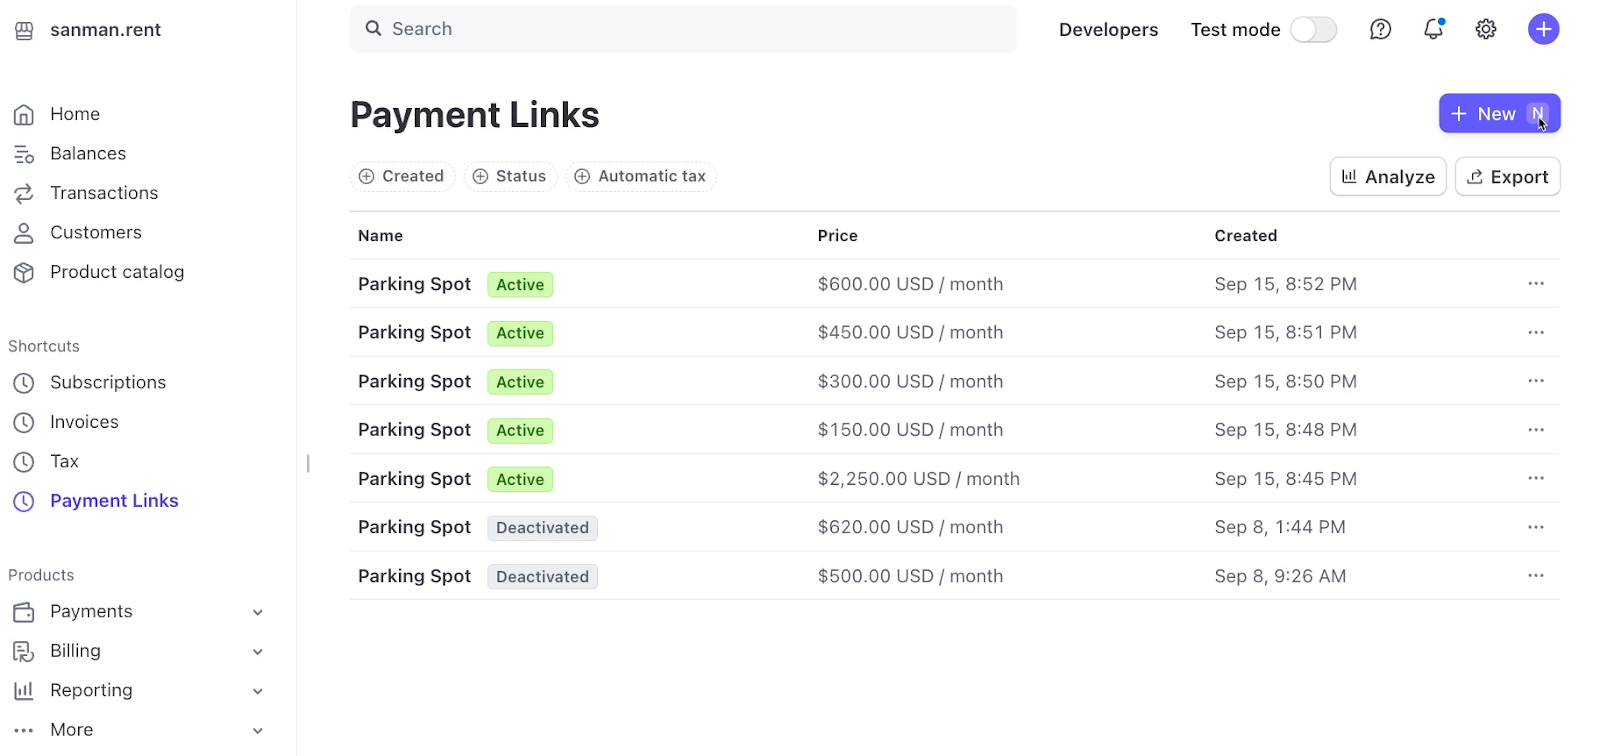
To create a payment link, just select “Payment links” under the “Shortcuts” menu, and click “New”.

4. Set Up a Testing System Before Going Live
Before accepting real payments, set up a testing system to safely verify that everything works correctly:
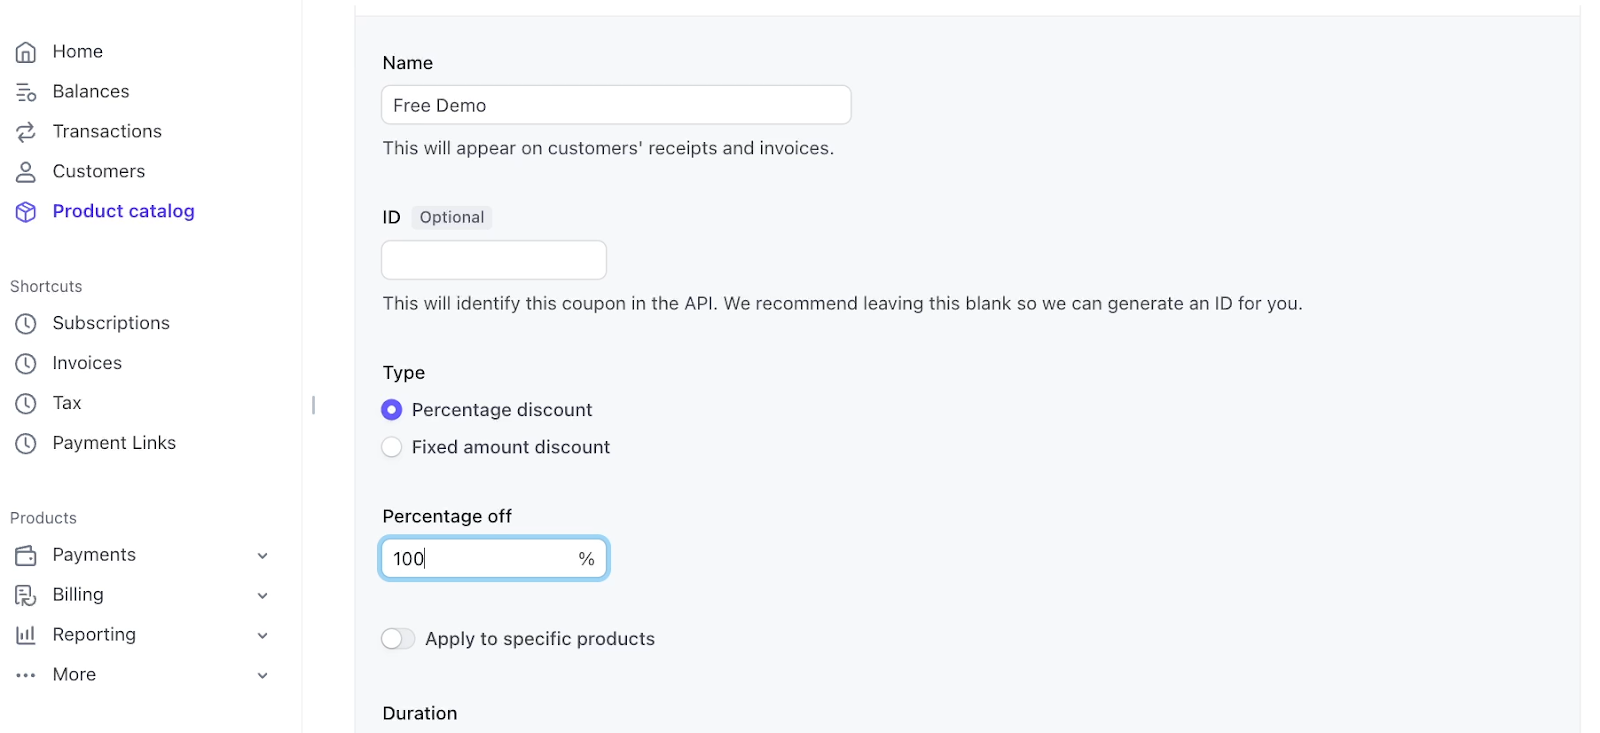
1. Create a 100% off coupon code for internal testing
2. Use this code to run complete transaction tests
3. Verify that customer information is collected correctly
4. Check that confirmation emails and receipts work as expected
5. Test the customer experience from start to finish

This approach lets you validate your setup without risking real money or creating confusion in your accounting.
To create a new coupon, open up your product catalog, select the “Coupons” tab, and click “New”.

5. Consider Additional Features for Better Customer Experience
Once your basic setup is running, consider enabling these helpful features:
• Two-factor authentication for account security
• Automatic tax calculations based on your location and product type
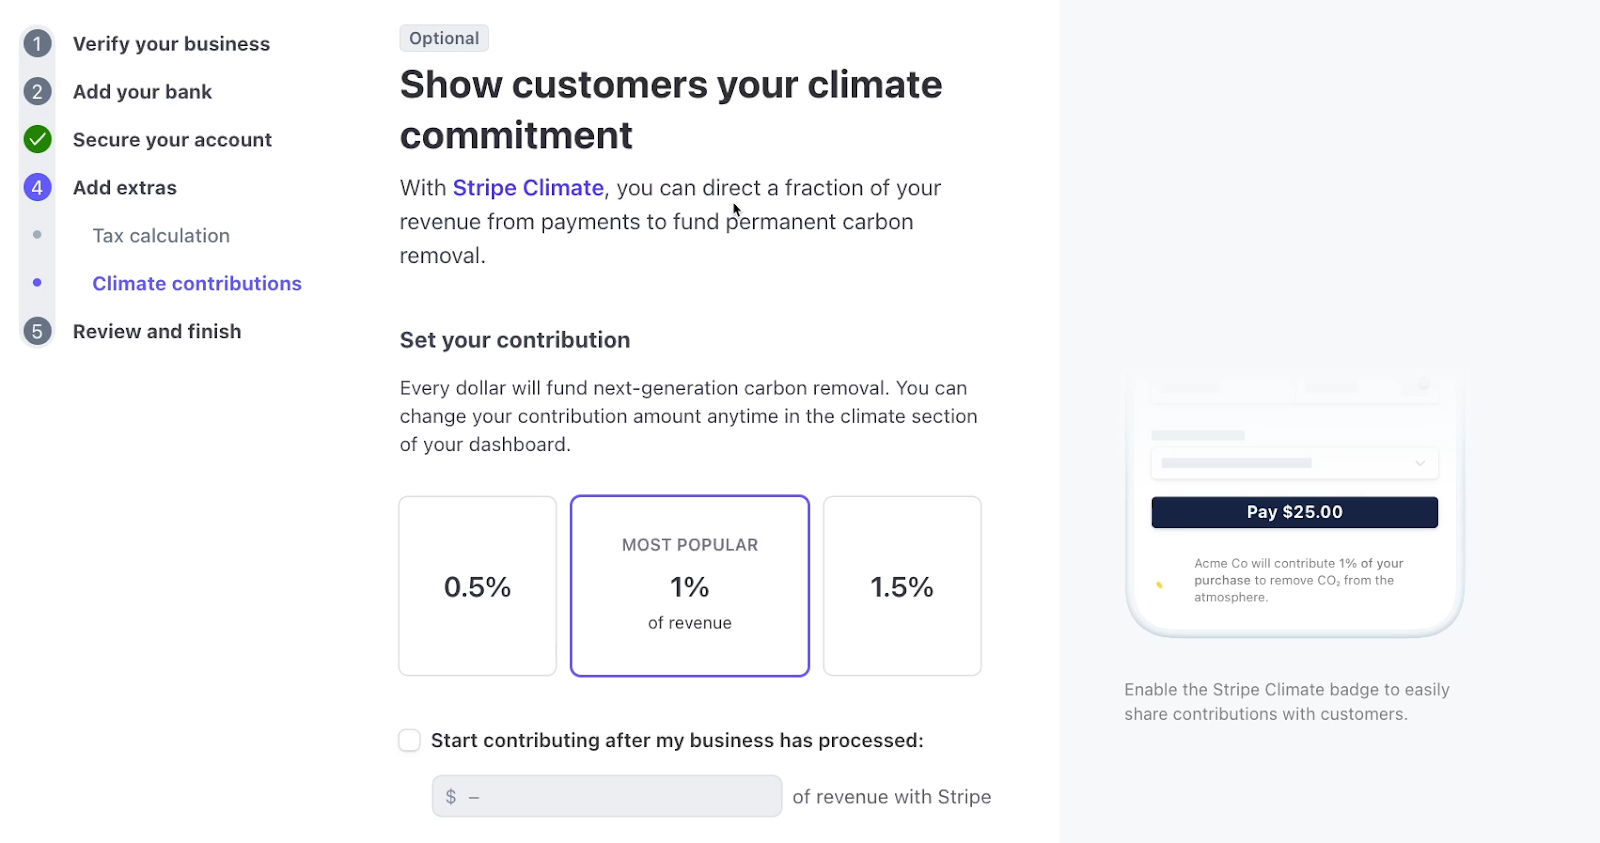
• Climate contribution options (contributes 0.5-1.5% of your transactions to C02 removal)
• Custom receipt and invoice generation
• Address collection for customer records

These features can help create a more professional and trustworthy experience for your customers while making your business operations more efficient.
Start collecting payments with a hassle-free system
While transitioning from brick-and-mortar to digital payments might seem daunting, Stripe's no-code options make it entirely manageable. The initial setup might take some time – our recent parking lot client took about a month to complete verification – but the result is a professional, reliable payment system that can help grow your business.
Remember, you don't need to be a technical expert to accept digital payments. With these tips and Stripe's payment links, you can create a professional digital payment system that works alongside your existing business operations.
If you’d like to learn more about optimizing and automating your business, be sure to check out the other posts on check out our blog or our YouTube channel. You can also follow XRay on Twitter, Facebook, or LinkedIn.
Similar blog posts


