


Airtable forms are an easy way to gather data from clients, coworkers, or anyone on the web.
While it’s usually appropriate to let users respond to your forms however they want, it’s often best to pre-fill some fields for them to reduce errors and keep your data consistent.
In this post, we’re going to show you how to set up pre-filled fields in your Airtable forms with customized URL attributes.
First, we’ll walk you through the basic process for adding pre-filled fields to an Airtable form with URL encoding.
Then, we’ll show you the specific details you need to account for when pre-filling select fields, linked records, and date/time fields.
Finally, we’ll demonstrate how you can hide your pre-filled fields to make sure your users don’t edit the pre-filled values you’ve provided.
Setting up pre-filled fields is an easy way to make your Airtable forms more powerful, so let’s jump in and get started!
Adding a “prefill” attribute to an Airtable form URL
To begin making an Airtable form with pre-filled values, you’ll need the URL of an existing Airtable form. Be sure to copy the form’s URL where people can submit responses, and not the URL of the base.
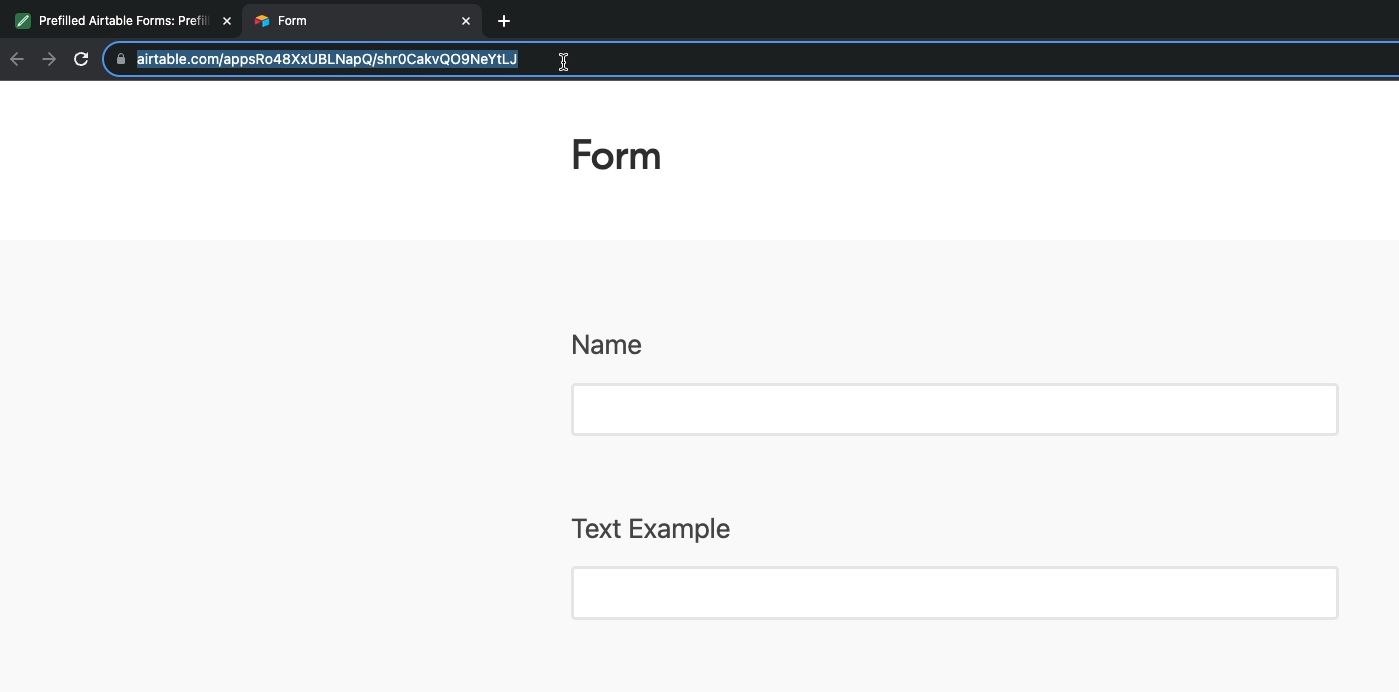
Then, append a question mark and the following pre-fill attribute to the end of the URL:
?prefill_Field+Name=Value
The field name should be typed exactly as it appears in Airtable, including capitalization. This syntax is case sensitive.
Both the field name and the value that you want to pre-fill will need to utilize URL encoding for special characters and spaces.
For instance, any space should be entered as “%20”, or as a plus sign (+). You can find more information about URL encoding here.
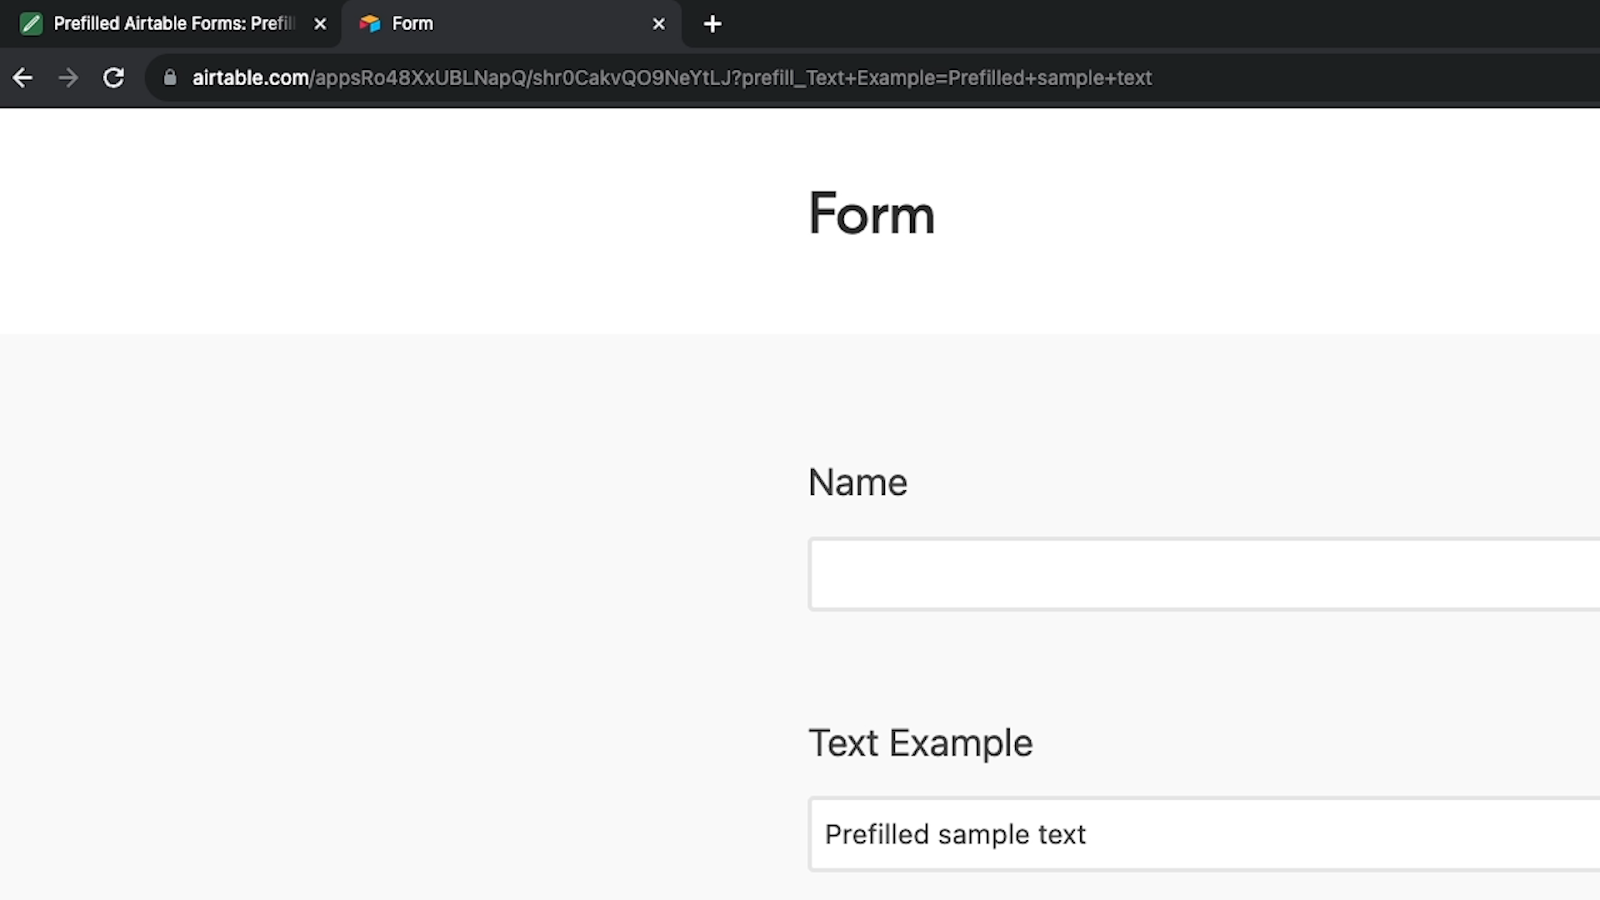
For example, pre-filling the “Text Example” field with the phrase “Prefilled Sample Text” would look like this:
https://airtable.com/appsRo48XxUBLNapQ/shr0CakvQO9NeYtLJ?prefill_Text+Example=Prefilled+sample+text
When someone opens the form with that prefill text appended, they’ll see the “Text Example” field filled in just as we specified.
Using field IDs instead of field names
If you think your Airtable field names might change, you may prefer to use the field ID to identify the field that you want to pre-fill instead of using its name.
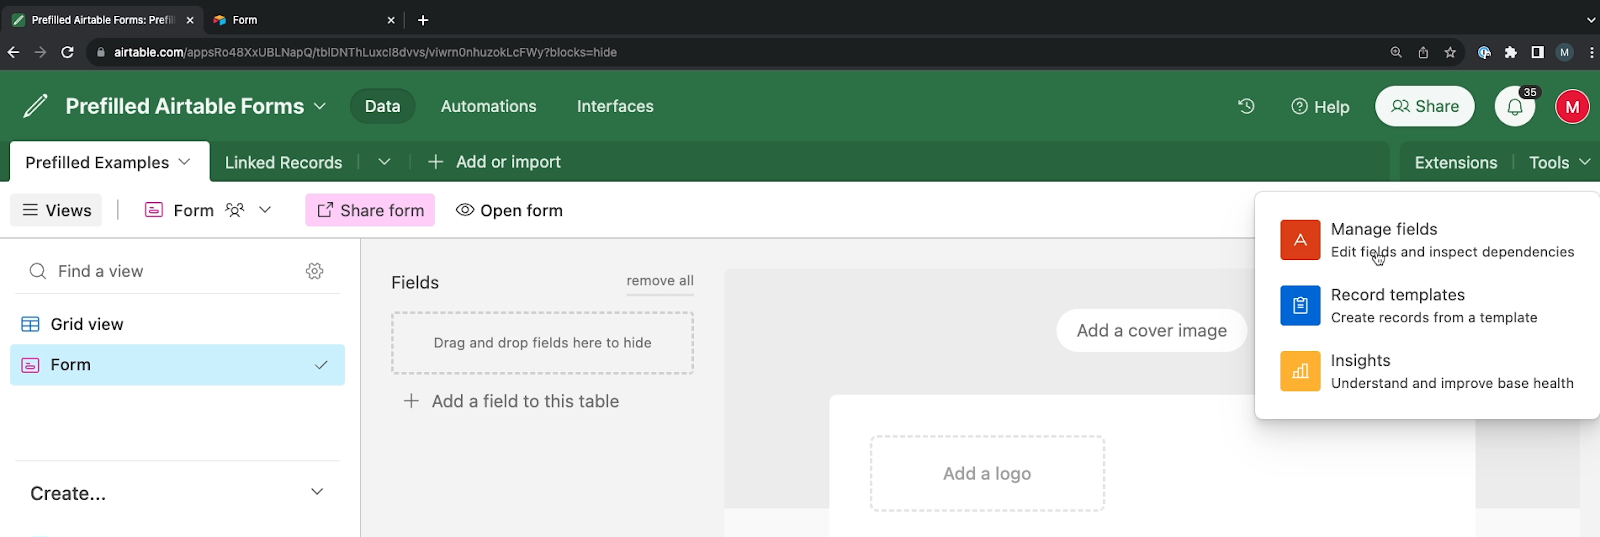
To access a field’s ID, begin by opening up your Airtable base and selecting “Manage Fields” under the “tools” menu. Here, you’ll see more information about all of the fields in that particular table.
Click on the small settings icon on the top right, under the “Add a new Field” button. This will allow you to toggle column visibility, giving you access to all the fields’ metadata. Check the box next to “Field ID” to make the ID of each field visible.
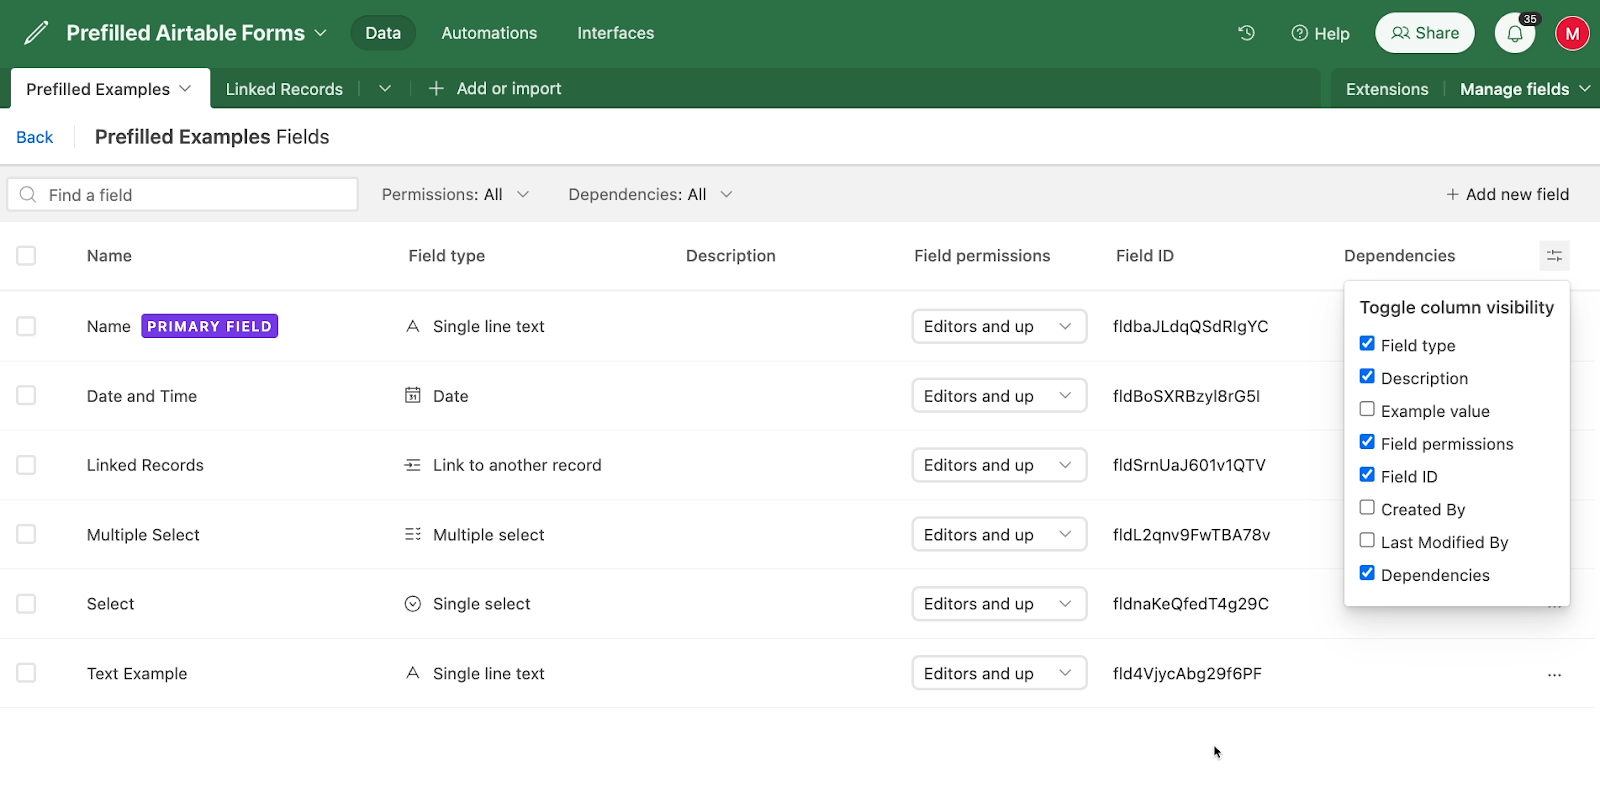
Copy the ID of the field that you want to prefill, and add it to your URL in place of the field name in the following format:
?prefill_FieldID=value
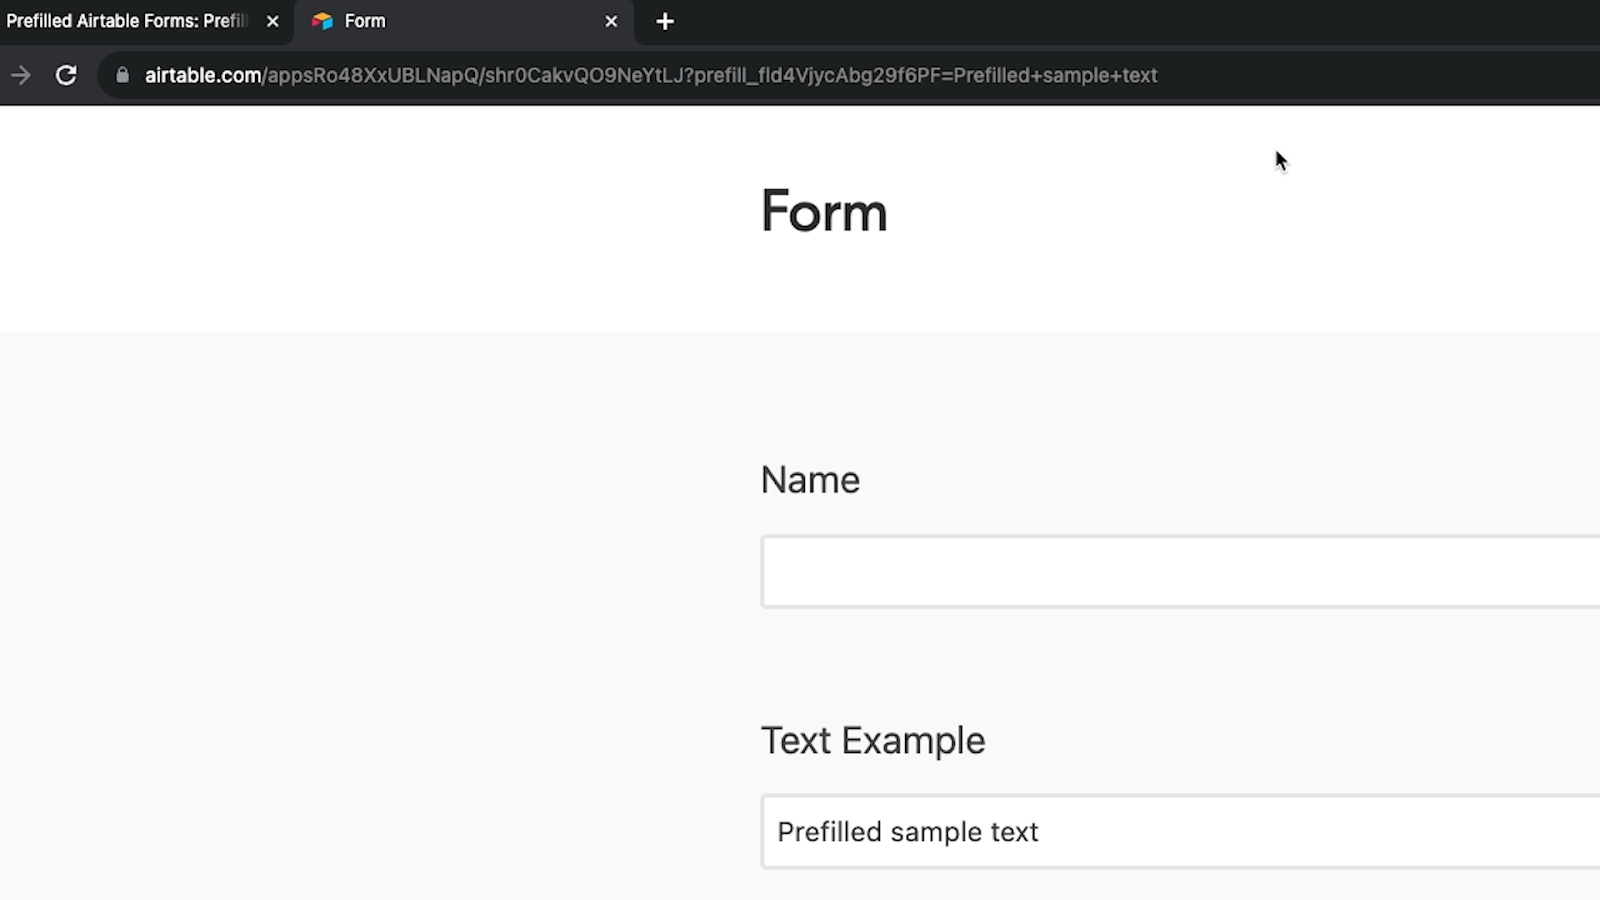
For example, when we replace the “Text Example” field name with its ID, our new pre-fill URL looks like this:
?https://airtable.com/appsRo48XxUBLNapQ/shr0CakvQO9NeYtLJ?prefill_fld4VjycAbg29f6PF=Prefilled+sample+text
When we open the link, it fills in the “Text Example” field in the exact same way as before.
By using the ID instead of the name, you can freely change the field name at any time in the future, while maintaining the pre-fill you’ve already configured.
However, for this tutorial, we’ll keep using field names so it’s easier to follow along.
Pre-filling select fields
Pre-filling single- and multi-select fields works in largely the same way as pre-filling a text field. Just enter the name of the option that you want to pre-fill after the equals sign in this format:
?prefill_Field+Name=Select+Option
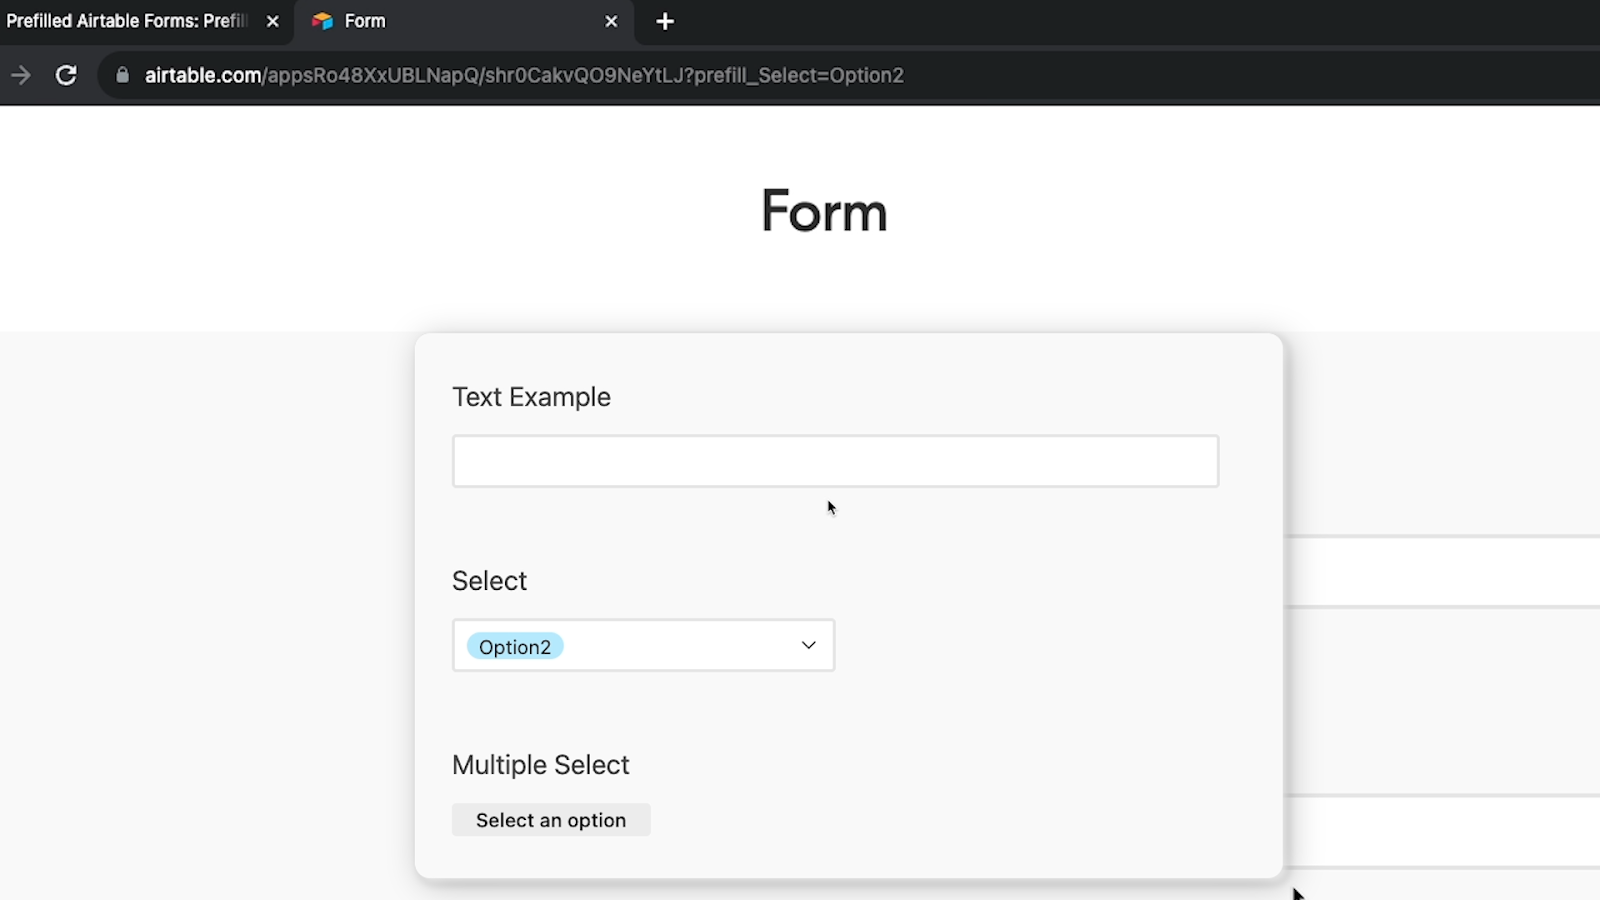
For example, we’ll use the following attribute to pre-fill the “Select” field with “Option2”.
?prefill_Select=Option2
When we open the form, it fills in the Select field with Option2.
Note that if you enter an option that doesn’t exist yet in the select field, the field won’t be pre-filled, and the option won’t be added to the table.
You’ll have to pick from existing choices. This applies to multi-select fields as well.
Pre-filling multiple select fields with several choices
If you want to enter multiple choices into a multi-select field, just separate them with a comma and no space.
The format looks like this:
?prefill_Field+Name=Option1,Option2,Option3
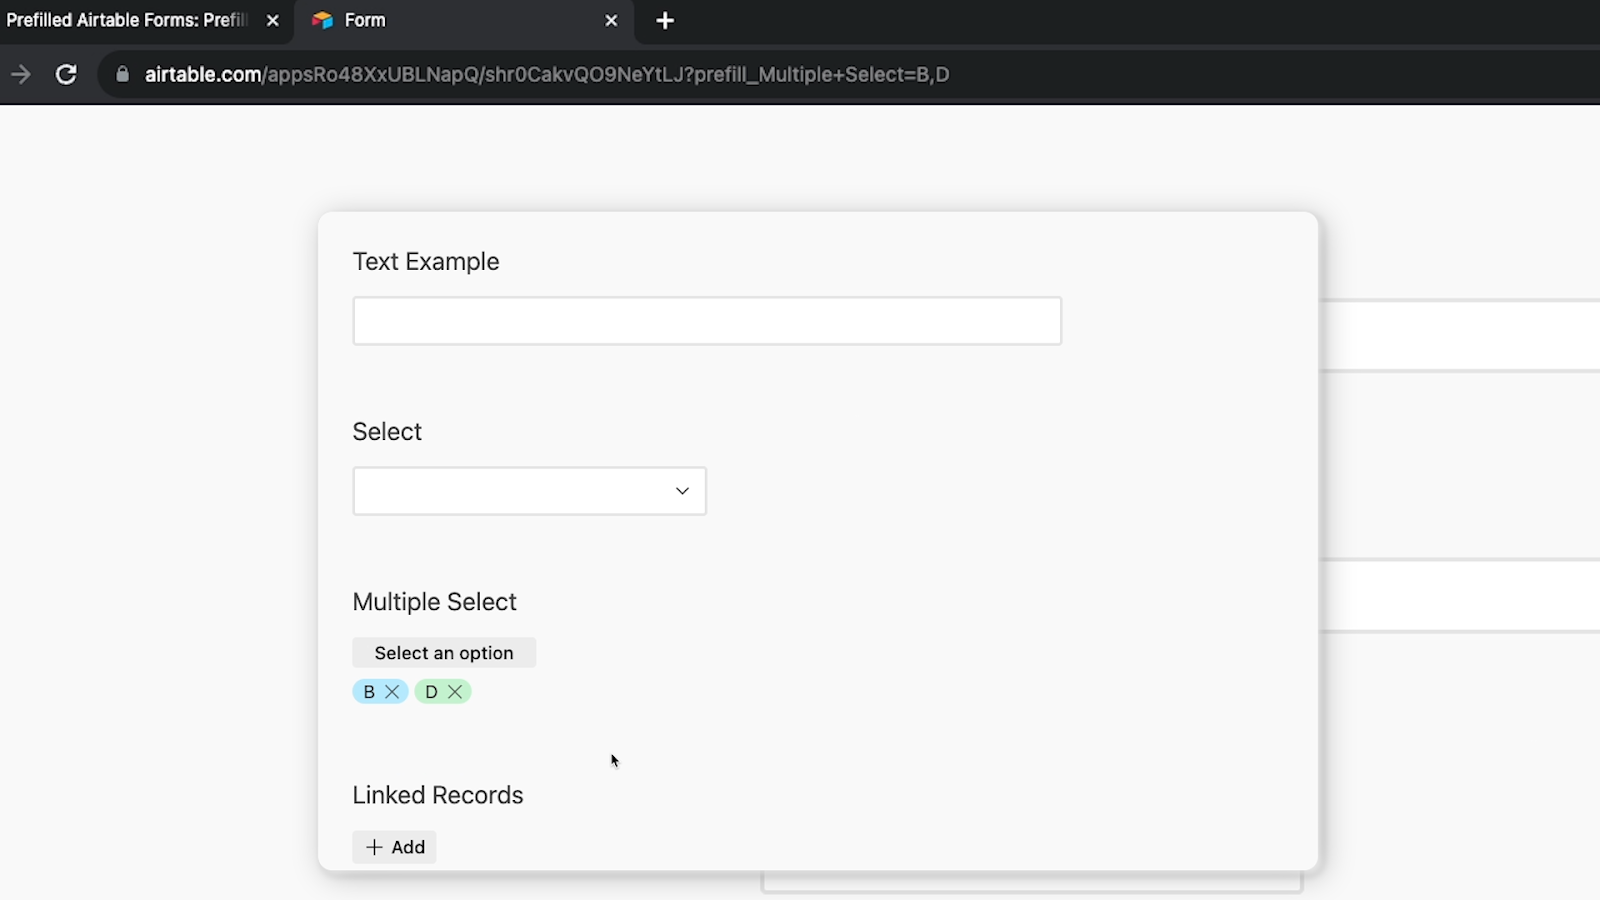
For example, we’ll make a pre-fill URL to add “B” and “D” to the multiple select field.
?prefill_Multiple+Select=B,D
When we append that attribute to our form URL and open the form, we can see the multiple select field pre-filled like we specified.
Pre-filling several fields in the same URL
You can also pre-fill several fields at once if you want. You just need to separate each pre-fill with an ampersand (&). Here’s how you’ll format the attributes:
?prefill_Field+Name=Value&prefill_Field+Name2=Value2&prefill_Field+Name3=Value3
Note that you’ll still need to use the word “prefill” before each value that you want to automatically fill in, but you only need one question mark.
We’ll combine all three pre-fills that we’ve done so far into a single pre-filled URL.
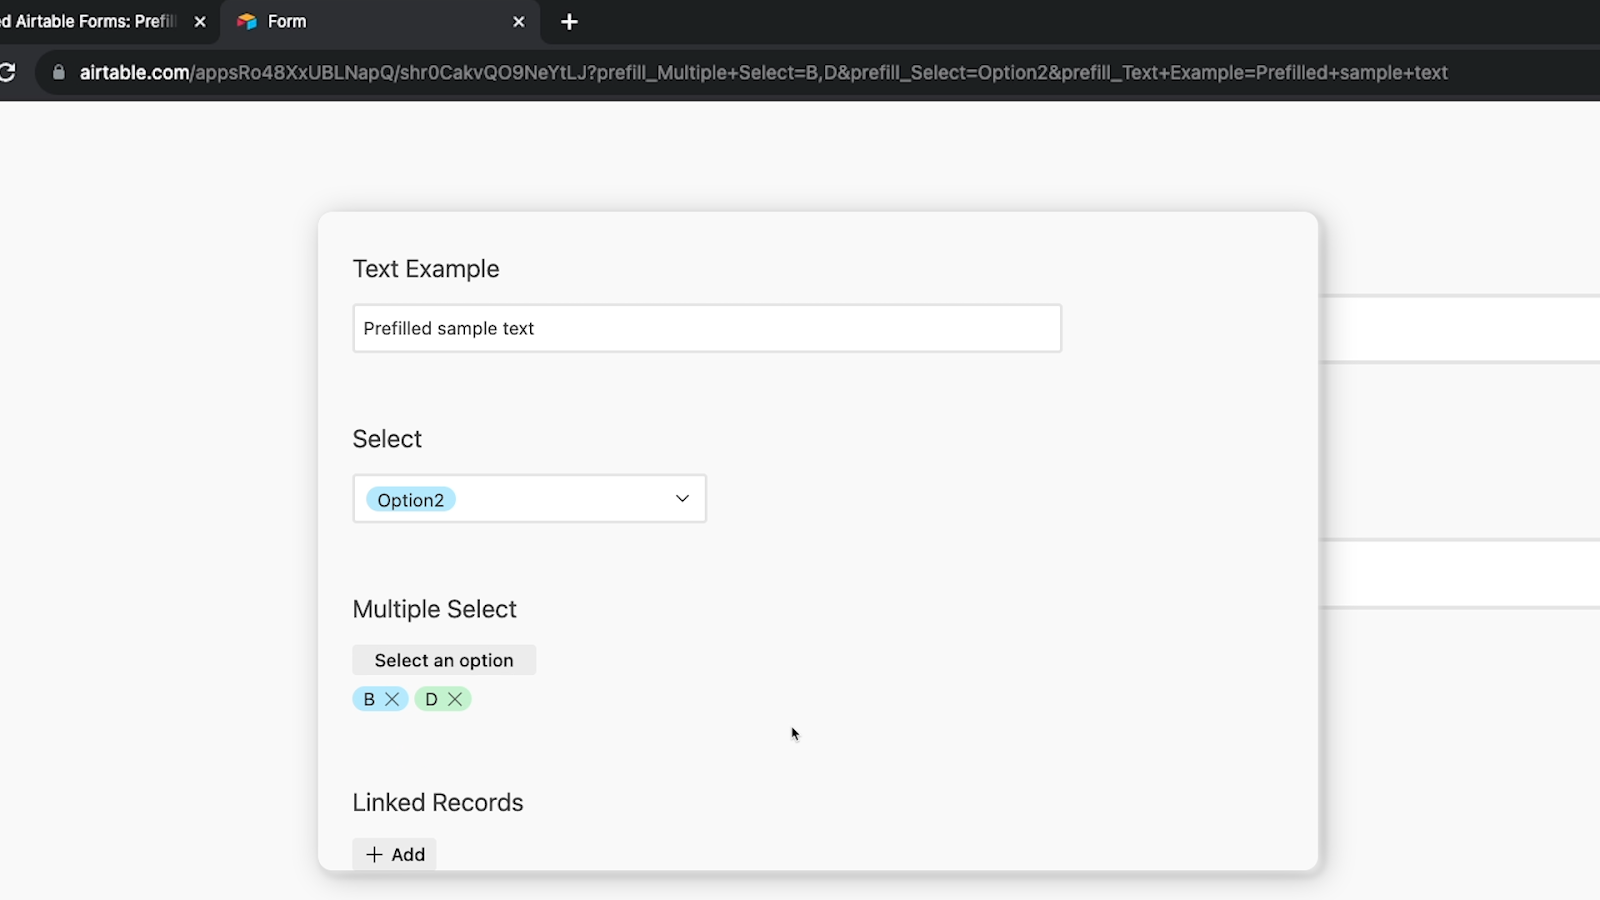
As you can see in the screenshot above, the multiple select field is set to B and D, the single select field is set to Option2, and the text field is “pre-filled sample text”.
You can essentially pre-fill as many fields as you’d like. Just note that you’re limited to 1600 characters in the URL.
Pre-filling linked records
Pre-filling other field types, like linked records or date and time is a little different, but still very simple.
Let’s start with linked records.
To pre-fill a linked record in an Airtable form, add a prefill attribute to the end of the form URL, then specify the Record ID of the record that you want to pre-fill. The format looks like this:
?prefill_Field+Name=rec123456789
There are two easy ways to grab a record’s ID in Airtable.
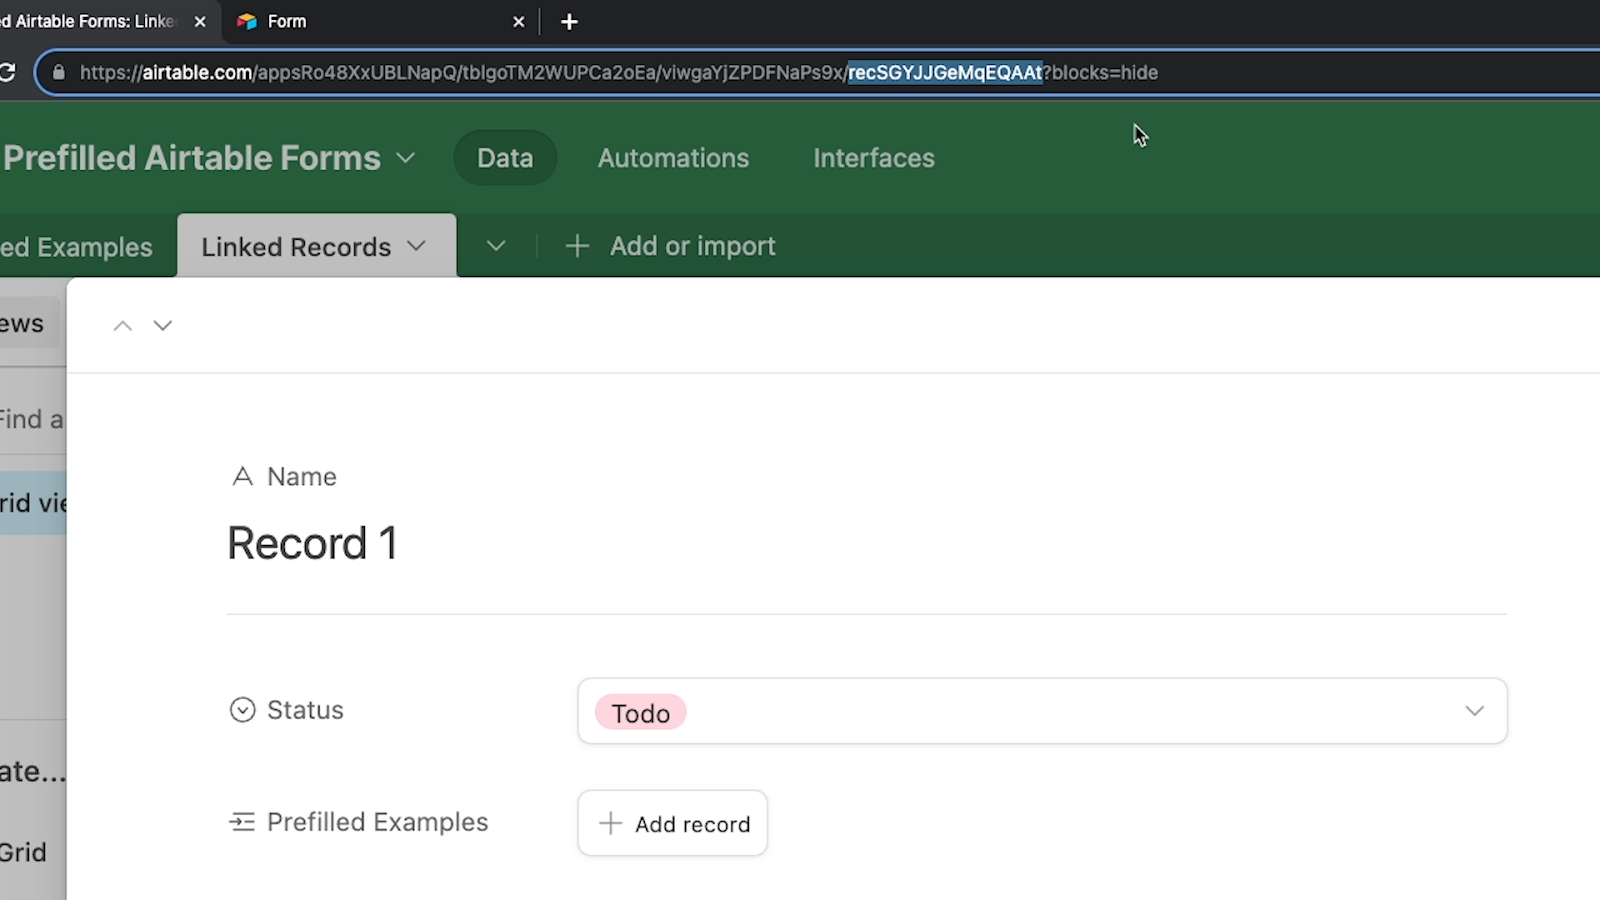
Find an Airtable record ID by expanding the record
One way is to open your Airtable base, and expand the record that you want to link. Then, copy the ID from the URL bar. The record ID will always start with “rec” and end before the question mark.
Find an Airtable record ID with the RECORD_ID() function
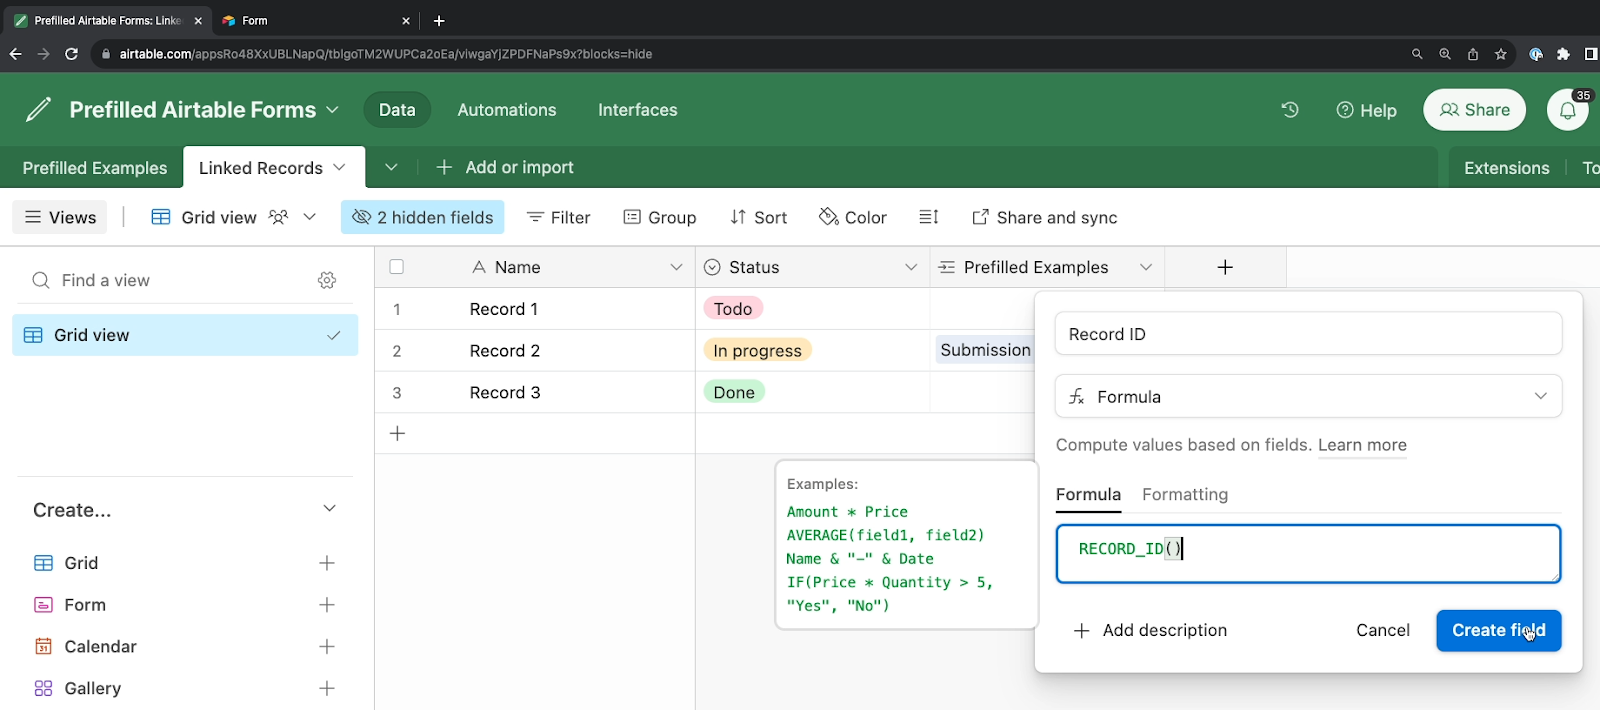
Alternatively, you can add a formula field to the table, and enter the RECORD_ID() function. Then, you can just select the right cell and copy it to grab the ID for a given record.
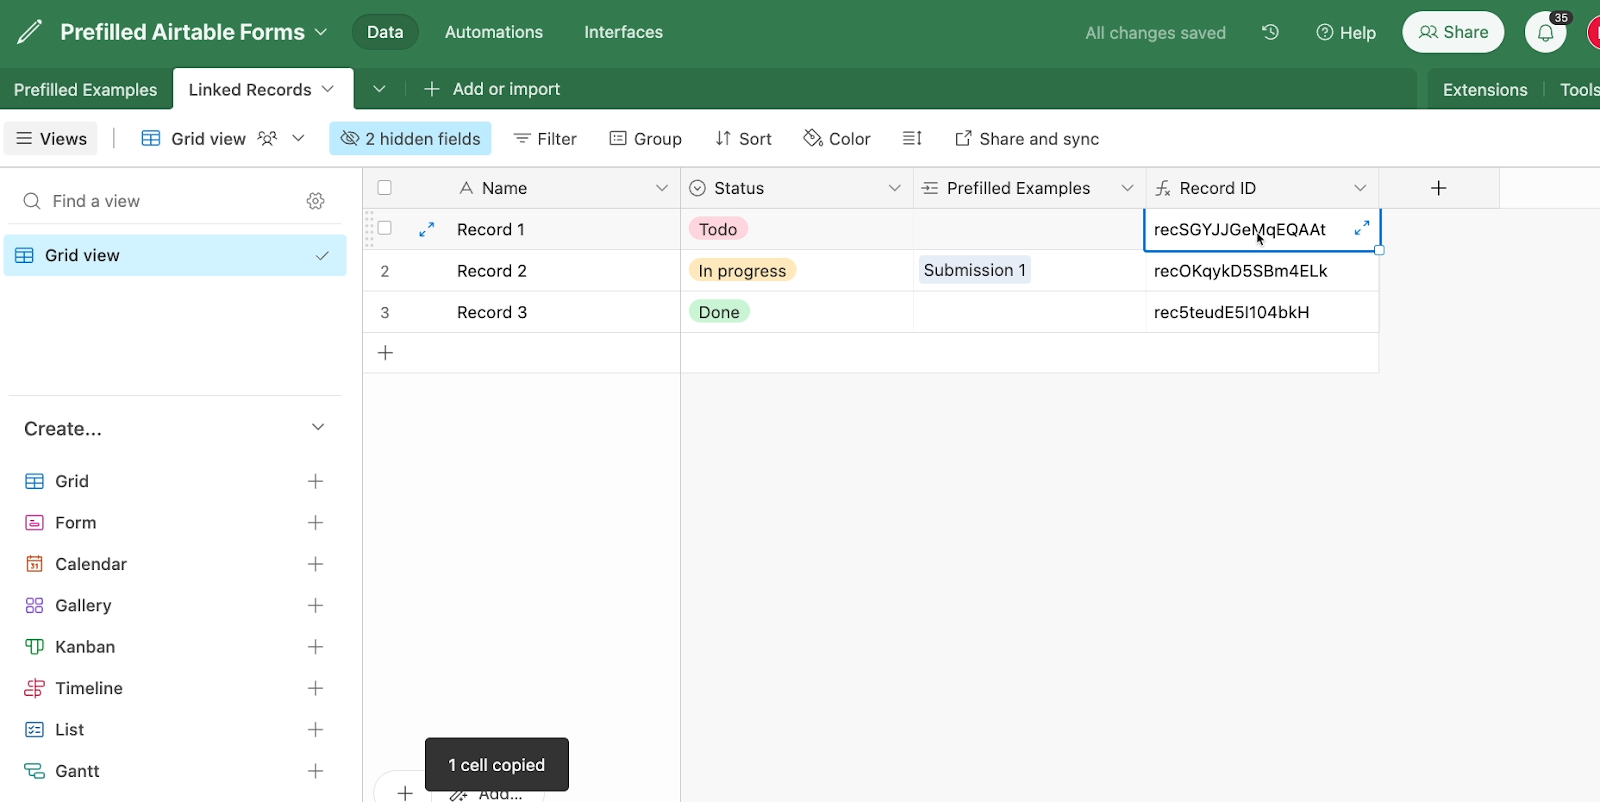
Once you have the record ID, paste it into your pre-fill URL. For example, we’ve copied the ID for “Record1”, and added it to our form URL.
Just like with multi-select fields, you can pre-fill several records in a linked record field - as long as linking multiple records is enabled in the field settings. Just separate each record ID with a comma.
Pre-filling date and time fields
Pre-filling a date and time field works similarly to pre-filling text and linked records, but does require you to use ISO 8601 formatting for the date and time.
You can find more information about ISO 8601 formatting here.
Here’s the format for a date and time pre-fill in an Airtable form:
?prefill_Field+Name=[YYYY]-[MM]-[DD]T[HH]:[MM]:[SS].[MMM]
To clarify, you’ll need to provide a 4-digit year, 2-digit month and 2-digit day, all separated by hyphens. Then, enter “T” to separate the date from the time.
For the time, you can provide 2 digits each for the hour, minute, and second, all separated by colons. Then, you can add a period and 3 digits for milliseconds. The time zone will depend on your Airtable settings.
For example, if we want to fill in the field called “Date and Time” with February 1st, 2024 at 5:30 PM, we’d enter the following:
?prefill_Date+and+Time=2024-02-01T17:30:00.000
If you don’t want to include seconds or milliseconds, you can either set them all to zero or just leave them out.
When we open the form URL with the pre-fill attribute above, the date and time are filled in correctly.

How to hide pre-filled fields in Airtable forms
In many cases, you might want to hide the fields you’ve pre-filled to prevent users from accidentally editing the data that you pre-filled.
To hide a pre-filled field, you just need to add another attribute to your form URL. The formatting will look like this:
?prefill_Field+Name=Value&hide_Field+Name=true
Let’s say we want to pre-fill the Linked Records field with Record 1, and hide the Linked Records field. That would look like this:
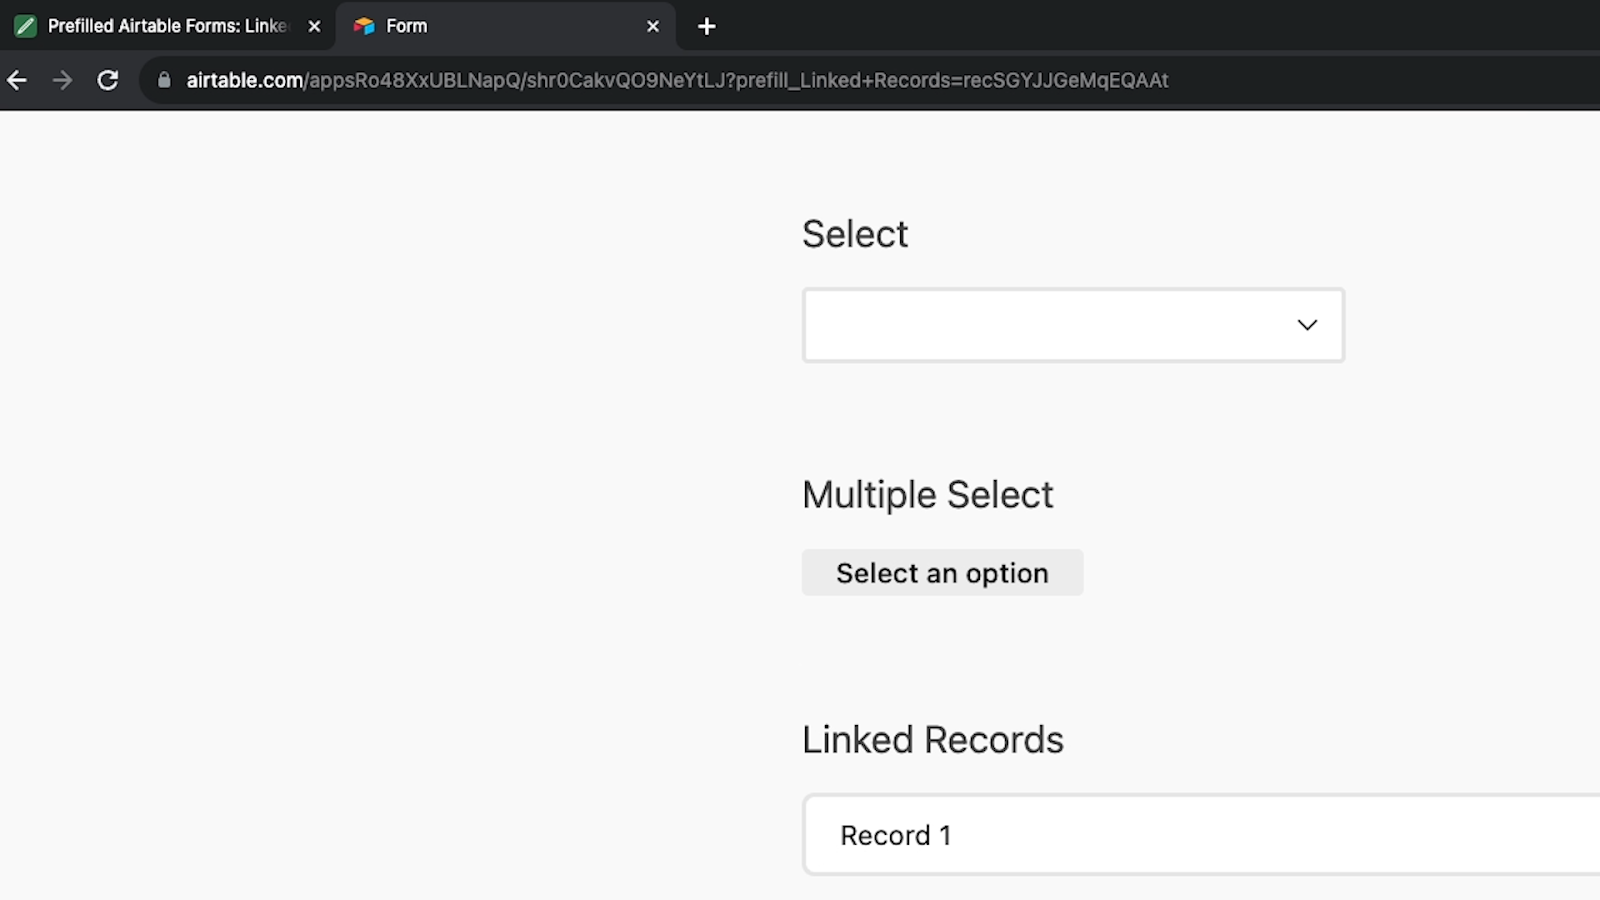
?prefill_Linked+Records=recSGYJJGeMqEQAAt&hide_Linked+Records=true
When we open up the form, we can’t see the “Linked Records” field, so we know the “hide” attribute worked.
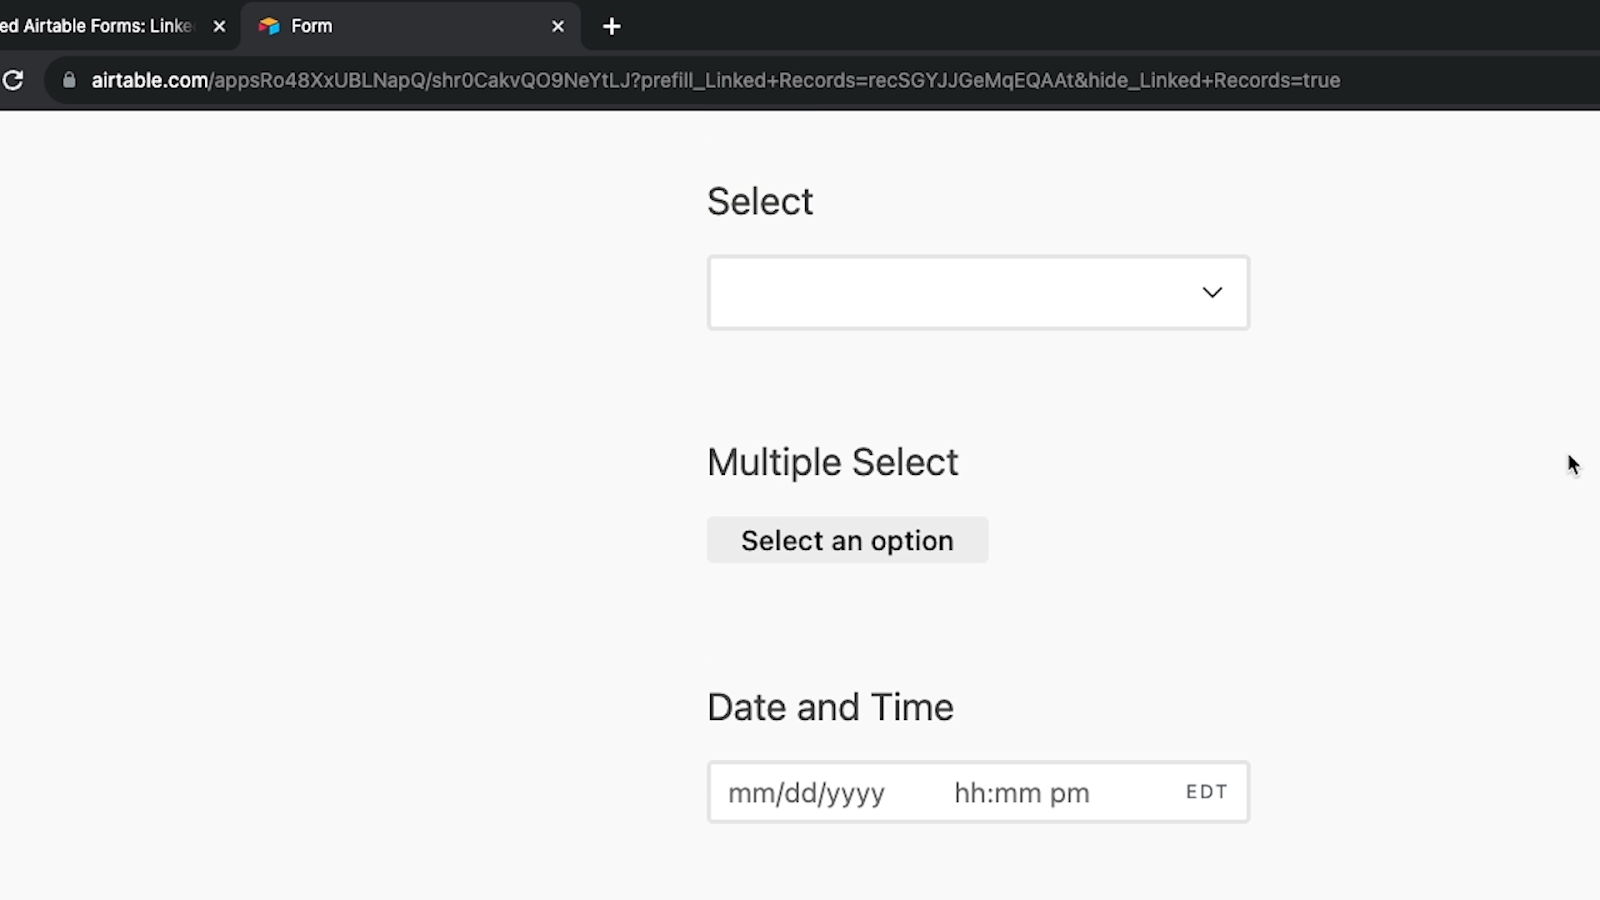
But since we can’t see the field, we don’t know if pre-fill worked too.
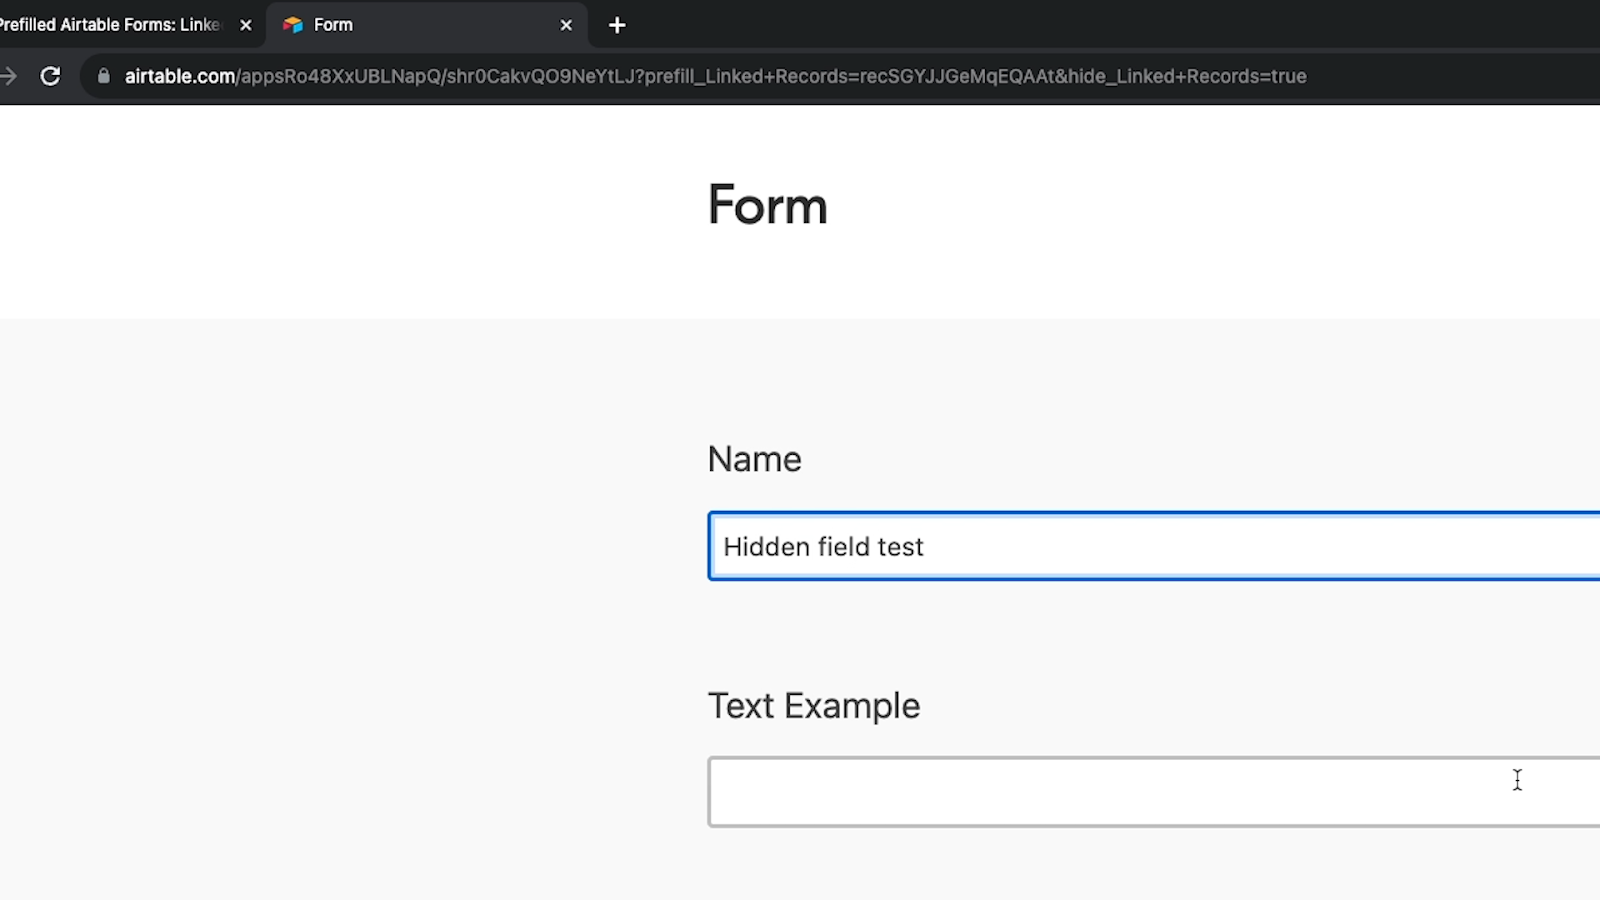
To make sure that the pre-fill was configured correctly, we’ll just. “Hidden field test” in the “Name” field, and submit the form.
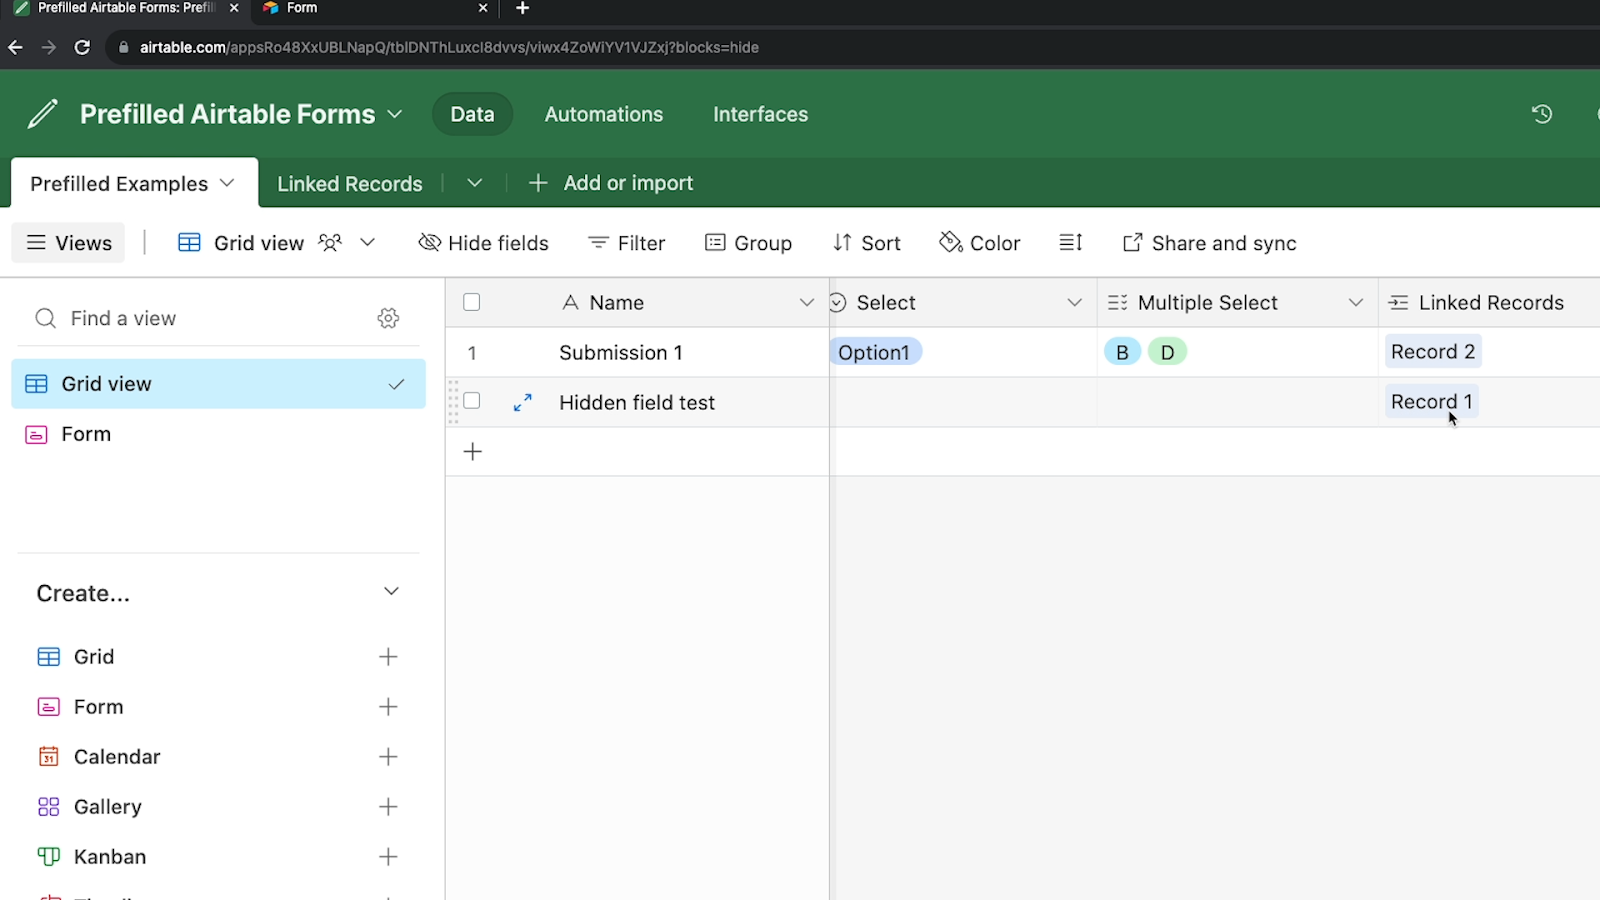
Back in the Airtable base grid view, we can see the record we just submitted, and “Linked Records” is filled in with “Record 1”, so we know the pre-fill worked, too.
When it’s appropriate to hide fields
One thing to note when hiding records is that your users could always theoretically delete your “hide” attribute from the URL and reveal the hidden field, then edit it however they’d like.
Hiding a field isn’t a secure way to prevent edits, and shouldn’t be used to prevent access to a field with private or sensitive information.
Instead, it’s really about convenience and reducing errors.
You should use it to help people save time and pre-select the value they would need to select anyway. Hiding the field just makes it much less likely for the user to accidentally pick the wrong value.
Simplify Airtable forms with pre-filled fields
That covers all of the basics of creating pre-filled Airtable form fields with custom URLs. By creating and sharing these links, you can streamline the process of filling out a form for your clients, colleagues, and collaborators.
If you’d like to learn more about no-code tools like Airtable, Zapier, Make, and more, be sure to check out our blog or our YouTube channel. You can also follow XRay on Twitter, Facebook, or LinkedIn.


