As you build more automated workflows, documentation becomes a very important discipline to maintain. Keeping a handful of Zaps up and running is relatively simple, but once you’ve built several automated workflows, you’ll need a documentation system to keep track of everything.
In this post, we’ll quickly explain the difference between logging and documentation, and we’ll share our best practices for documenting your automations for yourself and other automators.
Documentation vs. logging
First, let’s clarify the difference between documentation and logging.
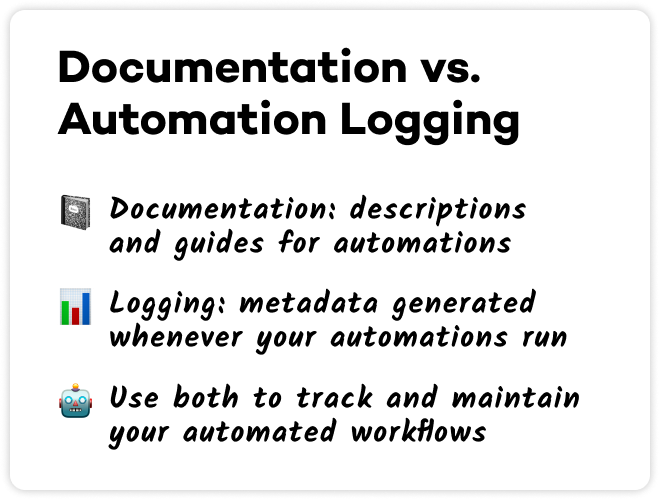
Documentation consists of descriptions of what an automation does, and how to use it.
Logging consists of metadata generated when your automation runs.
Both are crucial for tracking and maintaining your automations, but in this video, we’ll be focusing on documentation. We’ll tackle logging in a future video.
The Key Benefits of Documentation
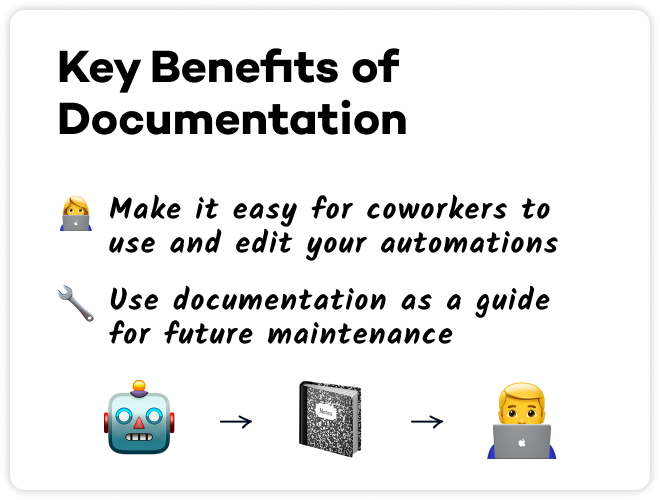
One of the main purposes of documenting your no-code/low-code automations is to ensure that any automator who needs to contribute to your automations understands how they work.
Even if you’re a solo automator, detailed documentation can come in handy. An automation you built last week may still be fresh in your mind, but when it runs into an error two months from now, will you still remember how it all works well enough to fix the bugs?
Creating documentation for every automation you build involves a little extra work in the short-term, but it ensures that you won’t need to rely on your memory to fix your automations in the long-term.
With that in mind, there are two main ways you should document your automations: descriptions and diagrams.
Custom Titles: Documenting Within Each Automation
As a basic step towards useful documentation, you should make sure to add helpful context within each automation you build.
Every Zap you create in Zapier, or every Scenario you create in Make should include as much information as possible about how it works.
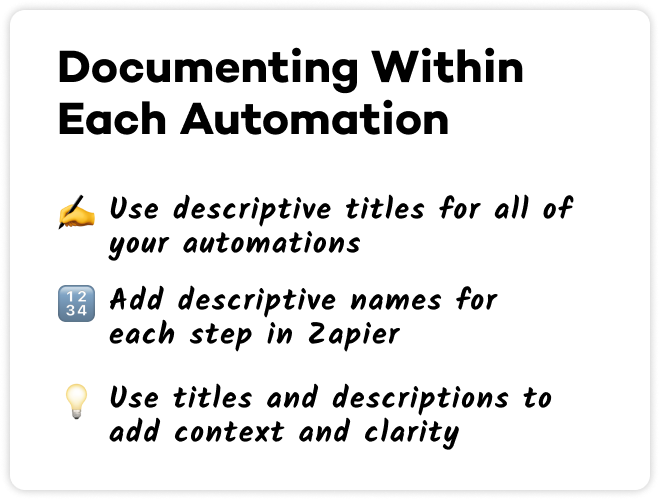
Give each automation a descriptive title, and whenever possible give each step or action a descriptive name as well.
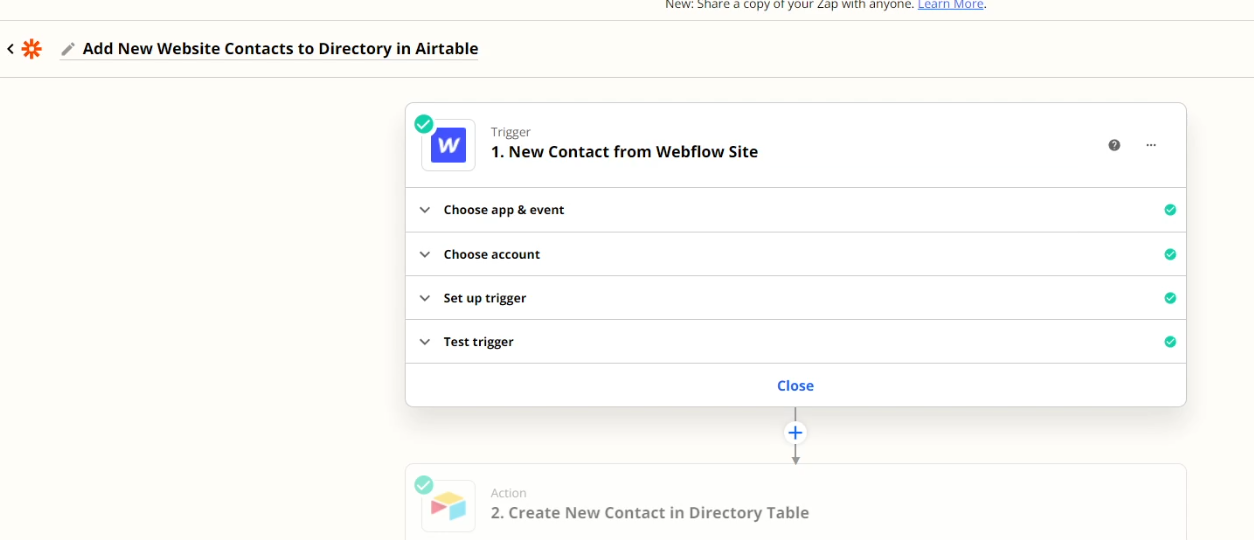
Instead of naming a Zap “New Contacts”, call it something like “Add New Website Contacts to Directory in Airtable”.
Instead of using the default names for steps like “Create Record”, go with something more descriptive like “Create a Record for the New Contact in the Directory table” (note: some platforms don’t support custom names for automation steps).
Use your titles to illustrate the purpose of each automated action, and to make it clear where data is coming from and going to.This way, any automator you work with can understand the basics of your automations just by opening up them in Zapier, Make, or another automation platform.
Building Detailed Guides with Technical Documentation
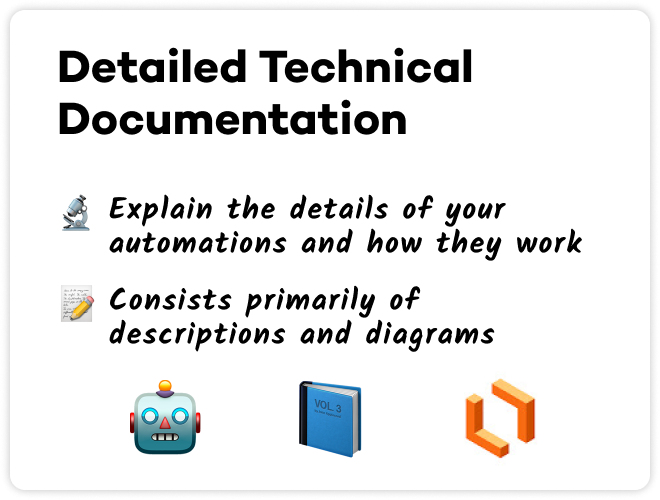
Ultimately, there are limits to what you can document with automation titles alone.For more complex automations, you’ll need some external documentation to really explain the nuts and bolts of important technical decisions.
Technical documentation typically takes two forms: descriptions and diagrams.
Descriptive Documentation
For detailed descriptions, you can use apps like Notion or Google Docs to write summaries of what each automation does and how it works.
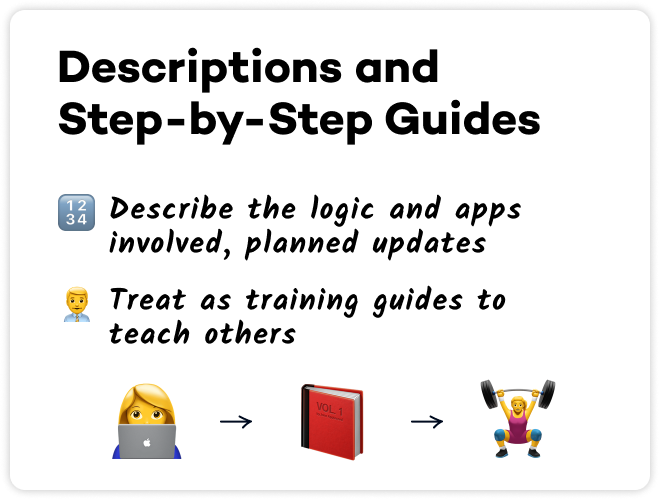
In these docs, be sure to include salient details like the logic and technology the automation uses, any common problems it encounters, planned updates, links to relevant API docs and databases, and more.
Treat these docs as all-encompassing “how-to” guides that can train any automator to use, troubleshoot, and update your automations.
Your coworkers and other collaborators should be able to understand the goal of the automation, even if they didn’t build the automation themselves.
BPMN Diagrams
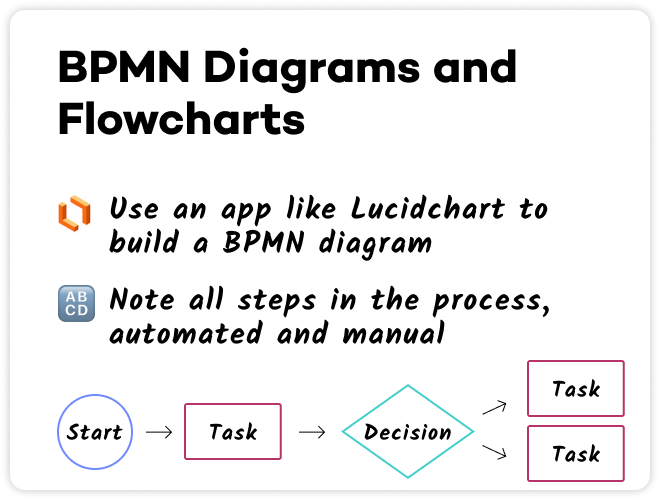
To further illustrate how your automations work, you can use diagrams to add a visual component to your documentation. We’d recommend using Lucidchart to make a BPMN (Business Process Model and Notation) diagram.
A BPMN Diagram will let you chart each step visually, and will clearly demonstrate the flow of data from one app to the next. It will also help you to distinguish automated actions from manual steps at a glance.
Preparing for the future with documented automations
Thorough documentation will make it much easier for you to keep using and maintaining your automated workflows in the long term. With detailed titles, descriptive guides, and simple diagrams, you can ensure that anyone on your team can work on your automations in the future.
If you’d like to learn more about building and maintaining no-code automated workflows, be sure to check out our blog or our YouTube channel. You can also follow XRay on Twitter, Facebook, or LinkedIn.